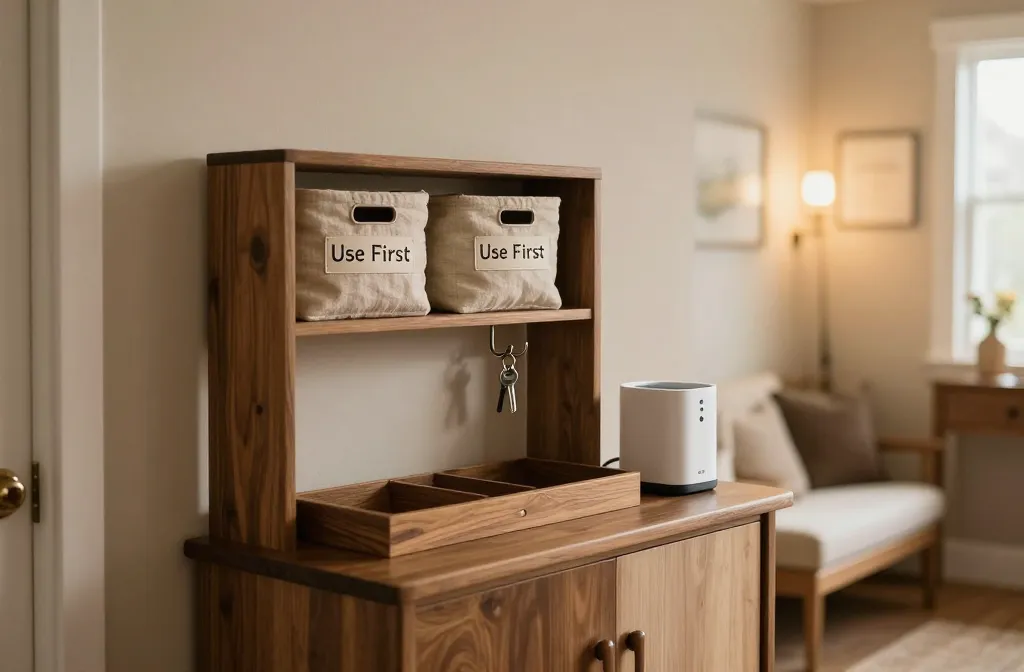
When the calendar flips to autumn, your home should feel calmer, more organized, and ready to host without drama. But between school schedules, weekend side projects, and the realities of limited storage, it’s easy to let small annoyances sneak in: a cluttered entryway that greets guests, a pantry that’s bursting at the seams, and a living room that can’t handle holiday guests without tipping into chaos. This guide isn’t about chasing perfection; it’s about solving real problems with practical, affordable fixes you can implement this weekend. Each section tackles a distinct, high-value challenge, explains why the problem happens, and provides concrete steps you can actually follow—tailored for busy households, renters, small-space living, and limited budgets.
1. Create a “Use First” Zone for Everyday Items That Vanish in Plain Sight
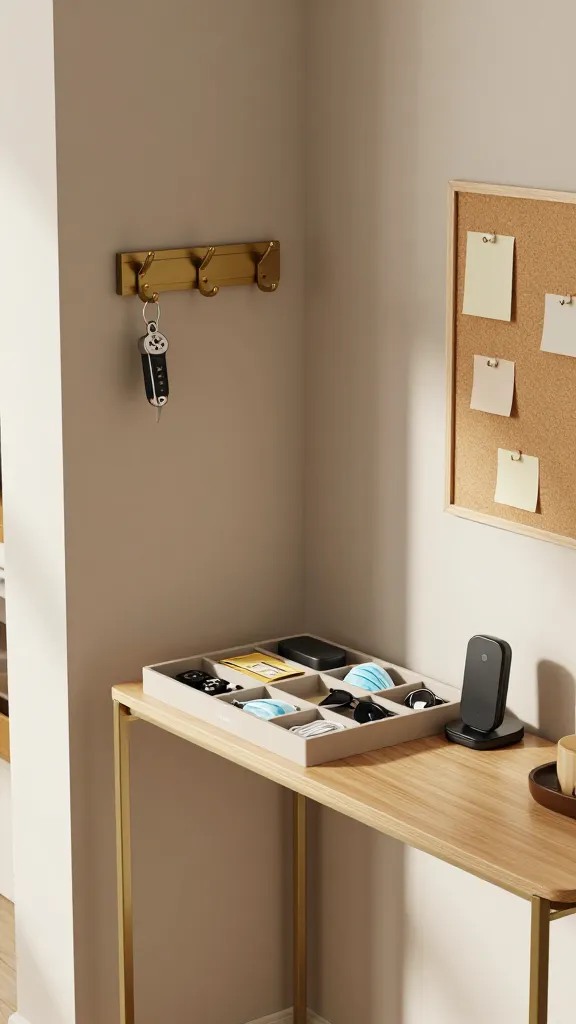
A. The problem — Small items constantly drift away: keys, mail, masks, sunglasses, charging cables. They’re essential, but because they don’t have a fixed home or are stored behind doors, they disappear just when you need them.
B. Why it happens — We move items to “somewhere” that feels convenient in the moment, but the spot isn’t memorable or accessible to everyone in the household. In busy homes, this becomes a scavenger hunt before you leave the door or before guests arrive.
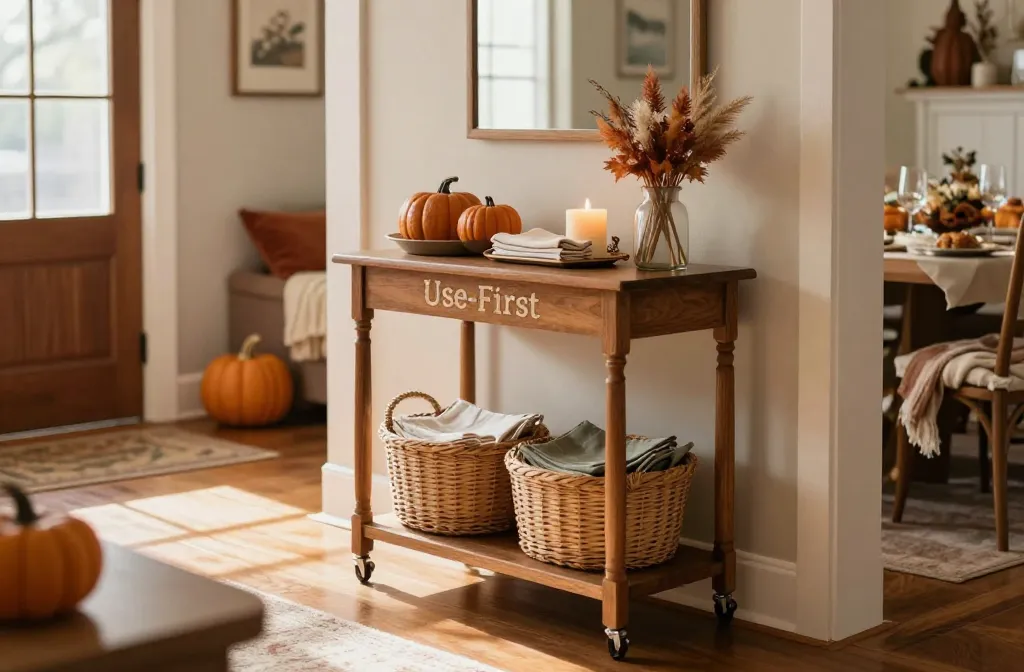
C. The fix — Establish a compact, clearly defined “Use First” station near the primary exit or foyer: a small wall-mounted organizer or a slim cabinet with a dedicated hook, a shallow tray for mail, and a designated charging cord stash. The goal is a visual cue that says: this is where you grab what you need before you step out.
D. How to do it —
- Pick a narrow wall or the inside of a closet door near the entry and mount a small 3–4 pocket organizer, plus one hook for keys and a shallow dish for loose items.
- Use one tray or basket for mail that’s in circulation; designate a secondary tray for outgoing mail.
- Label items only if your household has more than one user (for example, “car keys” vs. “house keys”).
- Place a single charger or two short cables in a labeled pouch or small bin behind the door, so you’re not hunting every time you unplug a device.
- Do a 2-minute nightly reset: return items to their zones before bed.
E. Real-life consideration —
– Small spaces: Use vertical space; a slim wall rack with a tray is perfect.
– Renters: Use removable adhesive hooks and a lightweight organizer that doesn’t require drilling.
– Budget: A simple over-the-door organizer or a small wall-mounted pocket unit costs less than $20 in many stores.
F. Common mistake — Placing a general “catch-all” bowl on a flat surface that becomes a magnet for detritus; items get swept into pockets with no forget-and-return discipline.
G. Better alternative — A dedicated Use-First wall station with a single tray for mail, a key hook, and a shallow caddy for small items. It’s cheaper, faster, and more reliable than a jumbled tabletop bowl.
2. Fix Deep Pantry Shelves So Food Doesn’t Disappear in the Back
Related Posts:

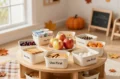



A. The problem — In deep cabinets, you can’t see what’s in the back, leading to expired items, duplicate purchases, and forgotten staples.
B. Why it happens — Deep shelves are efficient for storage, but they’re visually and physically challenging; items slide to the back during use and stay there until you notice a smell or a miss.
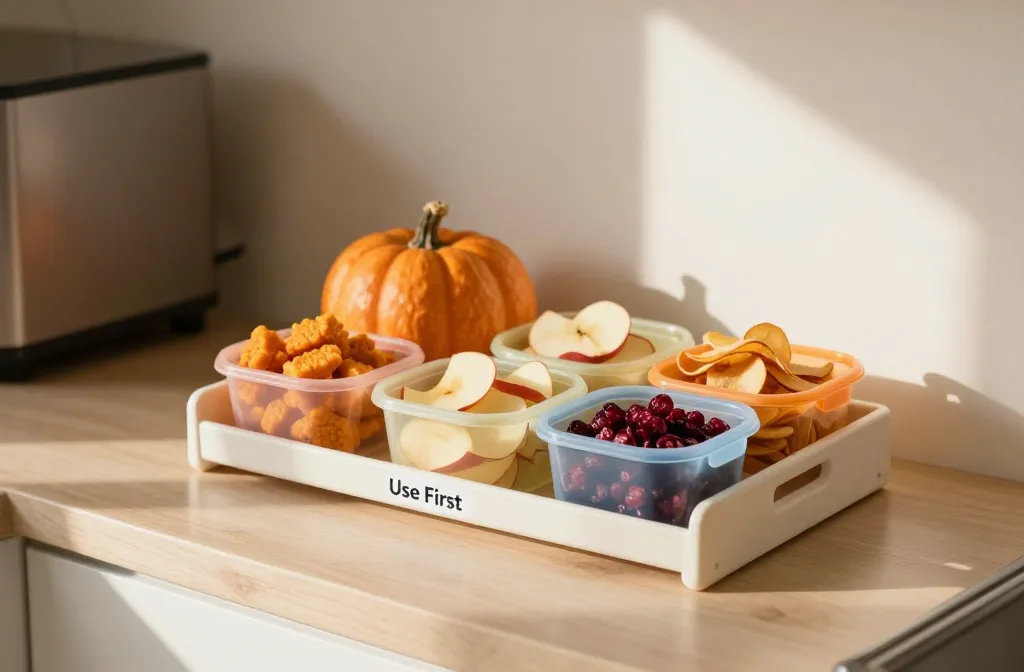
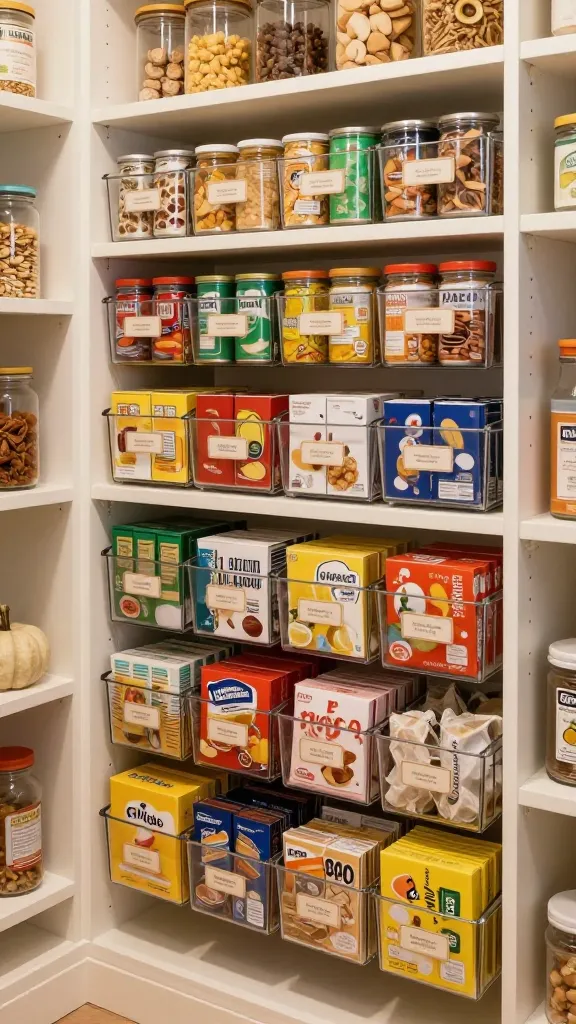
C. The fix — Create a simple pull-forward system using labeled, shallow bins that fit the shelf depth and a 2-tier organizer for the back row. Make every item’s zone visible at a glance.
D. How to do it —
- Measure shelf depth and width; pick 4–6 clear, shallow bins or baskets (prefer transparent to see contents).
- Label the front of each bin with the category (Pasta & Grains, Canned Goods, Baking & Sweeteners, Snacks).
- Place a 2-tier rack or risers to create a two-level display in the front portion; use the back level for overflow items you don’t reach as often.
- Move frequently used items to the front row; rotate weekly so you see everything.
- Keep a quick inventory card near the shelf’s edge for quick checks.
E. Real-life consideration —
– Small spaces: Clear acrylic bins maximize visibility without crowding.
– Renters: Use adhesive hooks and no-drill risers; choose bins that sit on the shelf edge without needing a fixed frame.
– Budget: A few bins and risers can be under $25 and dramatically improve visibility.
F. Common mistake — Using opaque containers that hide contents and force more rummaging to locate items.
G. Better alternative — Translucent shallow bins with short height plus a minimal two-tier riser to keep items in sight and accessible.
3. Make Room for Holiday Baking Without Buying More Storage
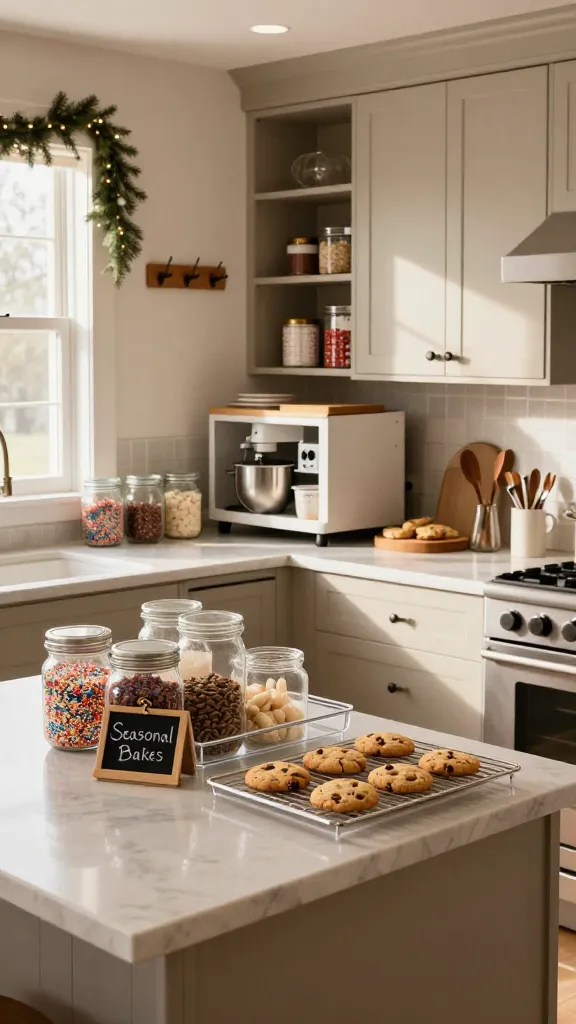
A. The problem — The baking season brings extra tins, mixers, sprinkles, and seasonal ingredients. Without a plan, the space in your kitchen can feel smaller than it is, forcing you to stack items on the counter or crowd cabinets you already rely on.
B. Why it happens — We keep “just in case” items in primary kitchen zones, assuming there’s room, but the first step toward hosting success is ensuring you can actually access what you need when you need it.
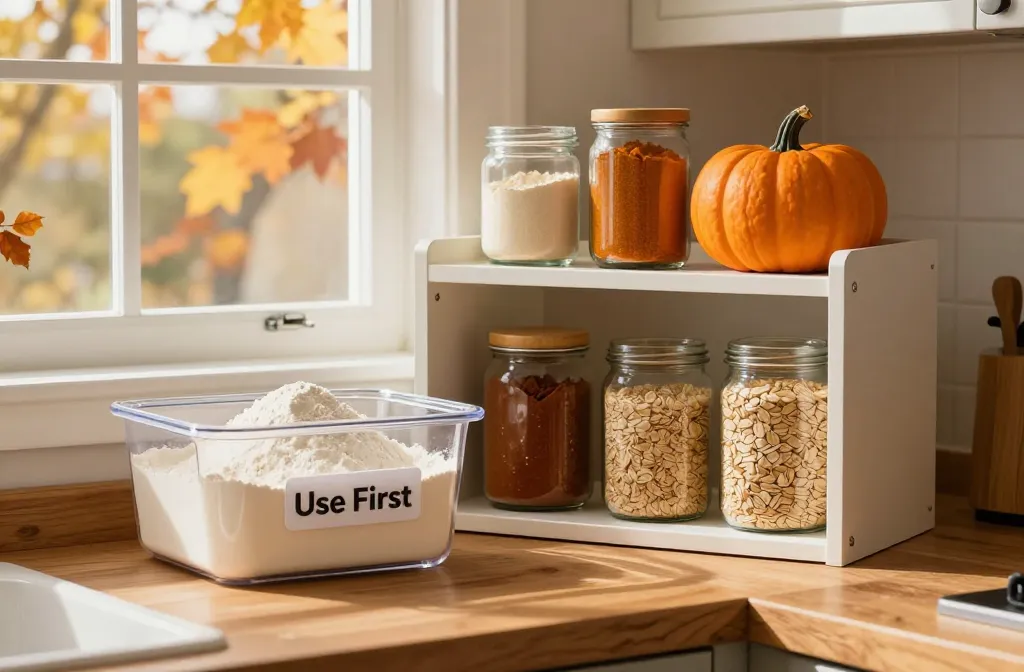
C. The fix — Create a temporary, seasonal baking station that doubles as a rotation zone. It keeps holiday ingredients accessible and market-fresh items separate from year-round staples.
D. How to do it —
- Identify a shallow cabinet, or a low countertop section that won’t be blocked by appliances. Clear it of non-essentials.
- Move 6–8 seasonal items (cinnamon sticks, pumpkin puree, sprinkles, specialty extracts) to a labeled bin or basket on the shelf or a rolling cart.
- Use small, stackable organizers for measuring spoons, decorating gel, and parchment sheets so everything has a home within the baking zone.
- Label the zone clearly as “Holiday Baking” and rotate monthly items out as the season progresses.
- When baking season ends, return items to their original storage and archive any seasonal leftovers in a closed, labeled container in a regular pantry or freezer.
E. Real-life consideration —
– Small spaces: A shallow rolling cart works well; it can be tucked away when not in use.
– Renters: Use removable bins and no permanent fixtures; a small cart can be wheeled out when needed.
– Budget: A $20–$30 cart plus a few bins is enough to create a distinct baking zone.
F. Common mistake — Overloading one drawer or cabinet with seasonal items; items become hard to find and easy to misplace.
G. Better alternative — A dedicated, labeled seasonal baking station that moves with you as needed and avoids clutter in the main prep area.
4. Stop Duplicate Grocery Purchases With a Simple Inventory Zone
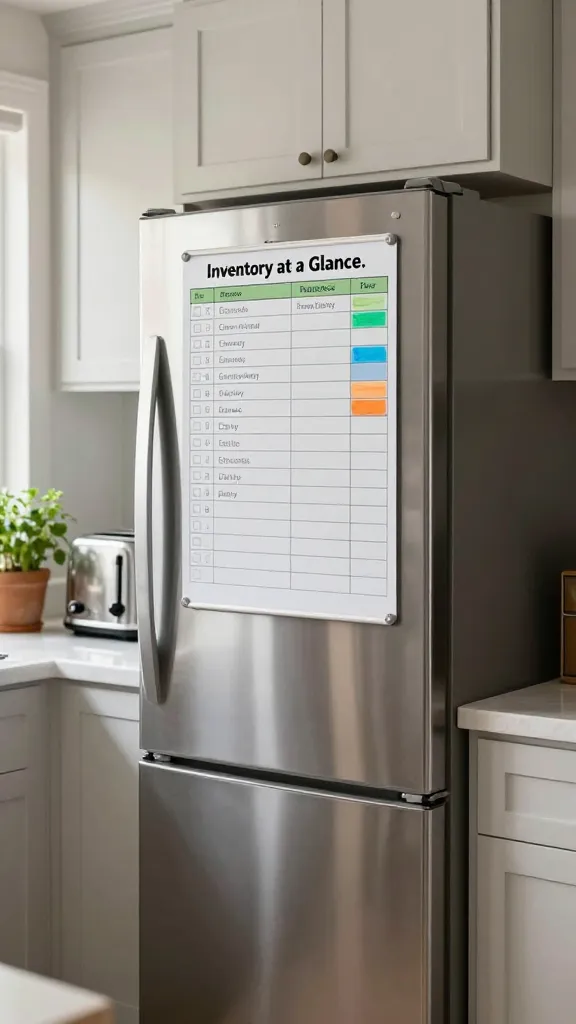
A. The problem — You buy the same item multiple times because you forgot you already had it, or you didn’t know it existed in a forgotten bin.
B. Why it happens — When storage is messy or poorly organized, you can’t quickly confirm what you have. Time-pressed households default to buying again rather than searching.
C. The fix — Build a one-page “Inventory at a Glance” system that lives on the inside of a cabinet door or on the fridge with a wipeable marker or dry-erase sheet. Keep a short list of pantry staples, dry goods, and cold items that rotate.
D. How to do it —
- Choose a wall- or fridge-mounted surface that’s easy to access. Place a laminated sheet or a whiteboard with a marker nearby.
- List 12–16 core categories (Pasta, Rice & Grains, Canned Tomatoes, Broth, Baking Essentials, Oil, Spices, Snacks, Frozen Vegetables, Dairy, Meat, Frozen Desserts).
- Each time you use an item, strike it through or check it off; when you’re at the store, update quantities and note when it’s running low.
- Add a twice-monthly reminder to scan the list, especially before big shopping trips.
E. Real-life consideration —
– Small spaces: A single dry-erase sheet or a laminate pocket with a marker keeps it compact.
– Renters: Use a whiteboard or removable laminated sheet rather than a permanent wall chart.
– Budget: Minimal cost; reuse scrap magnets and a small dry-erase sheet from a dollar store.
F. Common mistake — Adding too many categories that never get updated, which makes the system feel more like a chore.
G. Better alternative — A lean inventory zone with 8–12 essential categories and a quarterly check-in to prune old items and correct any miscounts.
5. Create Flexible Storage for Seasonal Guests Without Overhauling Your Layout
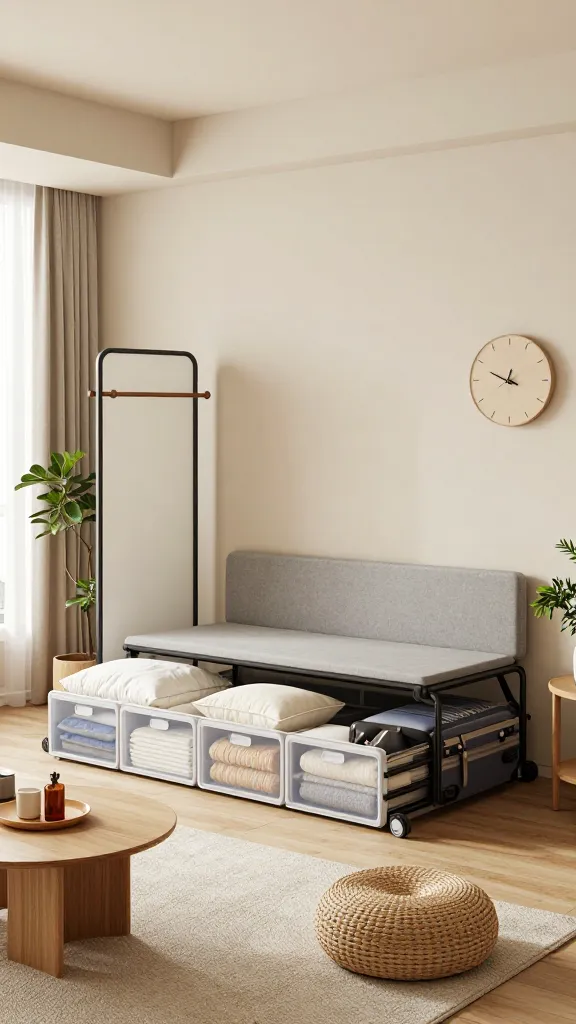
A. The problem — When guests visit, your home suddenly feels crowded because you don’t have a dedicated guest setup or a predictable spot for extra linens, cushions, and the inevitable coat rack overflow.
B. Why it happens — A busy home often lacks a mini staging area or flexible storage that can be repurposed for guests without permanently removing everyday use space.
C. The fix — Set up a temporary, collapsible guest staging zone that lives in a multipurpose area (under the bed in a storage bin, a rolling cart in a corner, or a narrow closet shelf). The goal is to allow a quick transition from daily use to a welcoming guest space without rearranging furniture.
D. How to do it —
- Choose a compact, wheeled cart or flat storage bin with a lid that can slide under a bed or into a closet when not in use.
- Fill it with a spare set of guest towels, a throw blanket, a bathroom hamper, and a small tray for keys and mail.
- Add a lightweight hangar rack or hook for coats; keep a couple of hangers and a small portable mirror for quick visits.
- Store the cart in a guest-friendly area (under a bed, inside a closet, or behind a door) and rotate items seasonally.
E. Real-life consideration —
– Small spaces: A rolling cart with a small footprint can serve as a weekend guest station in the living room or a corner of a bedroom.
– Renters: Choose a fabric bin with a lid and a lightweight frame that you can slide under a bed or into a closet.
– Budget: Look for a portable cart around $40–$60 or a pair of fabric storage bins with lids for under $20 each.
F. Common mistake — Staging items in a visible corner that still blocks traffic flow and looks cluttered when guests arrive or depart.
G. Better alternative — A compact, hidden-in-plain-sight system that cleans up quickly and remains unobtrusive when not in use.
Summary of the five sections: Each problem is tackled with a practical, implementable plan. The fixes emphasize visibility, accessibility, and ease of maintenance, all crucial when you’re balancing daily life with holiday preparation.
Before-You-Buy Guide: How to Decide What Storage You Actually Need
To avoid wasted purchases, follow these decision rules that apply across the five sections above:
- If you use an item weekly, keep it within easy reach; if not used for two seasonal rotations, question its prime storage status.
- If a storage container makes an item harder to see or reach, it isn’t solving the problem—opt for transparency and accessibility.
- If you need to move three things to reach one thing, your storage layout needs a redesign, not more boxes.
- Measure first; buy last. Always confirm the space, depth, and opening direction before purchasing containers or furniture.
- Reuse what you already own whenever possible—swap shelves, risers, or bins between zones to test new configurations without spending.
Small-Space Real-World Tweaks That Make a Big Difference
While each section above addresses a distinct problem, here are a few cross-cutting, real-world tweaks that apply across kitchens, entryways, and living spaces, especially in apartments and small homes:
- Vertical is your friend: Install shallow shelves above eye level to keep floor space clear while improving visibility of items you actually use weekly.
- Clear the sightline before you shop: If you can’t see what you have, you’ll repeat purchases. A single, visible inventory zone saves time and money.
- Rotate, don’t relocate: Seasonal rotation helps you avoid a full reset next year. Plan a 30-minute rotation window every 3 months.
- Label pragmatically: Use short, legible labels for categories that multiple people access (e.g., “Pasta,” “Cereal,” “Tea”). If only you use an area, labels aren’t strictly necessary.
- Maintenance mindset: Build in a 5-minute nightly reset routine to prevent clutter from creeping back into the five problem areas you’ve addressed.
Before You Buy: Quick Resource Checklist
Before buying organizers or furniture, confirm:
- What items actually need storage versus what items can be moved to another zone instead of adding a new container.
- Your most-used items—keep these within the easiest reach; the rest can be stored a step back.
- Space measurements and load limitations for shelves, doors, and entryways.
- Whether permanent installation is allowed in your space (especially in rentals) and if removable options are sufficient.
- Budget constraints; prioritize items that solve the biggest pain points with the least disruption.
Possibilities and Pitfalls by Space Type
These considerations are woven into the five sections but are summarized here for quick planning. Use them to adapt each fix to your exact home:
- Apartment with shallow closets: Use door-mounted organizers and slim rolling carts that tuck into corners. Avoid heavy fixtures that require wall anchors.
- Small kitchen without a pantry: Convert a section of the countertop into a seasonal baking zone and use vertical wall-mounted storage for spices, oils, and canned goods.
- Rental with limited storage: Favor temporary solutions—adhesive-backed organizers, removable hooks, and lightweight rolling carts instead of built-ins or cabinetry.
- Busy family home: Create multiple Use First zones (entry, kitchen, and living area) coordinated with color-coding and labels to minimize cross-space confusion.
- Limited budget: Prioritize zones that affect daily routines (entry, pantry, and guest storage) and reuse existing containers rather than buying new ones.
Conclusion
The fall reset you’re aiming for isn’t about having a magazine-perfect home; it’s about reclaiming daily ease before the holidays arrive. By focusing on five high-impact problems—Use-First zones, deep-pantry visibility, a seasonal baking station, a simple duplicate-groceries check, and a flexible guest-ready setup—you create a practical framework you can keep refining. Start with one issue this weekend: install a small Use First zone near the door, then reassess after a week. You’ll notice less rummaging, fewer trips to the store, and a calmer home that’s genuinely ready for guests and holiday hosting without turning into a full-scale renovation.
Frequently Asked Questions
What if I live in a studio or one-bedroom apartment? Start with the Use First zone and a single pantry pull-forward system. Use vertical space and under-bed storage for seasonal items. Keep household routines simple: a weekly 15-minute reset is enough to keep clutter in check.
How do I handle a rental with no drilling or permanent fixtures? Use adhesive hooks, removable shelving, and freestanding rolling carts. Choose removable fabric bins and clear acrylic organizers that sit on shelves without anchors.
What’s the best way to start if I don’t have time this week? Pick one problem from the list and complete it in 30–60 minutes. Even a partial fix, like setting up a small Use First zone or labeling a shallow shelf, yields noticeable results and momentum for the next step.