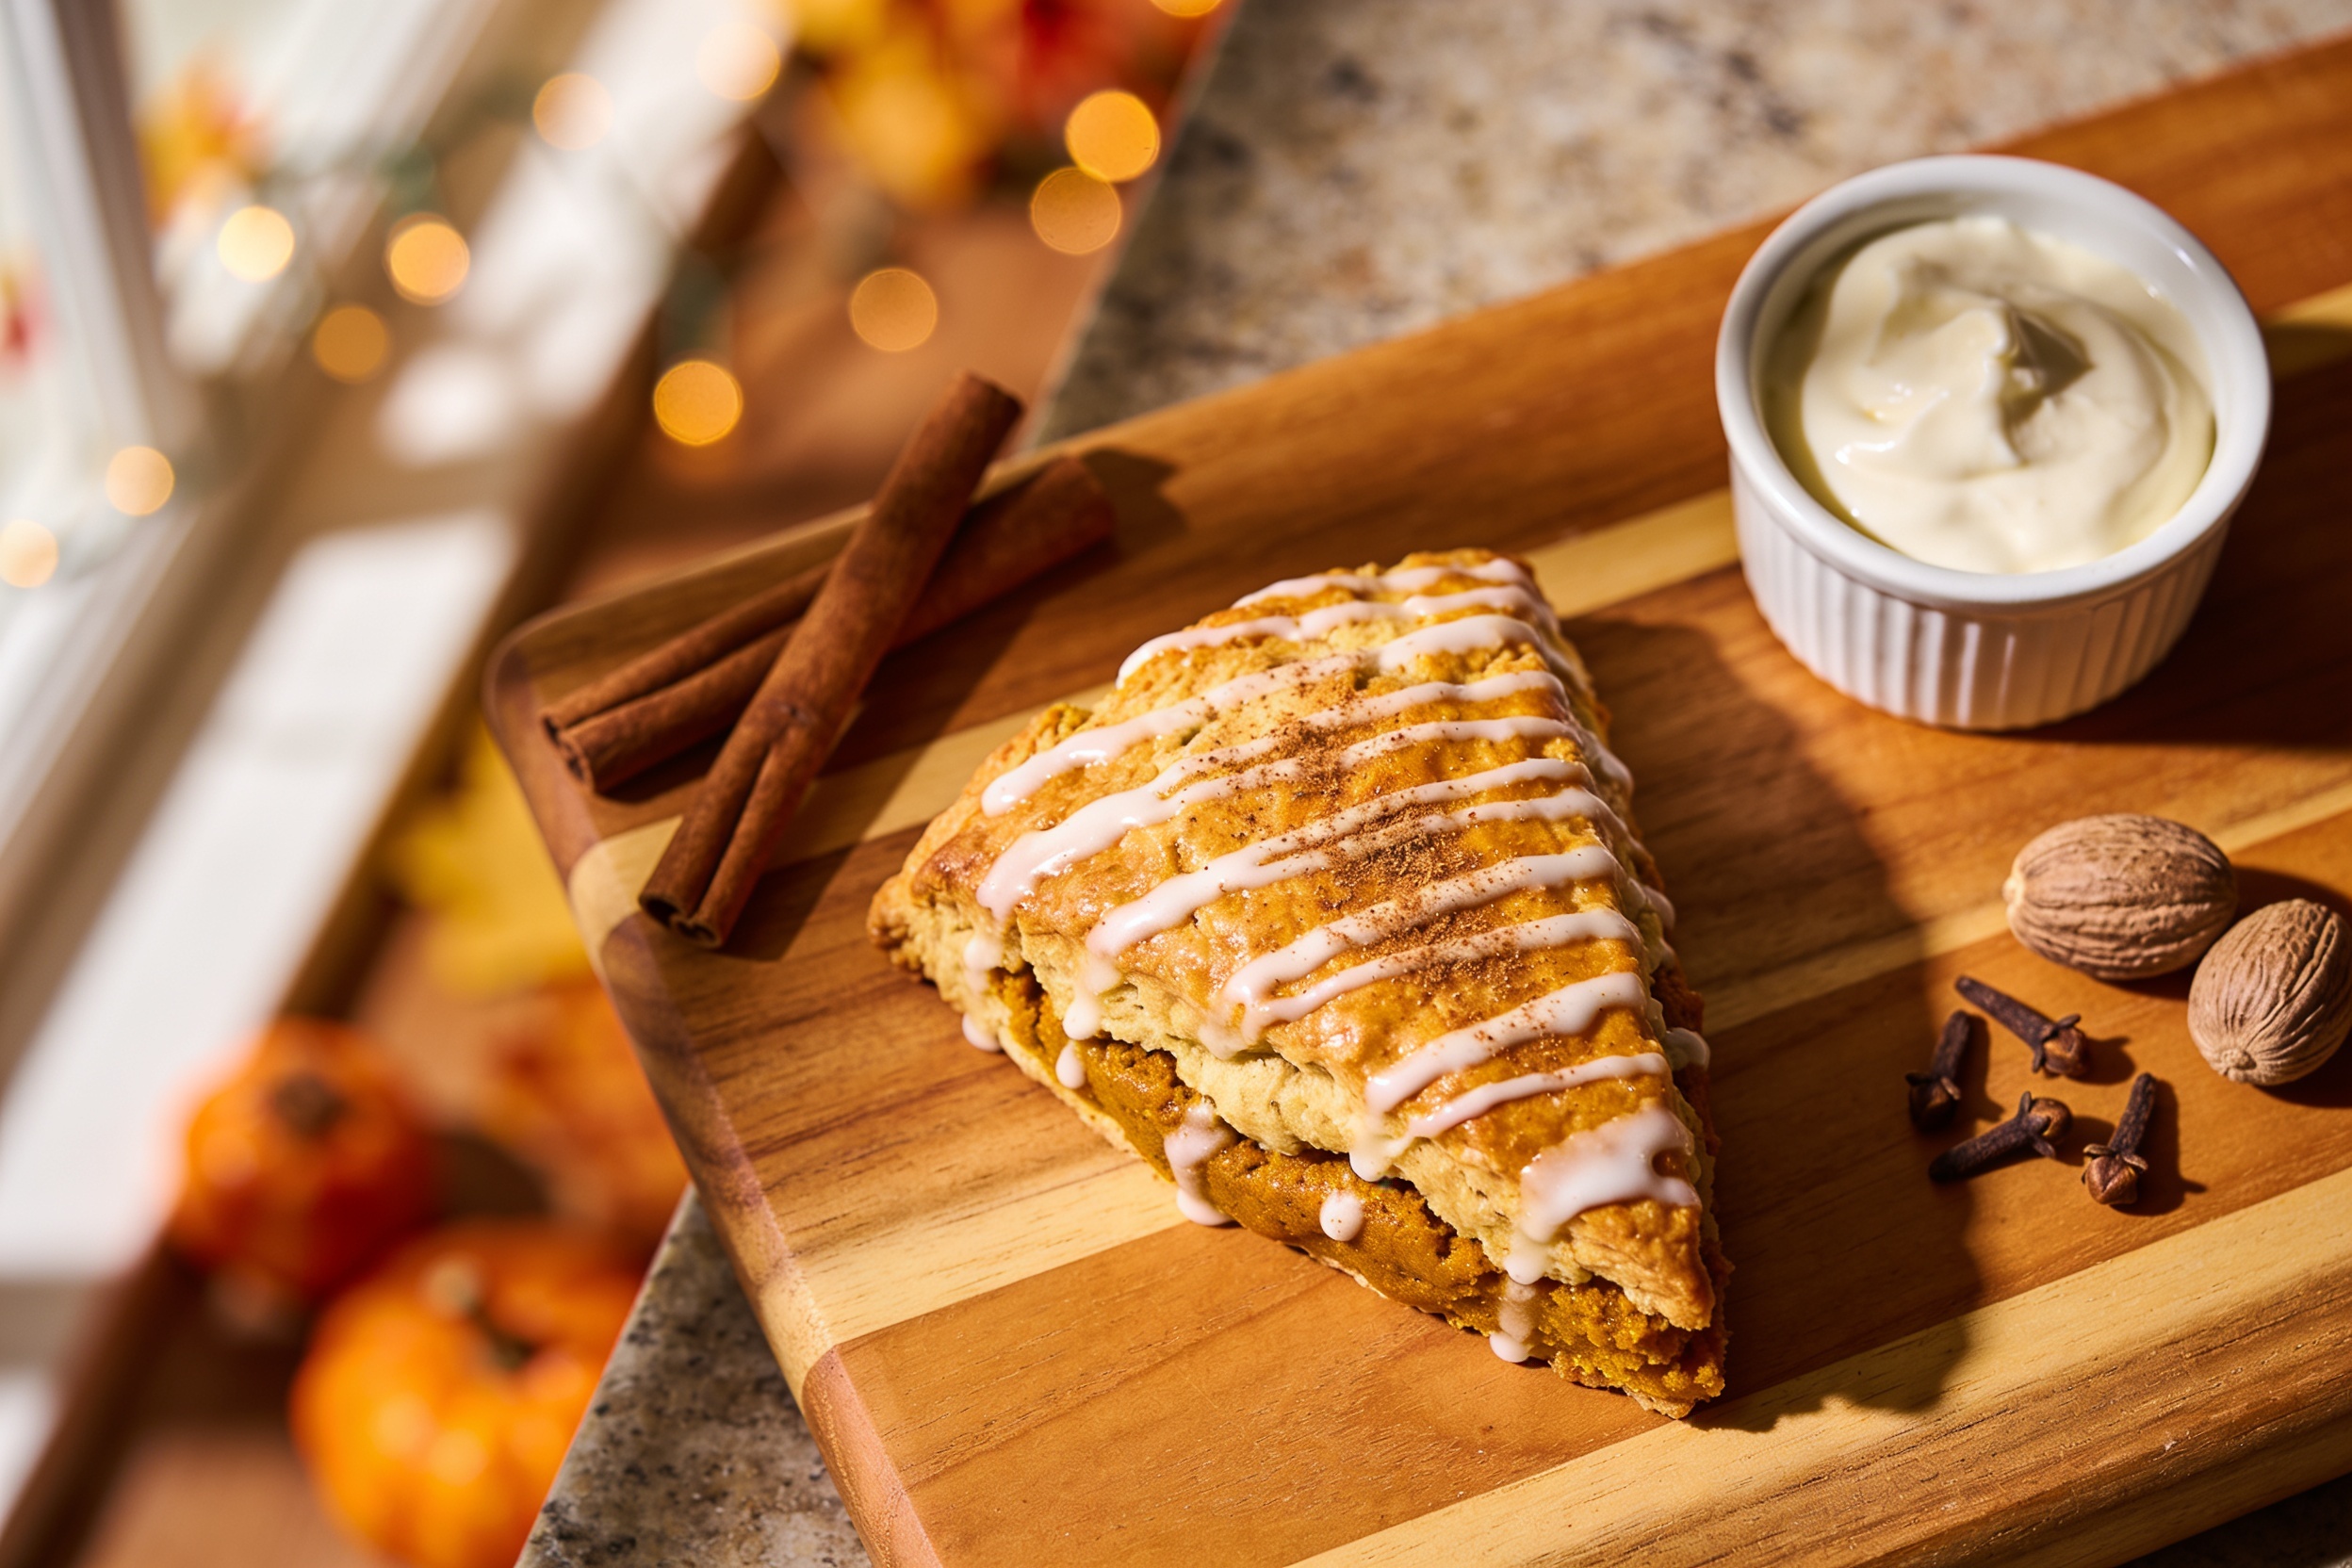
Craving that iconic Starbucks pumpkin scone but ready to skip the line and the price? You’re in the right kitchen. This pumpkin scones copycat recipe brings the flaky texture, warm spice, and drizzle of icing you love, with simple pantry staples and a few pro tips that caramelize the experience. Whether you’re baking for a cozy weekend brunch, a fall party, or just a personal pumpkin spice fix, this guide will help you nail it on the first try—and then make it even better on your second batch.
From the moment the pumpkin aroma starts to rise in your oven, you’ll feel the pull of autumn. The challenge isn’t finding pumpkin flavor; it’s balancing moisture, crumble, and sweetness so the scone feels bakery-fresh rather than dense or dry. This article doesn’t just hand you a recipe; it shares practical adjustments, timing tricks, and ingredient swaps so you can customize to your kitchen, your dietary needs, and your taste buds. Let’s dive into a proven method, plus expert tips and common missteps that could derail your bake—and how to avoid them.
First, let’s acknowledge the core problem many home bakers face: achieving the delicate, tender texture of a Starbucks pumpkin scone without over-processing the dough or drying it out with over-baking. The solution lies in cold ingredients, careful handling, and a thoughtful glaze that elevates, not overwhelms, the pumpkin notes. Ready to bake something that tastes like a seasonal stroll through a coffee shop, minus the caffeine jitters? Read on.
Key Takeaways
Texture matters: keep ingredients cold and handle dough gently for a flaky, tender crumb.
Flavor balance: pumpkin puree, spices, and orange zest pair with a light maple-vanilla glaze to echo Starbucks’ profile.
Glaze last: drizzle after cooling to prevent soggy tops and to control sweetness.
Customize safely: swap flours or sugar types to fit dietary needs without losing structure.
Batch mindset: scale batch size, but don’t overwork dough when doubling or tripling.
Storage and freshness: freeze baked scones and rewarm for near-fresh texture.
Common mistakes: overmixing, overbaking, and skipping the chill step lead to tough or dry scones.
Make it your own: add white chocolate, toasted pecans, or a zest variation for a signature twist.
Main Sections
Overview: What Makes a Starbucks Pumpkin Scone Copycat Special
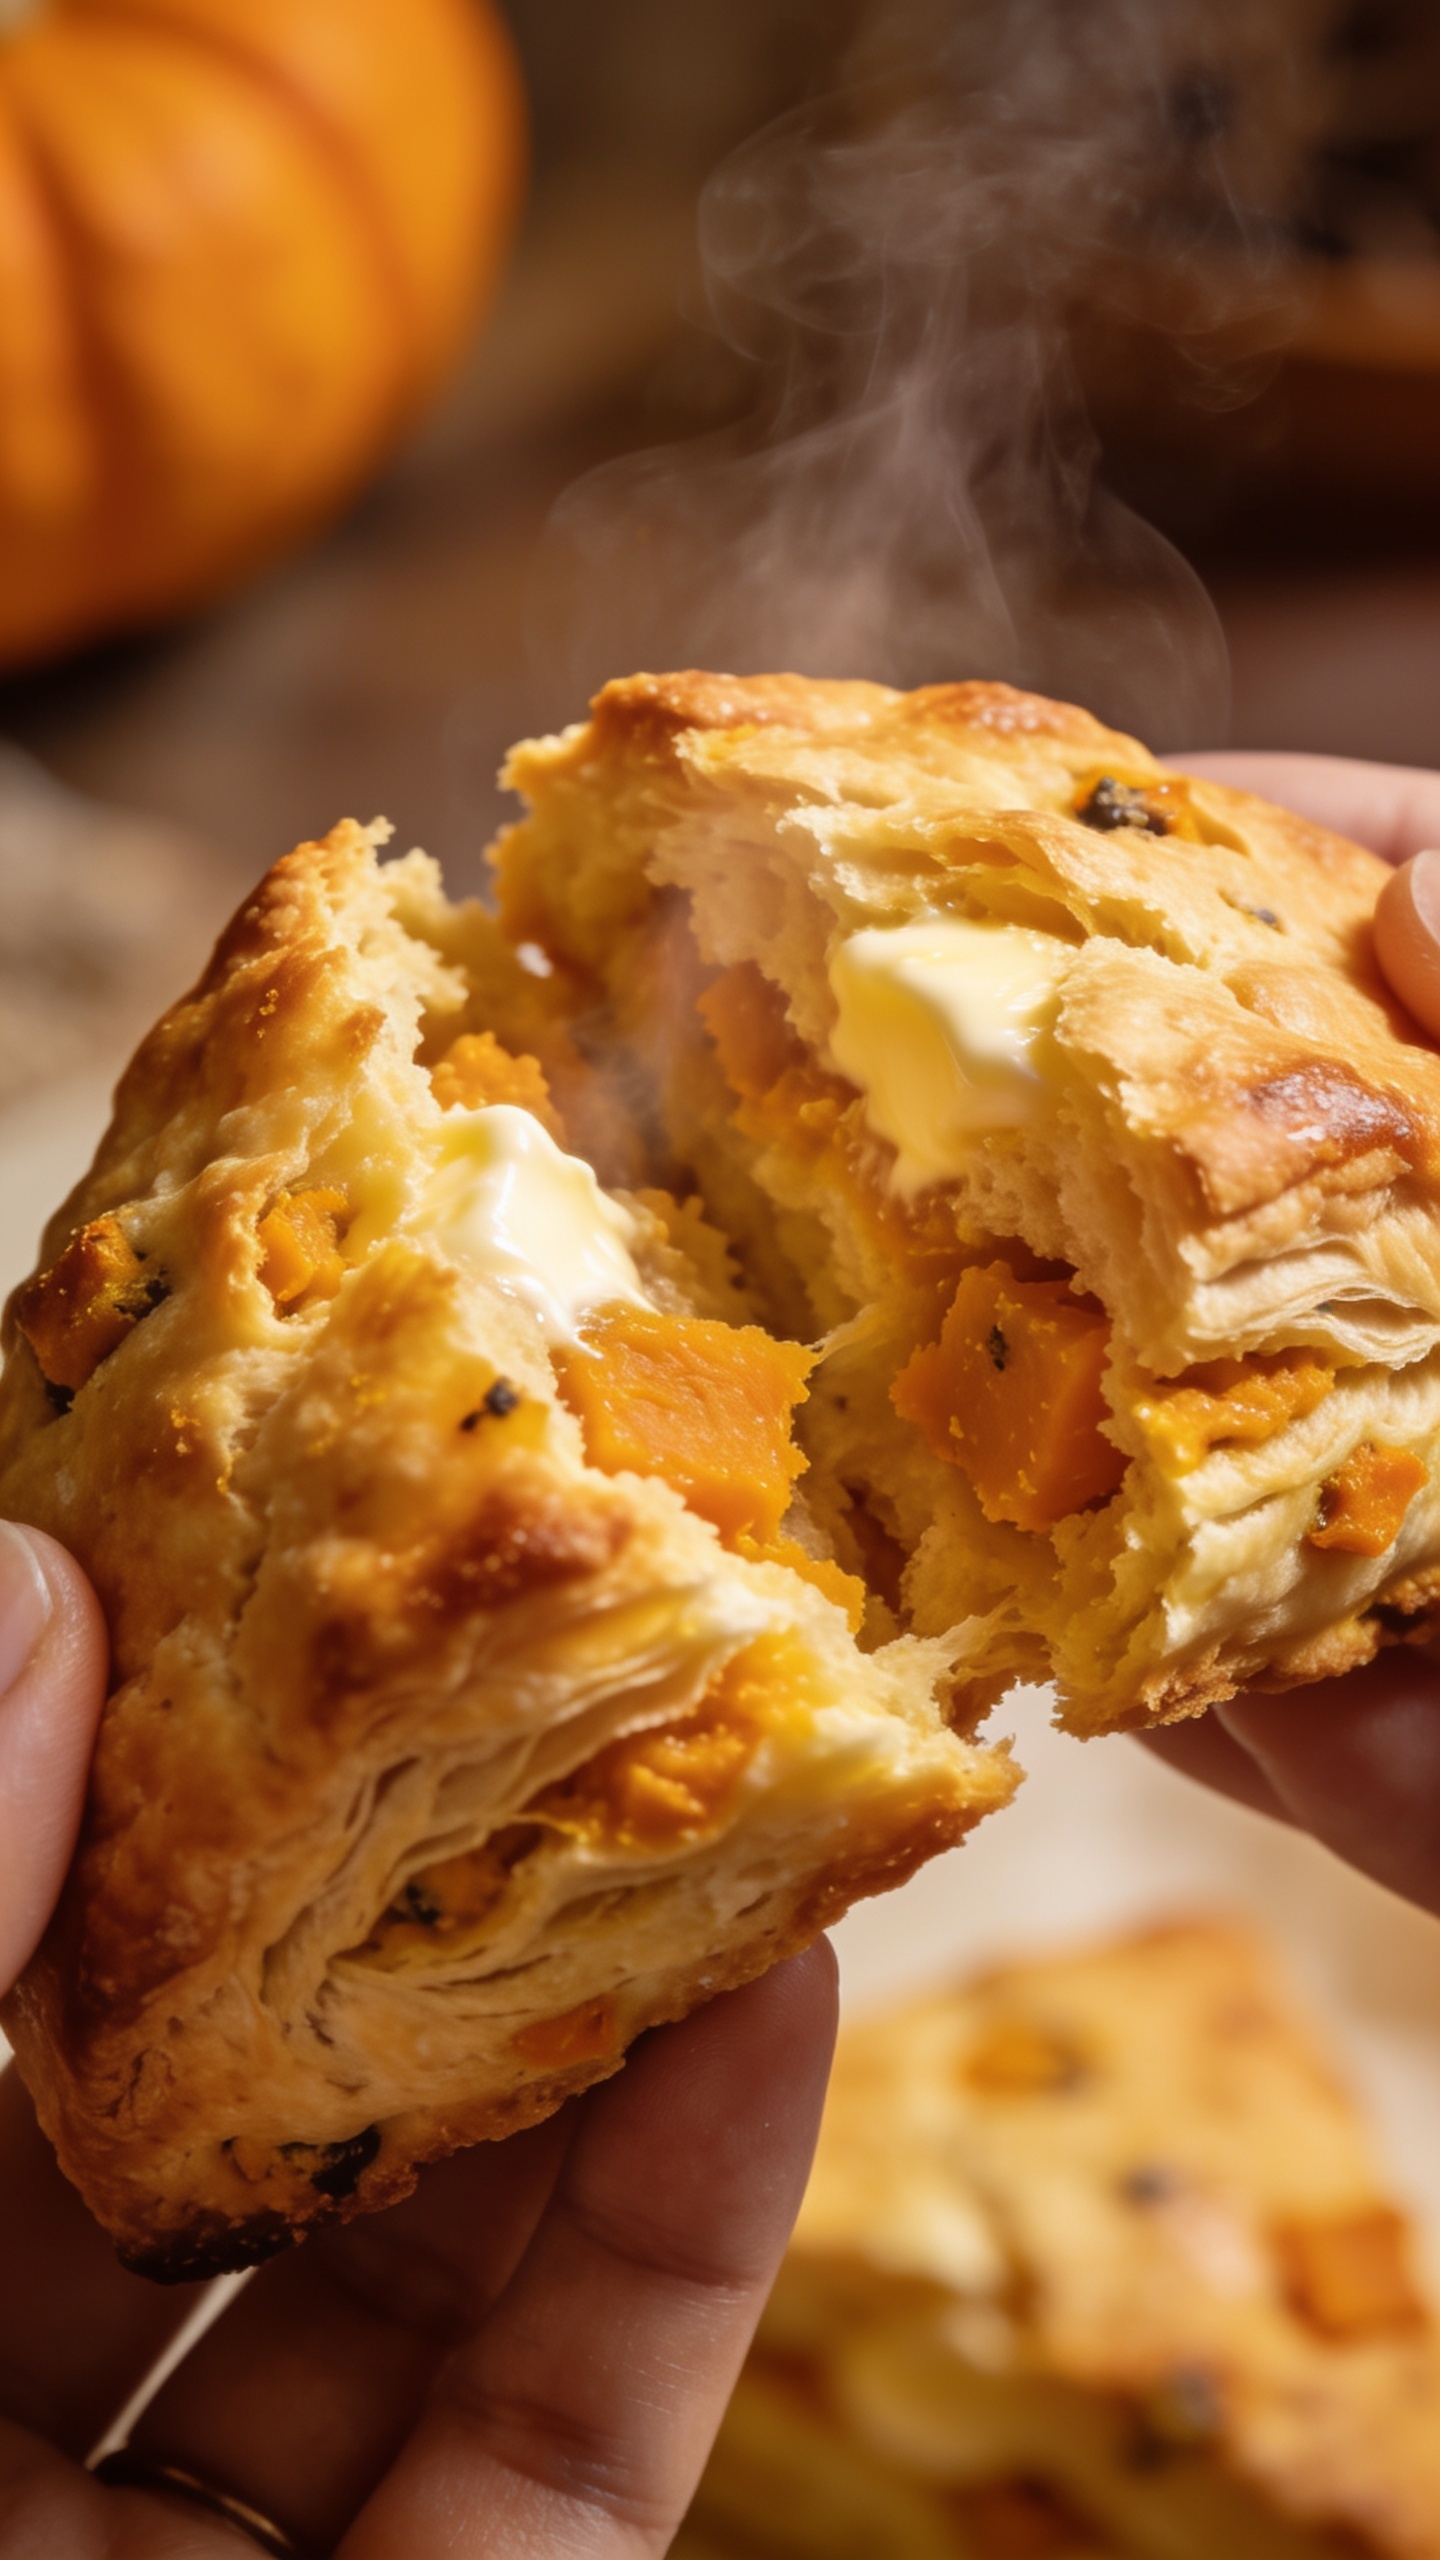
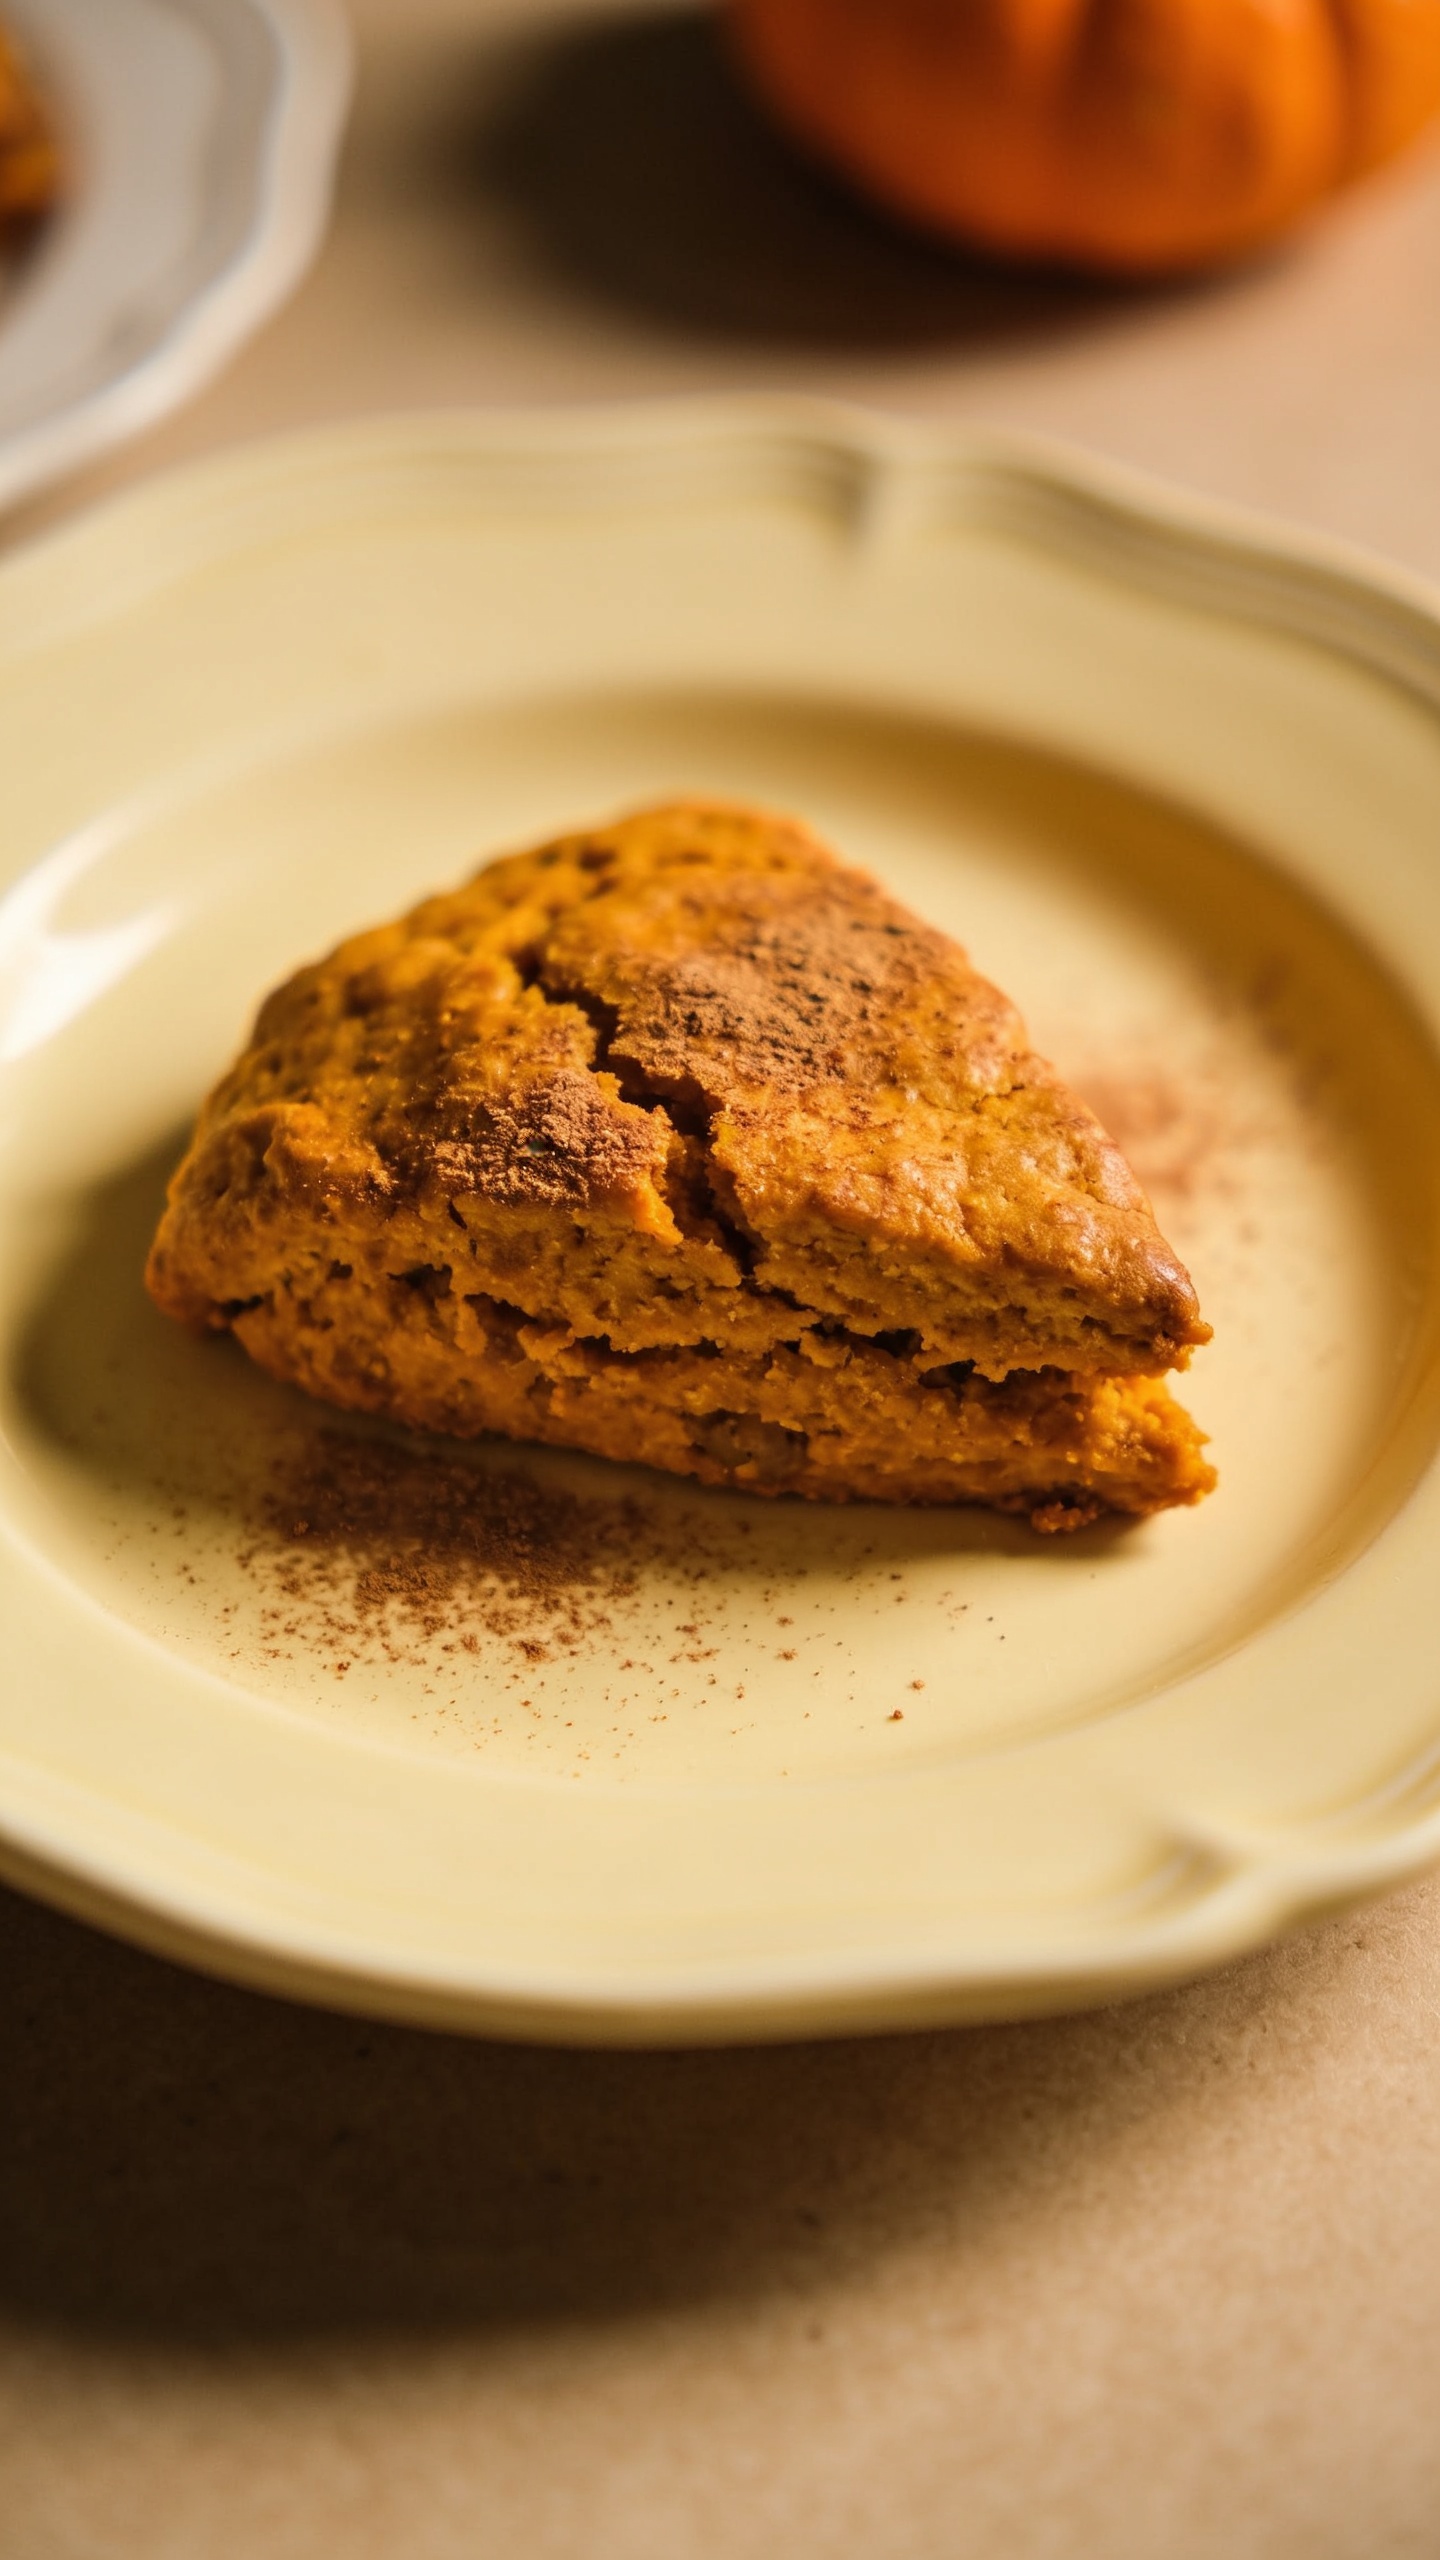
The key to a convincing copycat is balancing autumnal pumpkin flavor with the iconic texture and glaze that fans expect. Starbucks’ pumpkin scones are known for a crisp, sugared exterior with a soft, aromatic crumb inside, plus a light glaze that brightens the spice and pumpkin notes. Your home version should replicate that interplay: a crisp outside yielding to a tender, crumbly center, lightly sweet with a hint of maple and vanilla, and a glaze that glints without weighing the scone down.
Wet ingredients: unsalted butter (very cold), buttermilk (or milk with a splash of lemon juice as a stand-in), pumpkin puree, vanilla extract, and optional orange zest for brightness.
Flavor and texture enhancers: a touch of orange extract, light brown sugar for depth, and optional toasted pecans or white chocolate chips for mix-ins.
Glaze: powdered sugar, milk or cream, vanilla extract, and a whisper of maple syrup or orange juice for a glaze that dries to a soft sheen.
Tips to consider before you start:
Keep everything cold. Cold butter in flour creates a flaky, layered structure as it steams out in the oven.
Measuring flour properly matters. Spoon flour into the cup and level off for accuracy rather than scooping directly with the measuring cup.
Don’t overwork. Mix until the dough just comes together; a few shaggy bits are okay.
Use pumpkin puree without extra liquid to avoid soggy dough. If your puree is very wet, drain briefly or simmer to reduce moisture.
Step-by-Step: How to Make Starbucks Pumpkin Scones Copycat
Prep and chill: Preheat your oven to 400°F (205°C). Line a baking sheet with parchment. In a large mixing bowl, whisk together dry ingredients: flour, sugar, baking powder, baking soda, salt, and spices. Keep the bowl cold in the fridge while you prepare the wet ingredients.
Cut the butter: Cut 8 tablespoons (1 stick) of very cold unsalted butter into small cubes. Add to the dry mix and use a pastry cutter or two forks to cut the butter into the flour until the mixture resembles coarse crumbs with some pea-sized pieces of butter still visible. This creates the signature flaky texture.
Combine wet ingredients: In a separate bowl, whisk pumpkin puree, buttermilk (or milk with a splash of lemon juice), vanilla, and orange zest if using.
Bring dough together: Pour the wet ingredients into the dry ingredients. Stir gently with a wooden spoon or a spatula just until a shaggy dough forms. If the dough looks too dry, add a tablespoon or two of additional buttermilk, one at a time.
Shape: Turn dough onto a lightly floured surface. Gently pat into a circle about 1 inch thick. Use a sharp knife to cut into 8 wedges or use a round cutter for circles. If you want traditional triangle scones, cut into 8 wedges.
Chill briefly: Transfer the wedges to the prepared baking sheet. Chill for 10 minutes to firm the butter and create a crisper exterior.
Bake: Bake for 14–18 minutes, or until the edges are lightly golden and the centers set. Avoid overbaking to keep the interior moist and tender.
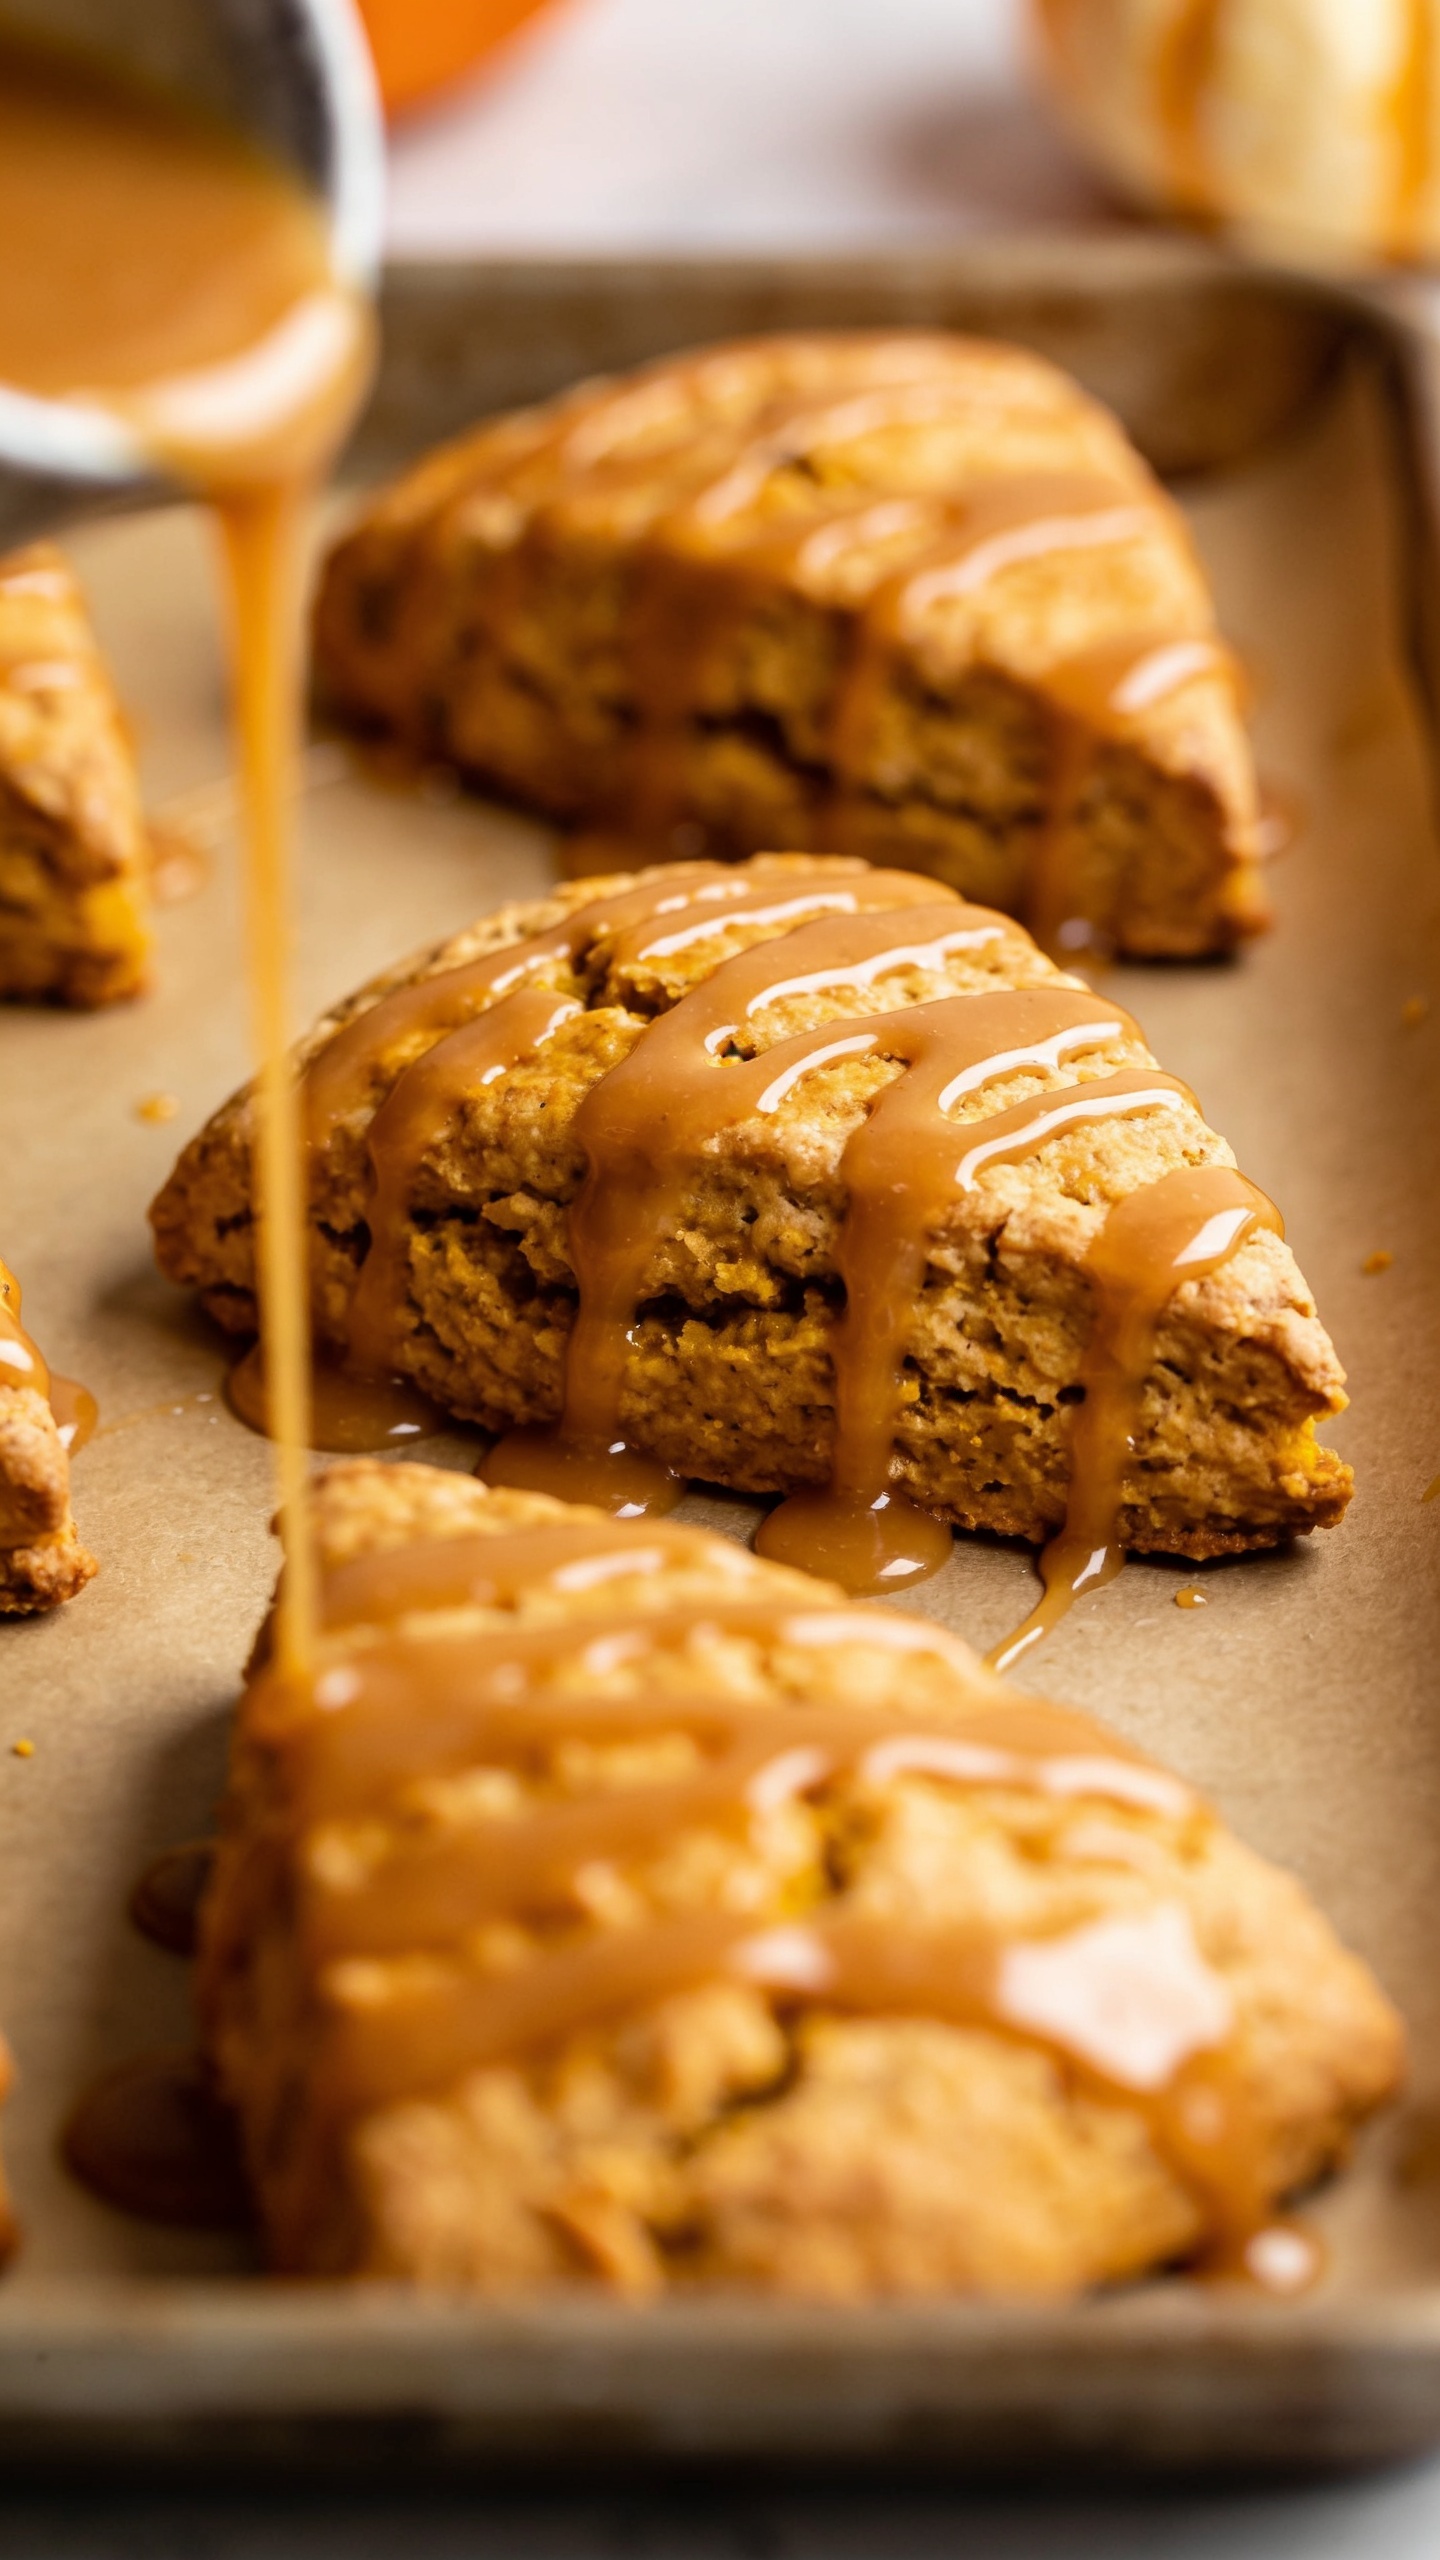
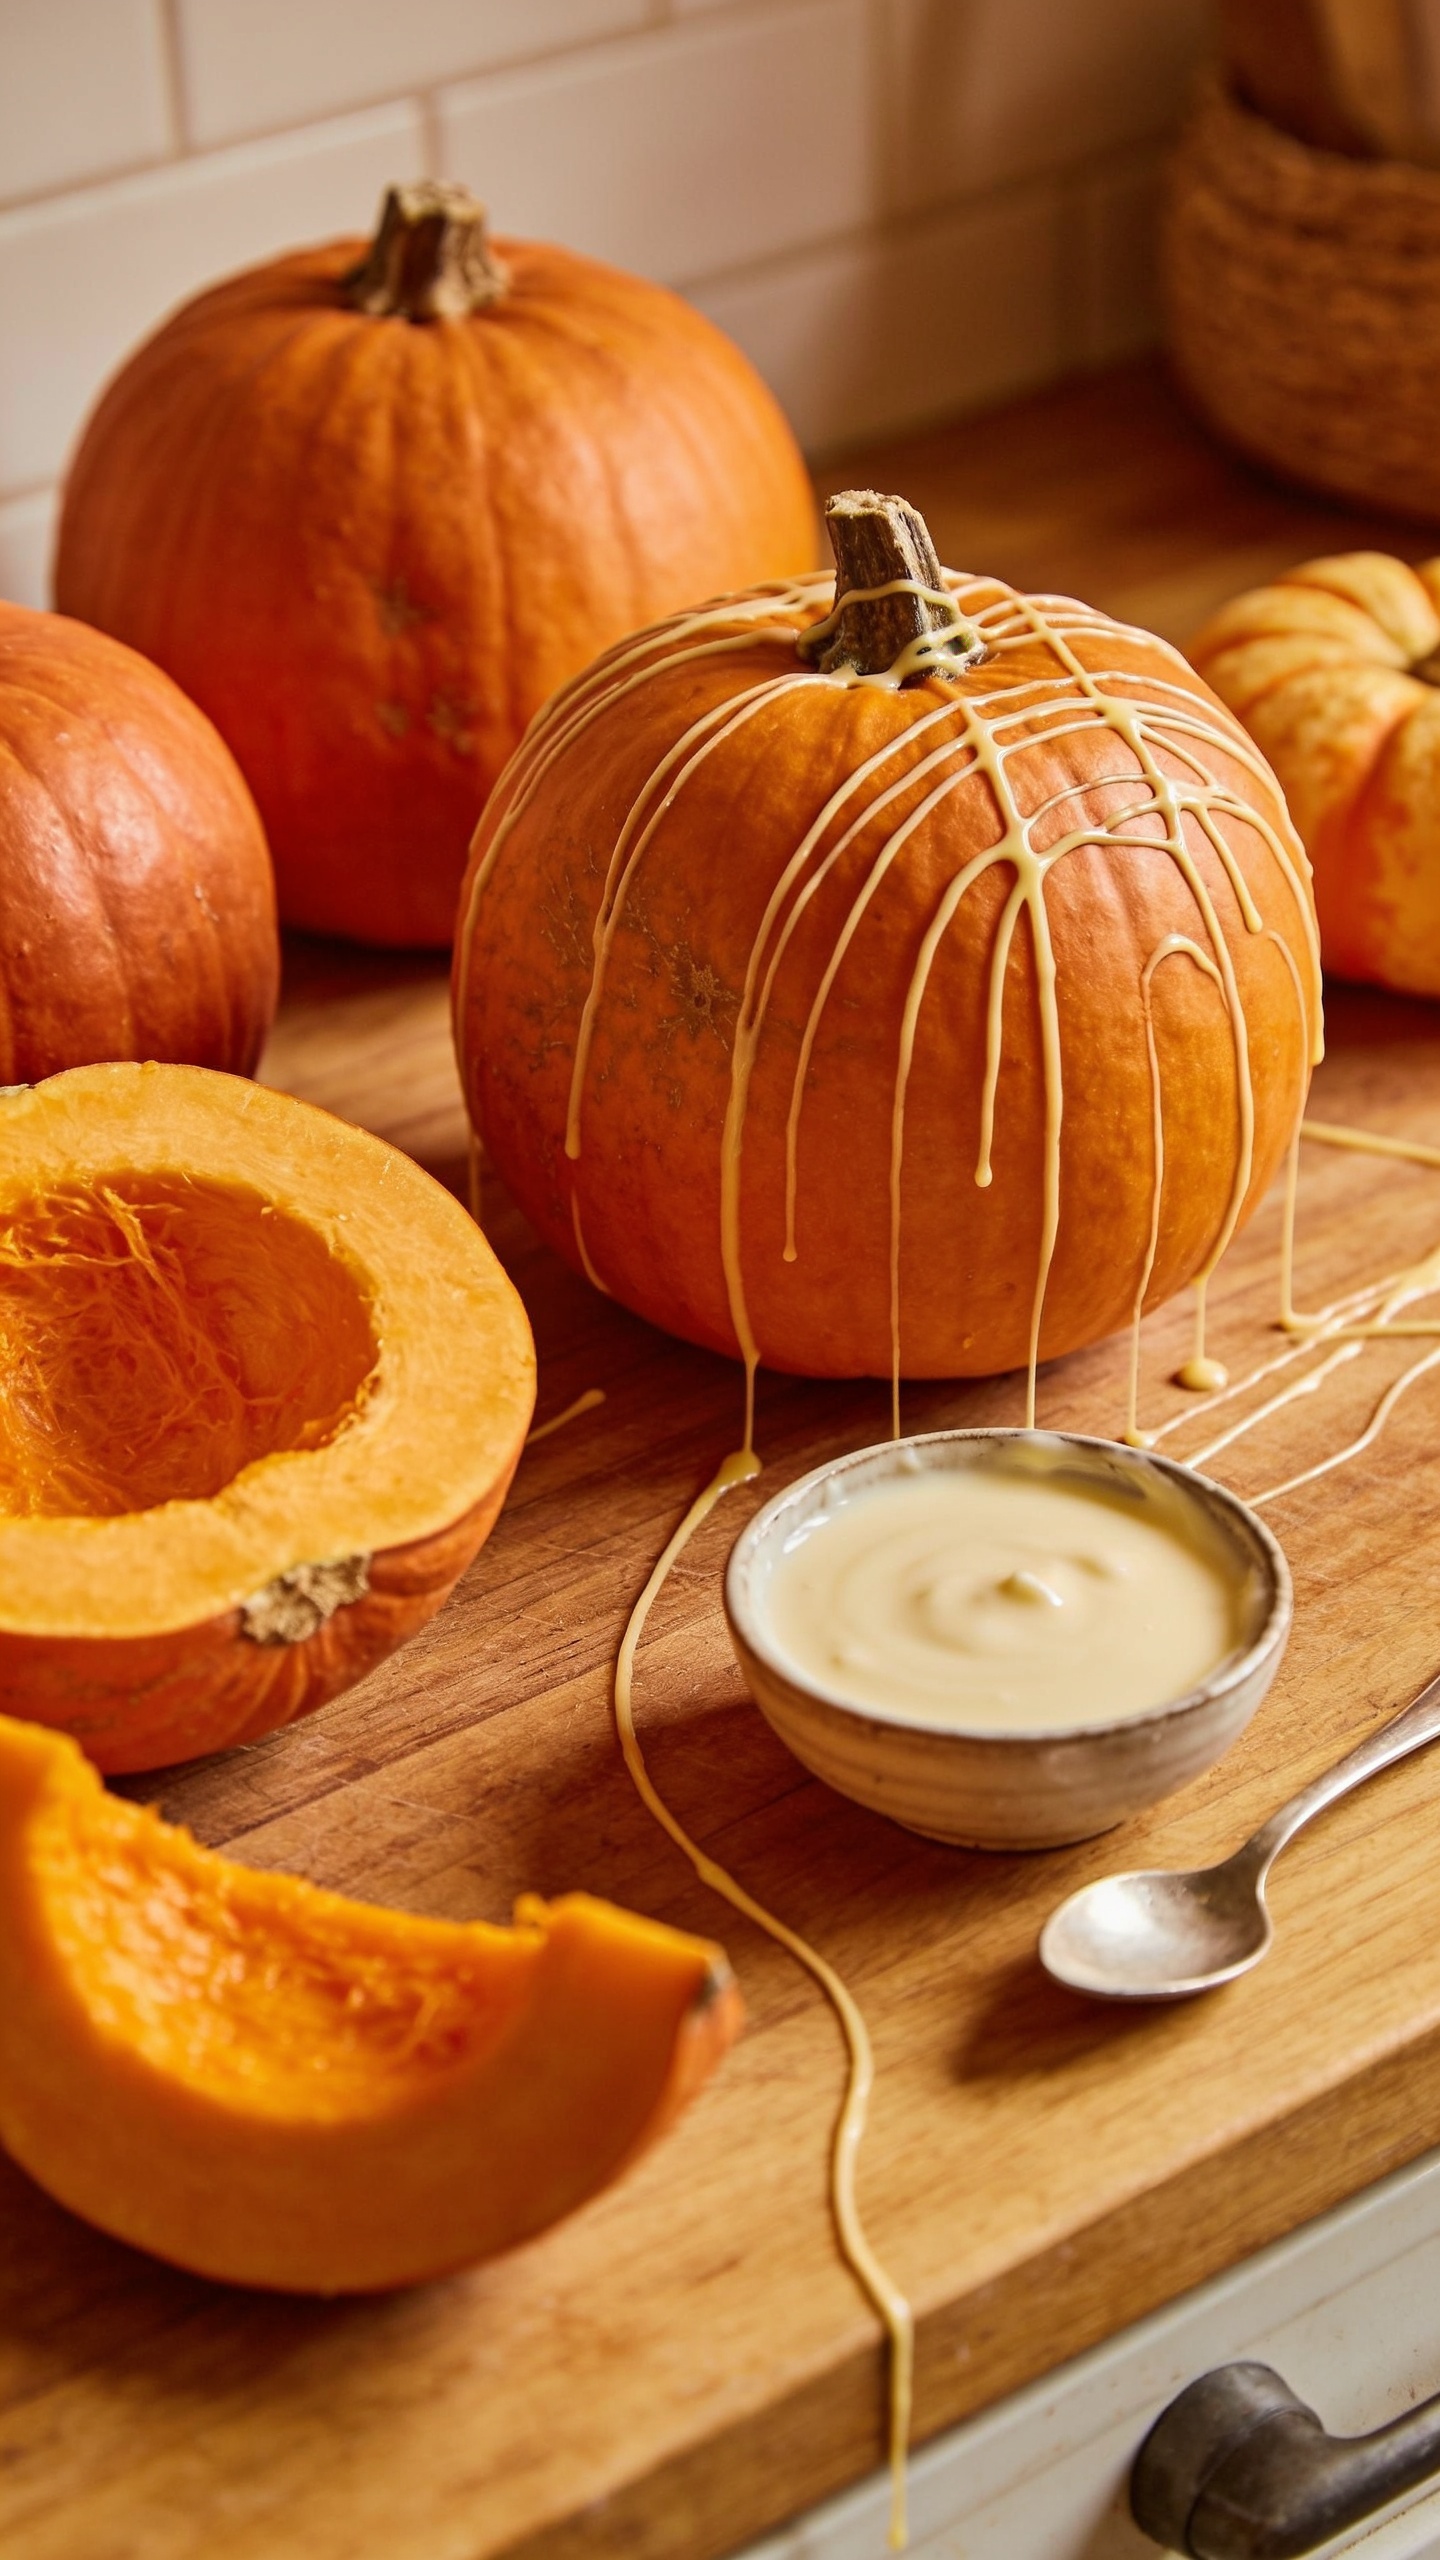
Make glaze: While the scones bake, whisk together powdered sugar, a splash of milk or cream, and vanilla (plus maple if you like). The glaze should be thick but pourable. You can adjust with more sugar or milk to reach the desired consistency.
Glaze and finish: Let the baked scones cool on a rack for about 5–10 minutes. Drizzle with glaze. If you prefer a firmer glaze, let the scones cool completely before glazing.
Variations and Personalizations
Nutty crunch: Add 1/2 cup toasted pecans or walnuts to the dough for texture and warmth.
Chocolate fans: Fold in 1/2 cup white chocolate chips for a sweeter bite that pairs with pumpkin.
Glaze variations: For a maple-vanilla glaze, swap part of the milk with maple syrup and add an extra few drops of vanilla.
Health-forward tweak: Use half AP flour and half whole-wheat pastry flour for a nuttier taste and denser crumb. Add 1–2 tablespoons more buttermilk to keep the dough manageable.
Dairy-free option: Use coconut oil (solid, not melted) in place of butter and almond milk with a pinch of lemon juice as the buttermilk substitute.
Expert Tips
Keep the Texture Picture-Perfect
Chilling the dough after cutting helps maintain layers that yield a flaky interior.
Do not overwork the dough; mix until just combined to avoid toughness.
Flavor Balance in Minutes
Lightly toast spices before mixing to deepen aroma. Toasting releases essential oils that perfume the scone as it bakes.
Enhance pumpkin flavor with a teaspoon of orange zest or a tiny bit of orange extract for brightness without bitterness.
Best Practices for Storage and Freshness
Storing baked scones in an airtight container at room temperature keeps them fresh for 2–3 days. For longer storage, freeze baked scones on a sheet, then transfer to a bag for up to 2 months.
To reheat, microwave in short bursts (15–20 seconds) or warm in a 350°F (175°C) oven for 5–7 minutes to refresh the exterior crispiness.
Common Mistakes To Avoid
Overworking dough: Results in a tougher texture, not the delicate crumb you want.
Skimping on chill time: Leads to flat, dense scones that spread too much in the oven.
Too much liquid: Makes the dough sticky and hard to shape; adjust by adding flour gradually.
Underbaking: Yields a gummy center; test with a toothpick for doneness.
Heavy glaze: Drowns the pumpkin flavor; glaze lightly and let the scones cool for a glossy finish.
Frequently Asked Questions
What is the best pumpkin puree to use?
Use plain canned pumpkin puree (not pumpkin pie filling). Look for 100% pumpkin with no added sugar or flavorings. If you prefer homemade, roast pumpkin until very tender and puree until smooth, then strain off excess moisture.
Can I make these dairy-free?
Yes. Replace butter with a solid plant-based butter or coconut oil in the same amount. Use dairy-free buttermilk substitute (1 tablespoon lemon juice + 1 cup dairy-free milk, let sit 5 minutes) and dairy-free glaze ingredients.
What’s the best way to store leftovers?
Store cooled scones in an airtight container at room temperature for up to 2–3 days. Freeze unglazed scones for longer storage, then glaze after reheating.
Why do I need to chill the dough?
Chilling firms the butter, which creates layers and a flakier texture as the butter melts in the heat of the oven.
Can I substitute other flavors for pumpkin?
Yes. You can swap in mashed roasted sweet potato or carrot for a similar autumnal flavor, adjusting spices to taste. However, pumpkin provides a characteristic color and moisture balance that pairs with the glaze.
Edges should be lightly golden. The centers should be set but still tender. A toothpick inserted should come out with a few moist crumbs, not wet batter.
What’s the best glaze consistency?
The glaze should be thick enough to hold a light drizzle without running off. If too thick, add a touch more milk; if too thin, add a bit more powdered sugar.
Is there a quick version that skips chilling?
Chill is essential for texture; if you’re in a rush, you can reduce the chill time to 5–7 minutes in a cold oven, but expect a slightly different crumb.
How can I adapt for gluten-free?
Use a 1-for-1 gluten-free all-purpose flour blend with xanthan gum (if your blend includes it, you may omit extra gum). The structure may differ; extra handling time helps maintain tenderness.
Real-Life Variations from Home Bakers
Family brunch version: Double spice mix (cinnamon, nutmeg, ginger) and add 1/4 cup orange zest for brightness. Use a maple glaze for a warm finish.
Party-friendly format: Bake the dough into a large square and cut into diamonds; glaze with a thin drizzle and sprinkle with sugar crystals for a bakery look.
Health-conscious tweak: Reduce sugar in dough to 2–3 tablespoons and use half whole wheat pastry flour for a heartier bite, while keeping the pumpkin flavor prominent.
Topical Authority: Related Concepts and Context
Seasonal pastry science: Understanding how fat, moisture, and gluten development affect tenderness and flakiness.
Spice profiling: The blend of cinnamon, nutmeg, and ginger as the backbone of pumpkin baked goods; optional cloves add warmth.
Glazing techniques: The glaze acts as a flavor bridge and a visual finish—slick glaze versus matte finish has different mouthfeel implications.
Texture layering: The butter-cut technique to achieve flaky layers; the chill step supports a crisp exterior with a soft interior.
Dietary adaptations: Dairy-free, gluten-free, and alternative sugar options that keep flavor and texture intact.
Expert Tips
Ingredient temp: Keep butter and liquids cold for maximum layering in the dough.
Measurement discipline: Use a kitchen scale if possible for precise flour measurement to avoid a dense batch.
Buttermilk magic: Buttermilk’s acidity helps tenderize the crumb and reacts with baking soda for lift; if you don’t have it, use 1 tablespoon white vinegar or lemon juice per cup of milk and let sit.
Flavor layering: Add orange zest to the dough and a whisper of vanilla in the glaze for a brighter, more cohesive fall profile.
Glaze etiquette: Apply glaze after the scones have cooled for a stable, glossy finish that doesn’t soften the crust.
Frequently Asked Questions
Can I freeze the dough instead of baking right away?
Yes. Freeze the cut scone wedges on a sheet, then wrap tightly. Bake from frozen for about 18–22 minutes, adding a few extra minutes if needed. The chill helps maintain shape and texture.
What if I don’t have buttermilk?
Use 1 cup milk with 1 tablespoon lemon juice or white vinegar. Let sit for 5 minutes before using. It creates the same acidity that helps with lift and tenderness.
How do I achieve a crisp exterior without drying the interior?
Keep the dough cold, bake at a moderately high temperature, and avoid overworking. The chilling step and short bake time help the exterior crisp up quickly while the interior stays moist.
What is the best way to portion the dough evenly?
Use a sharp knife or a round cutter to cut even wedges or circles. Weighing portions helps maintain consistency if you’re batch baking for a crowd.
Can I make this recipe without eggs?
This recipe does not rely on eggs; the moisture and structure come from pumpkin puree and dairy. If you need an egg-free version for different dietary needs, you can test with a flax egg (1 tablespoon ground flaxseed mixed with 3 tablespoons water) to help binder, though results may vary slightly in texture.
Is the glaze necessary, or can I skip it?
Glaze enhances sweetness and provides a traditional finish. You can skip the glaze if you want a less sweet treat, or use a light dusting of powdered sugar for a cleaner finish.
How long will the pumpkin flavor stay vibrant after baking?
Fresh pumpkin flavor is best on day of baking. Flavor remains pleasant for 2–3 days when stored properly, but the aroma and texture start diminishing after that.
What if my dough is dry and crumbly?
Add small amounts of buttermilk (or milk) a teaspoon at a time until dough comes together. Cold butter and minimal handling are your allies here.
Can I double the recipe for a larger batch?
Yes. Multiply ingredients by two, but do not overwork the dough. Chill the dough after shaping, and bake longer if necessary, checking for doneness with a toothpick.
What is the best oven setup for even baking?
Rack in the middle of the oven with a preheated tray on the rack below to create a bit of steam and a crisper base. If you notice uneven browning, rotate the baking sheet halfway through baking.
Comparisons: Copycat Versus the Original
Aspect
Starbucks Pumpkin Scone
Copycat Home Version
Texture
Flaky exterior with soft, tender interior
Flavor
Pumpkin spice forward with a subtle sweetness
Glaze
Glazed top with a glossy finish
Texture Control
Chill dough, careful handling
Customization
Limited in-store options
Cost
Moderate indulgence per pastry
Final Thoughts and Practical Takeaways
This Starbucks pumpkin scones copycat recipe is designed to empower you to recreate the bakery-quality experience at home while offering room for personal customization. The core principles—cold ingredients, gentle mixing, precise shaping, and a thoughtful glaze—are what separate a good scone from a bakery-worthy one. If you’re motivated by fall flavors, this recipe not only delivers the right pumpkin punch and spice balance but also invites you to explore variations and pairings that suit your taste and dietary needs.
Conclusion
Final Thoughts
Autumn desserts don’t have to be complicated. With a handful of well-chosen ingredients and a few kitchen tricks, you can craft pumpkin scones that rival your favorite café experience. The secret is treating each step with care: keep things cold, mix just enough, and glaze with intention. As you gain confidence, you’ll start swapping ingredients and adding personal touches—nutty textures, citrus brightness, or a richer glaze—until the recipe feels uniquely yours. Enjoy the warm, pumpkin-spiced comfort and let the aroma fill your kitchen with seasonal joy.
Disclosure: This post may contain affiliate links.
If you make a purchase through these links, I may earn
a small commission at no extra cost to you.
prab chahal
Hi, I’m Prabjot Chahal – the heart (and taste buds) behind this blog!
Food has always been my love language – from experimenting with family recipes to discovering unique flavors from around the world. I believe that cooking isn’t just about following a recipe, it’s about creating moments, sharing stories, and connecting with others over something delicious. Through this blog, I want to build a vibrant food community where we share more than just recipes – we share inspiration, tips, and the joy of making and enjoying good food together. Whether you’re here for quick weekday dinners, festive treats, or creative seasonal ideas, you’re part of this table. So grab a fork (or a whisk!) and let’s cook, bake, and share our love for food – one recipe at a time.