Chicken bone broth doesn’t need a sales pitch—it sells itself the second your kitchen smells like Sunday dinner. It’s rich, golden, and weirdly soothing, like a hug you can sip. You can make it with scraps you’d normally toss, and it tastes like you fussed for hours (even if you didn’t). Ready to turn bones into liquid gold?
Why Bone Broth Feels Like Magic
Bone broth tastes cozy and nourishing because you pull flavor and nutrients from bones, connective tissue, and a few humble veggies. Heat + time = collagen, gelatin, and minerals that give broth its body and sheen. You know that jiggly texture once it cools? That’s the good stuff. It means you extracted collagen that turns into gelatin—aka the silky mouthfeel that beats boxed stock every time.
The Bones: What Works Best

You can use almost any chicken bones, but some options deliver extra richness and flavor.
- Roasted carcasses: Leftover roast chicken bones add depth and color. Save them in the freezer until you have enough.
- Necks, backs, and wings: Cheap, collagen-heavy, and perfect for broth. Ask your butcher—these are often behind the counter.
- Feet (optional): Not glamorous, but feet bring maximum gelatin. If you like thick, glossy broth, toss a few in. IMO, they’re the secret weapon.
- Raw vs. roasted: Raw works fine. Roasting first boosts flavor and browns the broth slightly. Choose your adventure.
Tip: Mix and match bones
Want the best of both worlds? Combine roasted carcasses with raw wings or feet. You get flavor + gelatin in one pot.
Classic Flavor Base (Mirepoix, But Make It Chill)
You don’t need a farmers’ market haul—just a few basics:
- Onion: One large, halved or quartered. Keep the skins for color—totally fine.
- Carrots: One or two, chunked. Don’t overdo it or the broth turns too sweet.
- Celery: One or two ribs, chunked.
- Garlic: A few smashed cloves. Optional but recommended.
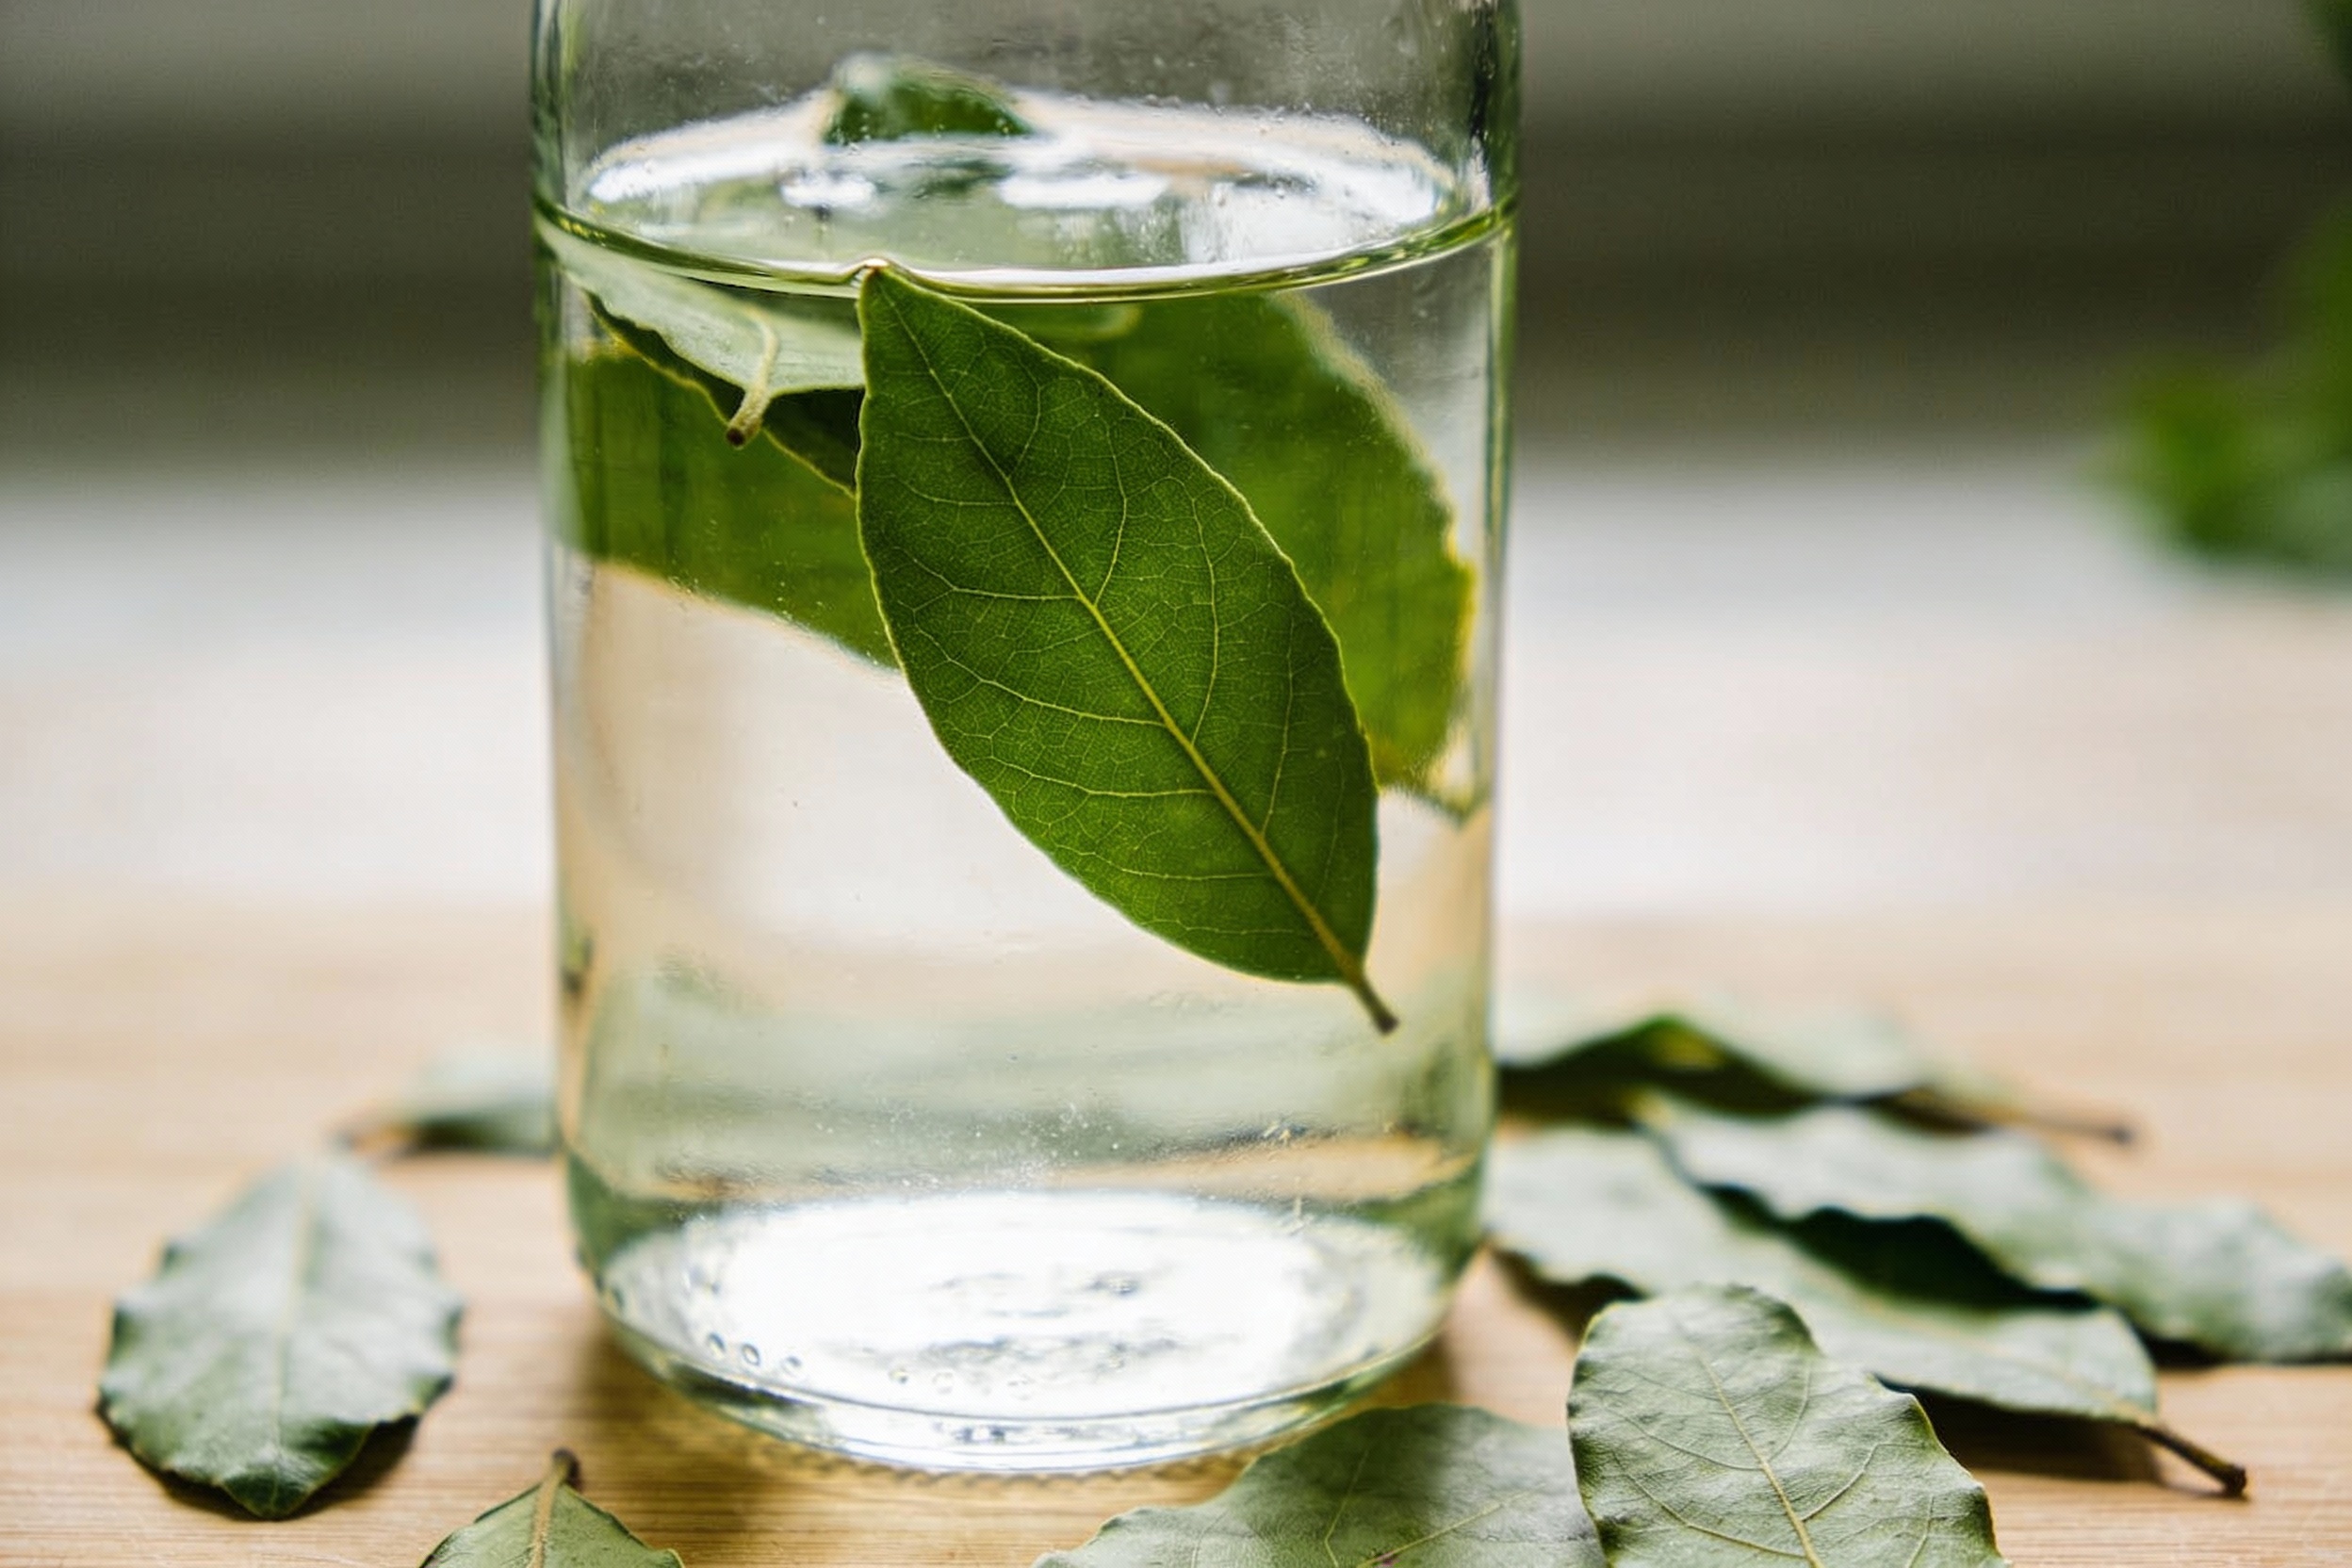
- Herbs: Bay leaf, parsley stems, thyme. Keep it simple.
- Black peppercorns: Whole, not ground. You want subtle spice, not sludge.
Ingredient Swaps
- No celery? Use fennel tops or a small piece of leek.
- No fresh herbs? A pinch of dried thyme or a bay leaf works.
- Low-FODMAP? Skip onions/garlic; use only green leek tops and herbs.
- Umami boost: A splash of fish sauce or a dried mushroom or two. FYI, a little goes a long way.
How to Make Classic Chicken Bone Broth

This is the no-drama, dependable method. You can’t mess it up unless you boil it like pasta (don’t).
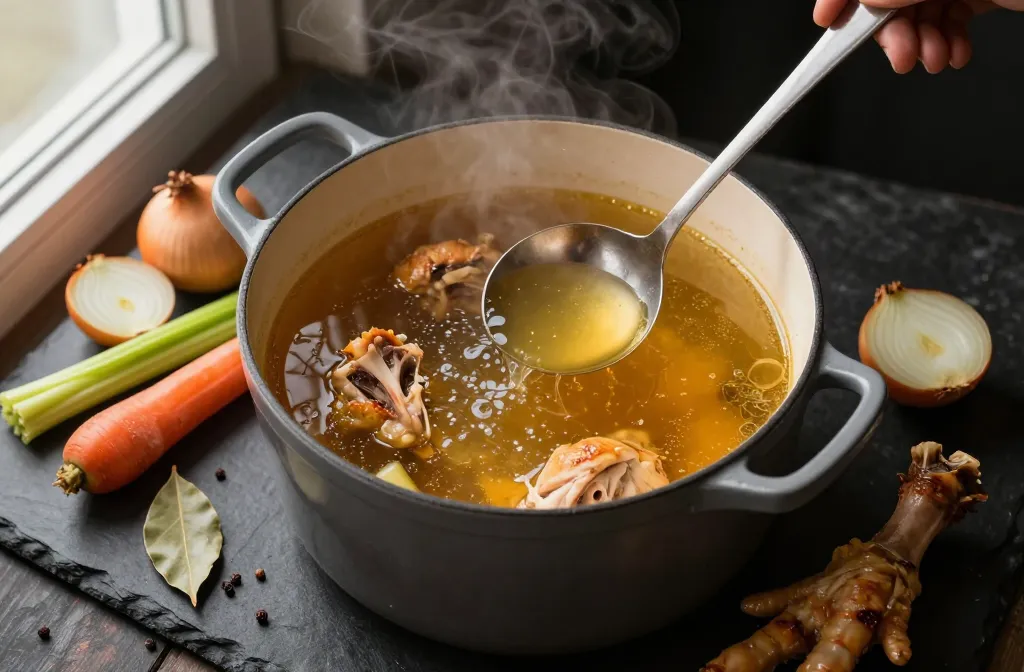
- Load the pot: Add 2–4 pounds of chicken bones to a large stockpot. Toss in onion, carrot, celery, garlic, a bay leaf, a few parsley stems, and 8–10 whole peppercorns.
- Cover with cold water: Add enough to submerge everything by 2–3 inches.
- Acid it up (optional): Add 1–2 tablespoons apple cider vinegar or a squeeze of lemon. It helps draw minerals from the bones. Optional, but nice.
- Bring to a simmer: Heat gently until small bubbles just break the surface.
- Skim the scum: Use a spoon to skim off foam for the first 20 minutes. It keeps your broth clear and clean-tasting.
- Low and slow: Simmer uncovered or partially covered for 6–12 hours. Keep it at a gentle simmer—no rolling boil. Add water as needed to keep bones covered.
- Strain: Remove solids with tongs, then pour through a fine-mesh strainer. Don’t press; let gravity do the work for a clearer broth.
- Chill fast: Cool in an ice bath, then refrigerate. The fat will rise and solidify.
- Defat (optional): Lift off the fat layer once chilled. Save it for cooking—hello, schmaltz.
- Season to taste: Salt at the end, not during. You’ll avoid overseasoning as it reduces.
Pro Tips for Best Results
- Don’t boil. Boiling shreds proteins and clouds the broth. Gentle simmer = clear and silky.
- Time equals texture. For sippable broth, go 8+ hours. For everyday soup base, 4–6 hours still works.
- Salt later. Reduce first, season last. You’re the boss of salinity.
- Brown for depth. Roast bones and veggies at 425°F/220°C until golden for a darker, richer broth.
- Leave skins on. Onion and garlic skins add color and antioxidants. Lazy win.
Stovetop vs. Slow Cooker vs. Instant Pot
You can get great broth with any method—choose what fits your life (and patience).
- Stovetop: Ultimate control and best clarity. Simmer low for 6–12 hours. Skim occasionally. Old-school and lovely.
- Slow cooker: Set it and forget it. 8–12 hours on low. No babysitting, slightly cloudier broth, still A+.
- Instant Pot: Fast track. 90 minutes at high pressure, natural release. Add 20–30 minutes if you packed the pot.
Tip: Don’t overfill the pressure cooker
Keep below the max fill line and avoid starchy add-ins. Pressure plus starch equals murky broth with weird foam. No thanks.
Flavor Finishes and How to Use It

You made a pot of liquid comfort—now what? Dress it up or sip it straight.
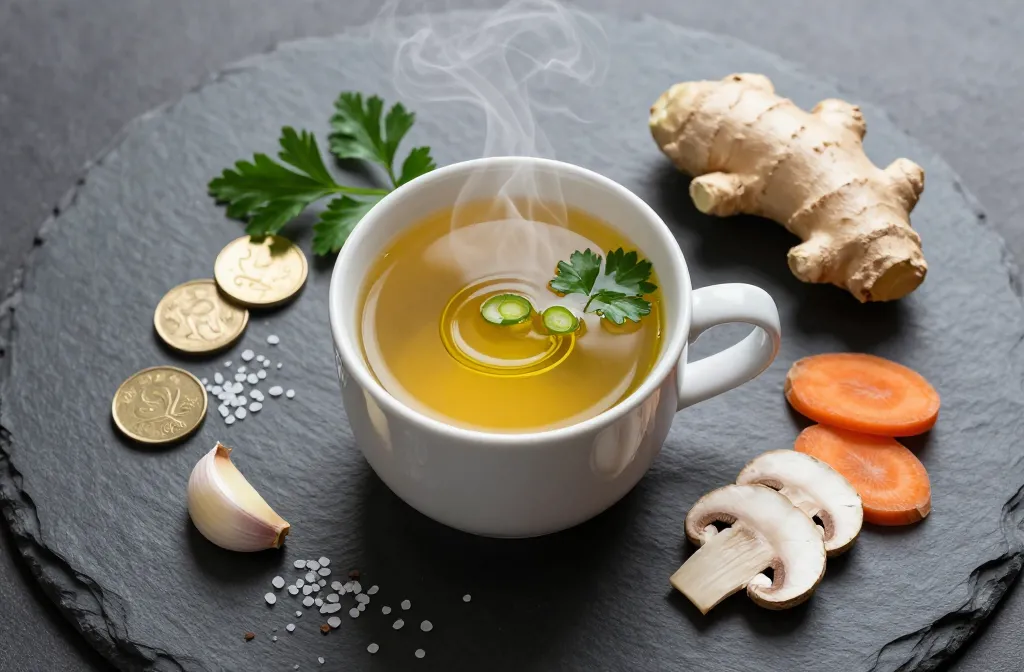
- Sip it: Warm with salt, pepper, squeeze of lemon, and a chunk of ginger if you’re feeling fancy.
- Soup base: Obvious, but unbeatable. Noodle soups, chicken and rice, tortellini—done.
- Risotto and grains: Replace water with broth. Massive upgrade.
- Sauces and gravies: Reduce to intensify flavor and glaze anything roasted.
- Freezer MVP: Freeze in 1–2 cup portions or in ice cube trays for sauce ammo.
Quick Finishing Add-Ins
- Ginger + scallion for a clean, restorative vibe.
- Miso for cozy umami (add after heating, off the boil).
- Turmeric + black pepper if you want warmth and color.
- Lemon zest + dill for bright, soup-friendly zing.
Storage, Safety, and That Gel Question
Let’s keep it delicious and safe, shall we?
Related Posts:
")
")


- Fridge: Up to 5 days. Re-boil for 2–3 minutes if it’s been a few days—freshens it up.
- Freezer: 4–6 months in airtight containers. Leave headspace for expansion.
- Gel or not? Gel = high collagen, but non-gelled broth can still be great. Don’t stress it.
- Cloudy broth? Still tasty. It usually means you boiled it hard or didn’t skim. No flavor police here.
FAQs
Do I need to blanch the bones first?
Not for chicken. Blanching helps with very bony, bloody cuts like beef shanks, but chicken usually simmers clean with a quick skim. If you want ultra-clear broth, you can blanch 5 minutes, rinse, then proceed—but IMO it’s optional.
Can I reuse the bones for a second batch?
You can, but the second round tastes weaker. If you try it, add fresh aromatics and simmer less time. Personally, I’d start a fresh batch and use the old bones only if I’m desperate.
Why does my broth taste flat?
You probably under-salted or didn’t simmer long enough. Reduce to concentrate, season with salt and a splash of acid (lemon or vinegar), and a pinch of sugar if it tastes harsh. A little umami—fish sauce or soy—can also wake it up.
Is bone broth actually different from stock?
The internet argues about this a lot. Practically speaking, bone broth = long-simmered, collagen-rich stock you can sip. It usually cooks longer than standard stock and often gets seasoned right before serving.
Can I pressure can chicken bone broth?
Yes, but follow tested guidelines for your altitude and equipment. Use a pressure canner (not a water bath), process in jars, and keep everything squeaky clean. If that sounds like a lot, freezing is simpler and foolproof.
How do I avoid a fatty mouthfeel?
Chill the broth and remove the solid fat cap. Or leave a thin layer to protect it in the fridge, then lift it when you reheat. Skimming during cooking helps too.
Final Thoughts
Classic chicken bone broth turns scraps into something you’ll brag about. It’s simple, forgiving, and wildly useful—the culinary equivalent of a reliable friend who shows up with snacks. Make a big pot, stash it in the freezer, and thank yourself later. FYI, once you taste your own, boxed stock starts to feel like a prank.