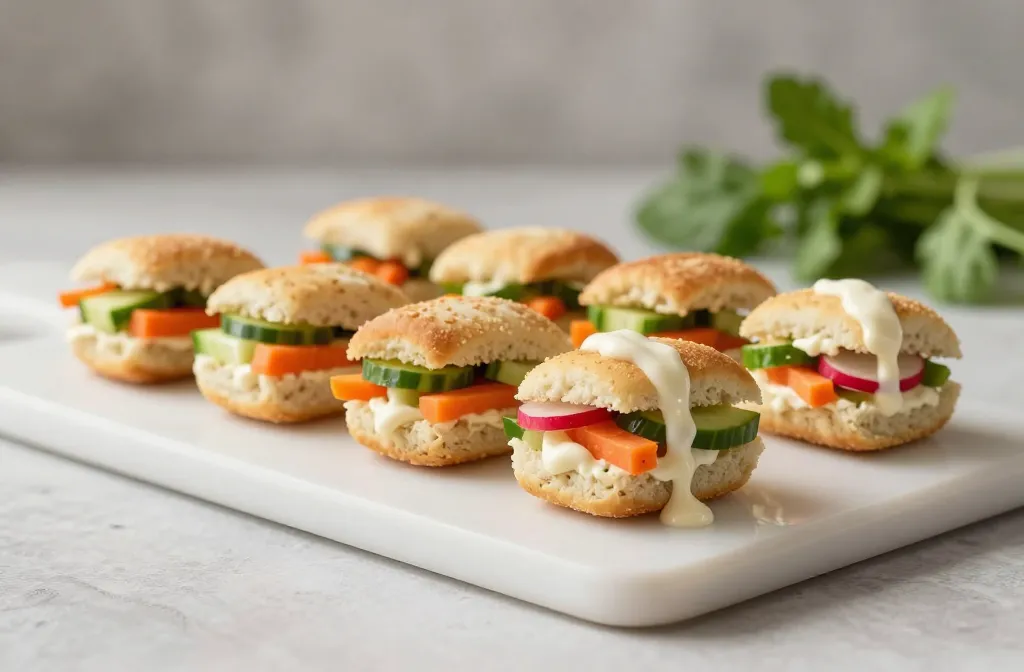
This is one of those recipes you crave but don’t want to overthink. Pesto Veggie Finger Sandwiches are crunchy, bright, and somehow elegant enough to feel fancy without requiring a full cookbook. You get vibrant pesto, crisp veggies, and soft, chewy bread all in one bite. Ready to go from snack to standout? Let’s dive in.
Why Pesto Veggie Finger Sandwiches?
Pesto brings a punch of basil, garlic, and pine nuts that wakes up even the shyest veggie lineup. These little finger sandwiches shine because they’re portable, quick to assemble, and endlessly adjustable. FYI, you can swap in whatever veggies you have kicking around. The result feels indulgent without being heavy, which means you can munch on them guilt-free during a movie marathon or a casual party.
What You’ll Need
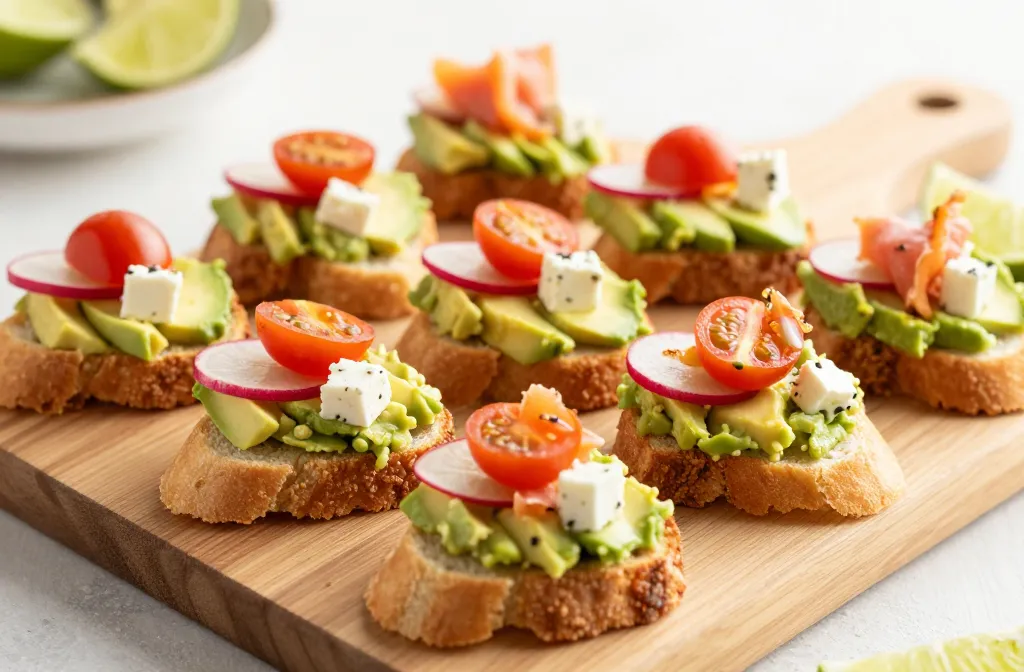
– 6–8 slices of sturdy sandwich bread (ciabatta or sourdough work beautifully) – About 1/2 cup pesto (store-bought or homemade) – 1 cup mixed veggies, thinly sliced (cucumbers, bell peppers, radishes, shredded carrots) – 1/2 cup creamy cheese or dairy-free alternative (cream cheese, brie, or ricotta) – Fresh herbs for garnish (optional) – Salt and pepper to taste – Optional extras: arugula, sun-dried tomatoes, olives, or roasted peppers
Texture is key: choose bread that won’t crumble under pressure.
Thickness matters: slice veggies thin so you can bite through without a sandwich shedding its fillings.
Keep pesto on the generous side for flavor, but not so much that it soaks the bread.
How to Build Them Like a Pro
– Start with a thin layer of cheese on each slice to act as a moisture barrier, then spread a dab of pesto. This helps keep the bread from getting soggy. – Layer veggies in a single, even distribution. Too many in one bite makes the edges soggy or the center unmanageable. – Cap it with a final bread slice, press gently, and then cut the sandwich into fingers. Pro move: chill for 15 minutes before slicing if you’re making a crowd-pleaser.
Tips for Best Results
For crisper bites, toast the bread lightly and let it cool before assembling.
If your pesto is chunky, give it a quick whip in a small blender to loosen it up—no one wants a brick of pesto in their mouth.
Try a lemon-zest note in your pesto for a bright finish. A tiny splash of lemon juice intensifies the green flavor.
Ingredient Swaps
Use sun-dried tomato pesto for a sweeter, richer vibe.
Swap vegetables: thinly sliced zucchini or grilled eggplant can add backbone.
Fat-free yogurt or almond cream cheese can replace heavier cheeses if you want lighter bites.
Flavor Symphonies: Make It Your Own
Pesto Veggie Finger Sandwiches thrive on personality. Do you love a zingy bite? Add some arugula and lemon zest. Prefer something creamy? A smear of herbed cream cheese helps balance the pesto. Are you into heat? A whisper of crushed red pepper flakes in the pesto does wonders. IMO, these sandwiches are a blank canvas with bite-size potential.
Variations
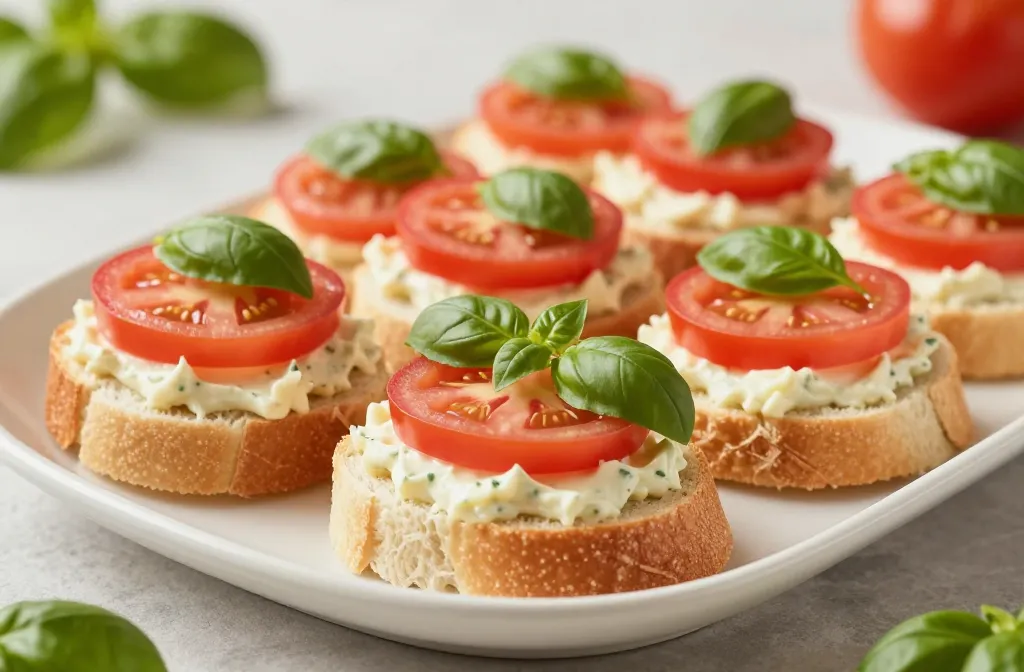
– Caprese vibe: pesto plus fresh mozzarella, tomato slices, and a drizzle of balsamic glaze. – Mediterranean twist: pesto, cucumber, roasted red pepper, feta, and olives. – Crunchy garden: add shredded cabbage or microgreens for extra snap.
Common Mistakes
– Over-soaking the bread with pesto: you’ll end up with soggy fingers and sad edges. – Filling it too thick: you’ll struggle to pick up a finger without everything sliding apart. – Skimping on cheese as a moisture barrier: your bread will do the soggy womp-womp dance.
Pro Tips
– Chill the assembled sandwiches for 15 minutes before cutting. The chill firms things up and makes slicing cleaner. – Use a sharp knife and a gentle sawing motion to keep the edges neat. – If you’re making a bunch, assemble the veggie layers first, then add pesto right before the final sandwich to avoid sogginess.
Texture, Crunch, and Every crunch-worthy Moment
Texture often decides whether a bite feels casual or ceremonial. A little crunch from cucumber, carrot, or bell pepper juxtaposed with creamy cheese and herby pesto creates a party in your mouth. Want extra bite? Add lightly toasted bread or sprinkle some toasted pine nuts for texture. FYI, the contrast between a soft interior and a crisp edge is where these sandwiches truly shine.
Make-Ahead Magic and Party-Ready Prep
These sandwiches travel well and stay tasty for a few hours if you stack them correctly. Create two stacks: a pesto-cheese layer and a veggie layer. When it’s time to serve, assemble quickly and slice. If you’re serving a crowd, prepare a “build-your-own” bar with a few pesto jars and bowls of sliced veggies. Your guests can assemble their own finger sandwiches with minimal effort.
Do I have to make pesto from scratch? Not at all. Store-bought pesto works fine, but a quick homemade batch is easy and tastes brighter. If you go store-bought, read the label to avoid overly oily or watery pesto that sinks into the bread too quickly.
Can I make these vegan? Absolutely. Use dairy-free cheese and a vegan pesto. Some people even use almond ricotta or cashew-based cream cheese to hold everything together.
How long do they keep? In the fridge, tightly wrapped, they’ll stay good for a day or two. If you’re packing for a picnic, assemble the veggie layers separately and add pesto and cheese just before serving to maintain texture.
What breads work best? Sturdy bread is your best friend. Sourdough, ciabatta, or a thick-cut whole-grain loaf holds up to the pesto and veggies without turning mushy.
Pairings and Presentation
A light side dish elevates the whole experience. Try a crisp cucumber salad, a few small olives, or a tangy pickle spear. For beverages, a sparkling water with a twist of lemon or a dry white wine (if you’re feeling fancy) pairs nicely. If you’re sticking to non-alcoholic, a sun tea or a mint-lime cooler rounds things out.
Conclusion
Pesto Veggie Finger Sandwiches are the kind of treat that makes entertaining feel effortless. They’re quick, flexible, and friendly to both vegetarians and meat-eaters who enjoy fresh flavors with a little crunch. Try different fillings, tweak the pesto, or switch up the bread—the core idea stays delicious: bright pesto, crisp veggies, and a touch of indulgence in a tiny, handheld package. Ready to make a batch? Your next snack run is about to get a serious upgrade.
Disclosure: This post may contain affiliate links.
If you make a purchase through these links, I may earn
a small commission at no extra cost to you.
prab chahal
Hi, I’m Prabjot Chahal – the heart (and taste buds) behind this blog!
Food has always been my love language – from experimenting with family recipes to discovering unique flavors from around the world. I believe that cooking isn’t just about following a recipe, it’s about creating moments, sharing stories, and connecting with others over something delicious. Through this blog, I want to build a vibrant food community where we share more than just recipes – we share inspiration, tips, and the joy of making and enjoying good food together. Whether you’re here for quick weekday dinners, festive treats, or creative seasonal ideas, you’re part of this table. So grab a fork (or a whisk!) and let’s cook, bake, and share our love for food – one recipe at a time.


")
")