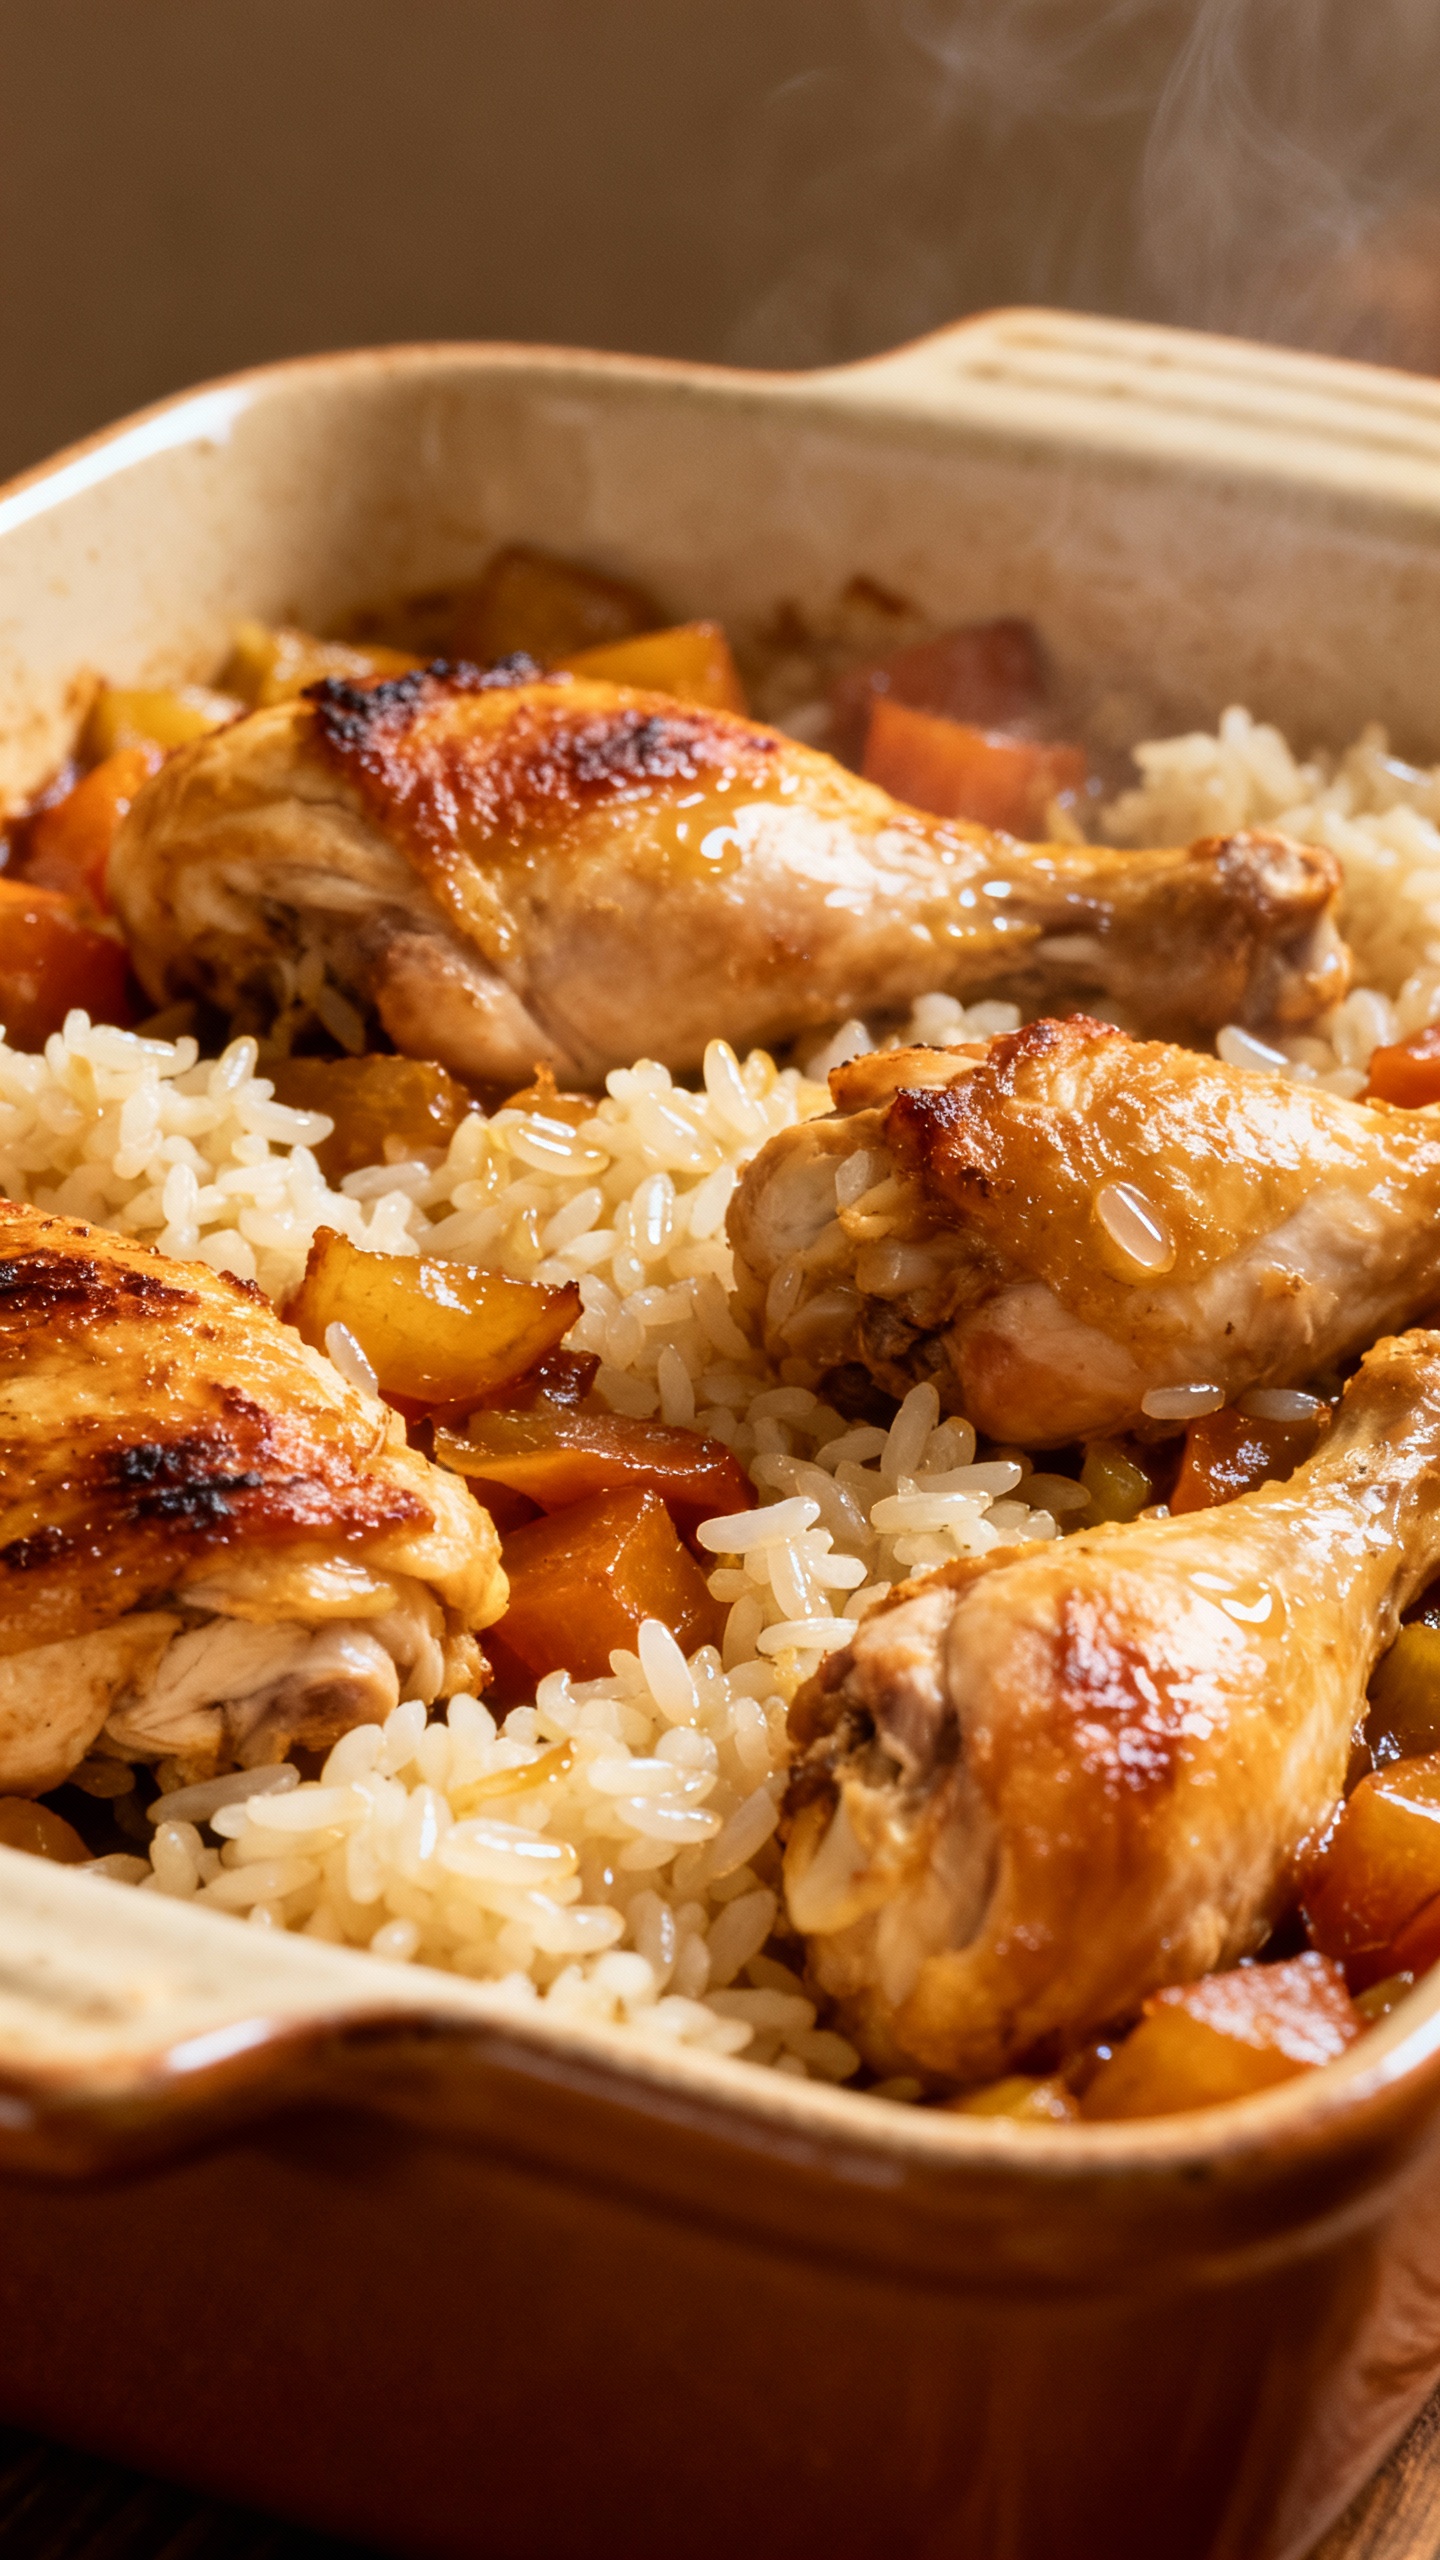
You want dinner that basically cooks itself, tastes like a hug, and leaves almost no dishes? Welcome to dump-and-bake chicken and rice: the laziest, coziest casserole on the block. No searing. No standing over a pot. You toss everything in a pan, shove it in the oven, and go live your life. By the time you remember you’re hungry, dinner smells like you tried way harder than you did.
Why bake chicken and rice works (and why I swear by it)
This method wins because it respects your time and delivers comfort. Rice soaks up seasoned broth while chicken bastes everything with savory juices. The oven does the heavy lifting, and you get a complete meal without juggling pots. It also scales like a dream. Cooking for two? Use a small dish. Feeding a small crowd? Double it. No complicated math, just a bigger pan. Bottom line: you get tender chicken, fluffy rice, and a someone-else-cooked vibe, IMO.
The basic blueprint (aka your no-fail formula)
You only need a few pantry staples. Don’t overthink it.
Chicken: Thighs handle the oven like champs. Breasts work too with a few tweaks.
Rice: Long-grain white rice is your safest bet. It cooks evenly and stays fluffy.
Liquid: Chicken broth brings flavor. Water works in a pinch, but season more aggressively.
Fat: A little butter or olive oil for richness.
Flavor builders: Onion, garlic, paprika, Italian seasoning, salt, pepper.
Proportions that never let me down:
1 cup long-grain white rice (uncooked)
2 cups broth
1–1.5 pounds chicken (4 small thighs or 2 large breasts)
1–2 tablespoons fat
1–2 teaspoons salt-free seasoning + salt to taste
Bake chicken and rice: Quick method, step by step
Heat oven to 375°F (190°C).
In a 9×13-inch baking dish, stir rice, broth, 1 tablespoon fat, and seasonings.
Nestle the chicken on top. Drizzle with a little more fat. Season the chicken directly.
Cover tightly with foil. Bake 45 minutes.
Uncover and bake 10–15 minutes more until chicken hits 165°F and rice is tender.
Rest 5–10 minutes so the rice finishes hydrating. Then fluff and eat like you earned it.
bake chicken and rice: Flavor riffs you’ll actually use
This dish is a blank canvas. Paint it with pantry stuff and minimal effort.
Lemon herb: Add zest of 1 lemon to the rice, juice over the chicken, and use oregano + thyme. Finish with fresh parsley.
Garlic butter mushroom: Layer sliced mushrooms under the chicken, add extra garlic, and dot with butter.
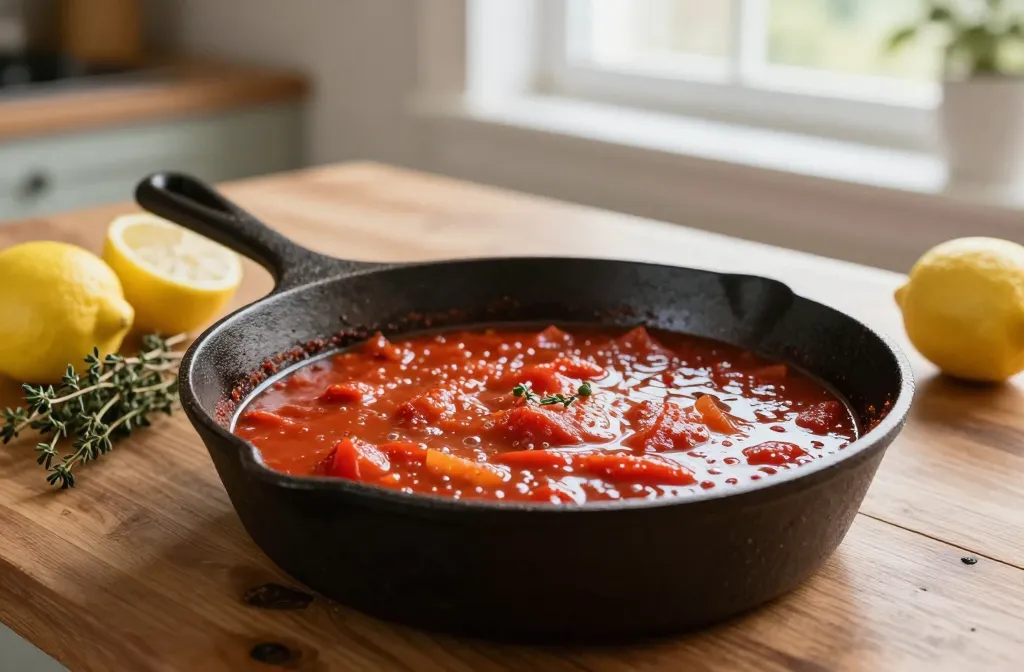
Tex-Mex: Stir in 1 cup corn and 1 can diced tomatoes with green chiles (drained), use cumin + chili powder, and top with cilantro.
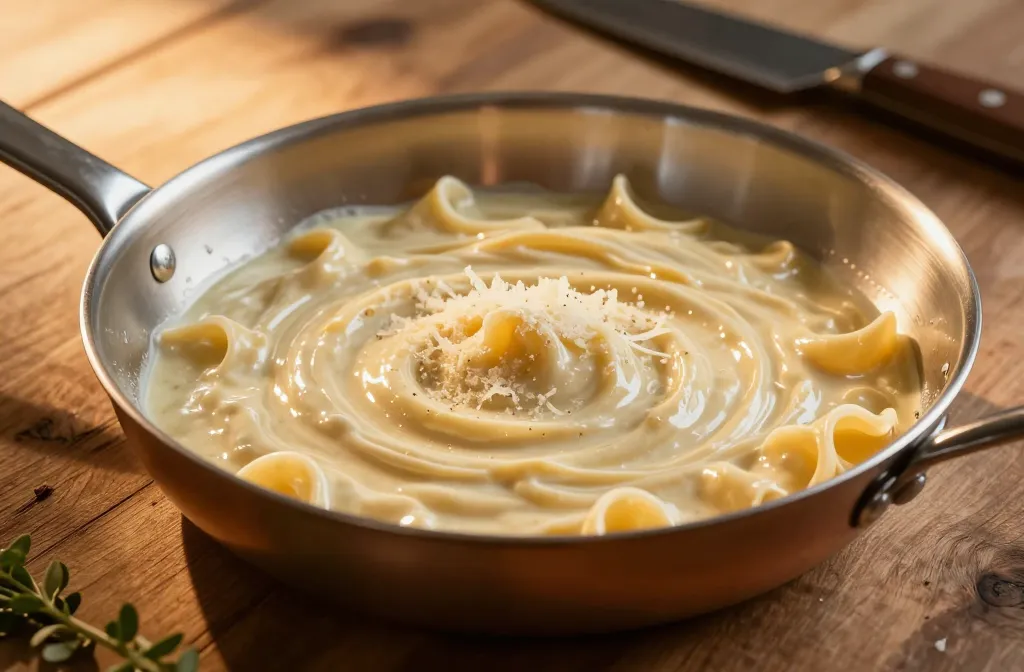
Creamy parmesan: Swap 1/2 cup broth for cream, add 1/3 cup grated Parm, and use Italian seasoning. FYI, this one feels fancy.
Curry coconut: Replace 1 cup broth with unsweetened coconut milk, add 1–2 tablespoons curry paste or powder, and finish with lime.
Vegetable add-ins that don’t go soggy
Sturdy veggies to bake from the start: Carrots, bell peppers, mushrooms, cauliflower.
Quick-cooking veggies to add in the last 10 minutes: Peas, spinach, zucchini, cherry tomatoes.
Frozen veggies: No need to thaw. Stir in at the 45-minute mark, then finish baking.
Chicken choices: thighs vs. breasts
You can win either way, but they behave differently.
Taste your broth: If it tastes bland, your final dish will too. Season the liquid.
One-pan, still pretty: toppings and finishes
You can keep it rustic or zhuzh it up in 60 seconds.
Fresh pop: Parsley, chives, dill, or cilantro.
Crunch factor: Toasted almonds or pine nuts.
Creamy note: Dollop of Greek yogurt or a drizzle of garlic-lemon mayo.
Acid blast: Lemon wedges or a splash of sherry vinegar right before serving.
Cheesy finish: Grate Parmesan over the top the moment it comes out. It melts like a dream.
bake chicken and rice: Make-ahead, leftovers, and meal-prep sanity
You can assemble this in the morning, cover, and stash in the fridge. When ready, bake straight from cold but add 5–10 minutes to the first covered segment. Don’t let rice sit soaking in broth for more than 12 hours though, or it can get mushy. Leftovers reheat beautifully. Add a splash of water or broth, cover, and warm in the microwave in 60–90 second bursts, fluffing between. You can also turn leftovers into new meals:
Stuffed peppers: Mix leftovers with a little tomato sauce, stuff into halved peppers, bake 20 minutes.
Soup shortcut: Simmer with extra broth and veggies for a 10-minute chicken-rice soup.
Crispy rice cakes: Pan-fry scoops in a little oil until golden on both sides. Add a squeeze of lemon. IMO, elite.
Common pitfalls In bake chicken and rice (and how to dodge them)
Crunchy rice: Foil wasn’t tight, oven ran cool, or not enough liquid. Add 1/4 cup hot broth, re-cover, bake 10 more minutes.
Mushy rice: Too much liquid or instant rice. Next time, measure carefully and use long-grain.
Dry chicken: Overbaked breasts. Pull a few degrees early and rest.
Flat flavor: Under-seasoned broth. Taste it before baking and adjust salt, acid, or spices.
FAQ About baking chicken and rice
Can I use frozen chicken?
Yes, but thaw first for even cooking. Frozen chicken sits on the rice like an ice cube and throws off the liquid ratio. If you must bake from frozen, increase time and keep everything tightly covered, but FYI, results vary.
Can I swap in quinoa or orzo?
Quinoa works with 1 cup quinoa to 2 cups broth, same temperature, but it finishes faster. Start checking at 35 minutes. Orzo also works, but you’ll want 1.5 cups broth per cup of orzo and a shorter bake; uncover earlier to prevent mush.
How spicy can I make it?
As spicy as you like. Add cayenne, red pepper flakes, harissa, or chipotle in adobo to the broth. Balance heat with a citrus finish or a dollop of yogurt so it doesn’t just taste hot.
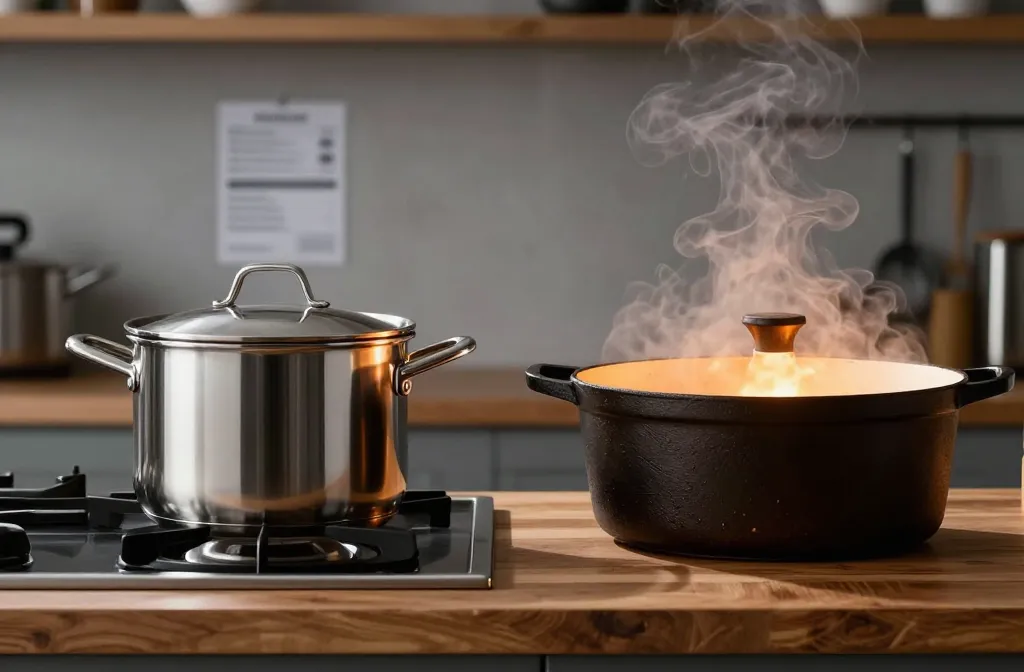
What pan should I use?
A 9×13-inch metal or ceramic baking dish. Metal conducts heat faster, so timing skews shorter. Glass works too, but add a few minutes. Use something with sides tall enough to hold bubbling broth.
Do I need to sear the chicken first?
Nope. The whole point is “dump-and-bake.” If you crave extra color, broil for 2–3 minutes at the end, watching closely. Or sear first if you’re feeling fancy, but it’s optional.
Why does my rice look done but still feel wet?
It needs a rest. Pull the dish from the oven and let it sit covered for 5–10 minutes. The rice finishes hydrating and firms up. Resist the urge to poke it every 30 seconds. I see you.
Conclusion On bake chicken and rice
Dump-and-bake chicken and rice is weeknight sorcery: minimal effort, big flavor, tiny cleanup. Master the simple ratio, seal that foil like your dinner depends on it (because it does), and riff with whatever spices and veggies you’ve got. You’ll land a meal that tastes homey, adapts to your mood, and never asks you to babysit a stove. Honestly? That’s the kind of cooking I can do on autopilot—and still brag about.
Disclosure: This post may contain affiliate links.
If you make a purchase through these links, I may earn
a small commission at no extra cost to you.
prab chahal
Hi, I’m Prabjot Chahal – the heart (and taste buds) behind this blog!
Food has always been my love language – from experimenting with family recipes to discovering unique flavors from around the world. I believe that cooking isn’t just about following a recipe, it’s about creating moments, sharing stories, and connecting with others over something delicious. Through this blog, I want to build a vibrant food community where we share more than just recipes – we share inspiration, tips, and the joy of making and enjoying good food together. Whether you’re here for quick weekday dinners, festive treats, or creative seasonal ideas, you’re part of this table. So grab a fork (or a whisk!) and let’s cook, bake, and share our love for food – one recipe at a time.


")
")
")
")


")
")