Start with a short, punchy introduction that grabs attention and gets to the point. A gluten-free fruit tart sounds fancy, but it doesn’t have to be fussy. This crust, filling, and topping come together in a few smart swaps and a wink of sweetness. Ready to bake something that tastes like a vacation in a bakery window? Let’s do this.
Why a Gluten Free Tart? Quick wins and why you’ll love this one
– You don’t need special flour for flavor. The right blend keeps it crispy and light. – It’s naturally versatile: swap berries, stone fruit, or tropical fruit based on season and mood. – This tart packs a polished look without requiring a pastry chef’s toolkit.
Crust that actually holds together (gluten-free, no drama)
Crust is the makeup for your tart—without it, you’re just looking at a fruit bowl. The trick is balance: moisture, binding, and a touch of iron-wist from starches. FYI, you’ll want a crust that bakes through, not one that wilts the moment you slice.
Base ingredients: almond flour for flavor, tapioca or arrowroot starch for chew, a pinch of xanthan gum for structure, and a little sugar for browning.
Fat choice: melted butter for richness or coconut oil for dairy-free vibes. Either way, keep it cold to help it roll out cleanly.
Binding: an egg or a flax egg if you’re vegan—both help hold the crust together during slicing.
Want extra snap? Chill the dough for at least 30 minutes, then roll between parchment. No sticky disasters, I promise.
Filling that stays pristine and tastes like sunshine
The filling should be bright, not heavy. A velvety custard or a light ricotta-vanilla base works beautifully with fruit on top. Keep it balanced so the fruit shines.
Base flavors: vanilla, lemon zest, a whisper of almond extract—no need to go overboard.
Texture: a smooth custard (egg-based) or a thick dairy-free alternative with cornstarch or arrowroot to set.
Sweetness: sugar or honey adjusted to how tart your fruit is. Remember: fruit becomes sweeter as it bakes, so don’t overdo it.
Tips for best results
If you’re short on time, use a pre-made gluten-free tart shell for the base, then jazz it up with your own custard and toppings.
Blind bake the crust until lightly golden before adding filling. This keeps the bottom from getting soggy.
Let the custard cool slightly before filling the crust so the crust doesn’t soften too fast.
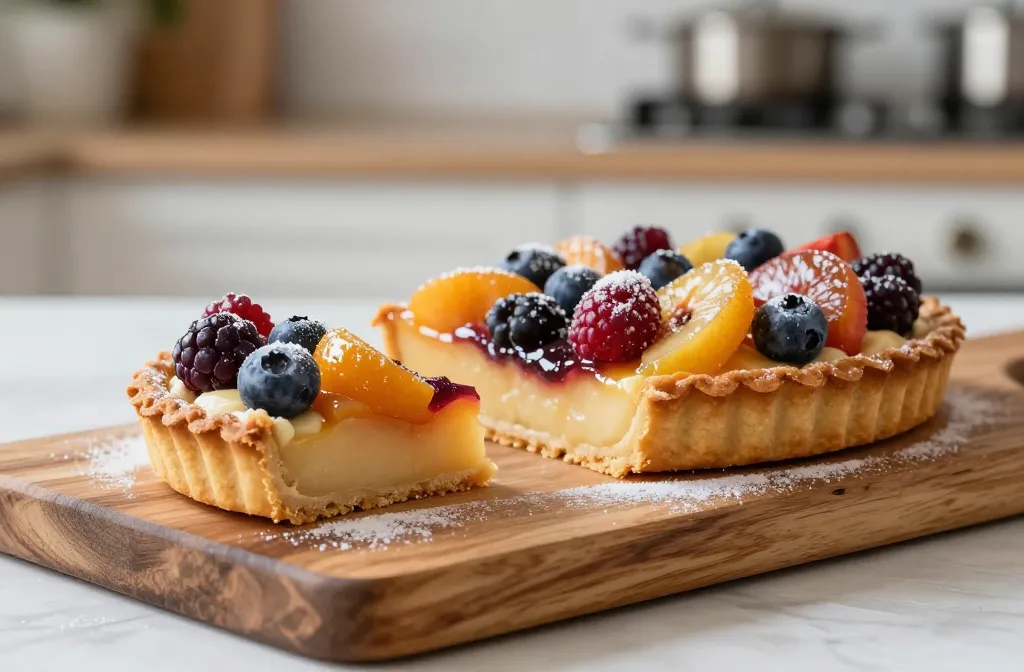
Fruit toppings that wow without overpowering
Fruit on top should sing, not shout. Think color, contrast, and a bit of gloss to keep it camera-ready.
Choose fruits: berries, peaches, kiwis, mango, or plums. Layer for rainbow effect or fan slices for drama.
Glaçage glaze: a light apricot jam glaze or citrusy glaze adds shine and a hint of sweetness. Warm it and brush carefully.
Texture: mix glossy fruits with matte ones for visual interest and a range of textures in every bite.
Variations to suit moods and diets
Vegan option: use dairy-free custard and coconut oil crust. Adds a tropical twist.
Fruit-forward version: keep the filling minimal and let the fruit do the talking with a light lemon curd as a top layer.
Nut-free version: swap almond flour for extra gluten-free all-purpose blend plus a touch more tiguma starch to maintain structure.
Pro tips, common mistakes, and quick fixes
We’ve all been there: the crust shrugs off, the filling leaks, or you burn the edges because you forgot the timer exists. Here are battle-tested moves.
Pro tips
Chill everything. Dough, rolling pin, even the bowl—cold makes gluten-free dough behave.
Protect the crust edges with foil or a shield if the top browns too fast.
Brush the baked crust with a thin layer of melted apricot jam for that bakery glaze gloss.
Common mistakes
Overworking the dough. It gets tough and cracks. Gentle handling yields flakiness and tenderness.
Skipping blind baking. The crust won’t stay crisp once the filling sits on it.
Too much moisture in fruit. Let fruit sit on paper towels for a few minutes to wick away juice before topping.
Ingredient swaps
Flour: swap with a 1:1 gluten-free blend that already contains xanthan gum for easier workability.
Sweeteners: maple syrup instead of sugar for a deeper flavor; adjust liquid in the filling if needed.
Fats: butter for a richer crust, olive oil for a lighter, dairy-free version (though it changes flavor).
How to assemble like a pro
Preheat, pre-bake, fill, top, glaze, chill, slice. It’s a few precise steps that yield major bragging rights.
Roll out the crust between parchment until it fits your tart pan with a little extra drag for edge lifting.
Blind bake until edges start to crisp; let it cool fully before adding filling.
Spread the filling evenly, leaving a tiny lip at the edge for the fruit to rest on.
Arrange fruit in a pattern you love. Fan slices, create a fruit bouquet, or do a layered galaxy look.
Glaze the fruit for shine and a touch of sweetness, then refrigerate to set before serving.
FAQ
People often ask the same things, so here are quick, friendly answers.
FAQ – How do I prevent crust cracking?
Keep the dough cold, handle it gently, and don’t overwork. If cracks happen, patch them with a little dough and chill again before baking.
Yes. Use coconut oil or dairy-free butter in the crust and a dairy-free custard or vegan filling. The flavor shifts a bit, but it remains delicious.
FAQ – How long does it keep?
Refrigerate for up to 2 days. If you’re not finishing in that window, freeze slices for a longer life. Just let them thaw gently before serving.
Serving suggestions and flavor boosters
Serve with a dollop of whipped cream, a scoop of vanilla ice cream, or a drizzle of citrus yogurt. FYI, a pinch of sea salt on top of the fruit can heighten the sweetness in a surprisingly good way.
Variations and flavor experiments
Want to push past “basic but good”? Here are some playful twists you can try next time.
Raspberry-lemon burst: lemon zest in the filling and fresh raspberries on top for a bright, zingy finish.
Stone fruit summer: peaches and nectarines with a touch of cardamom in the filling.
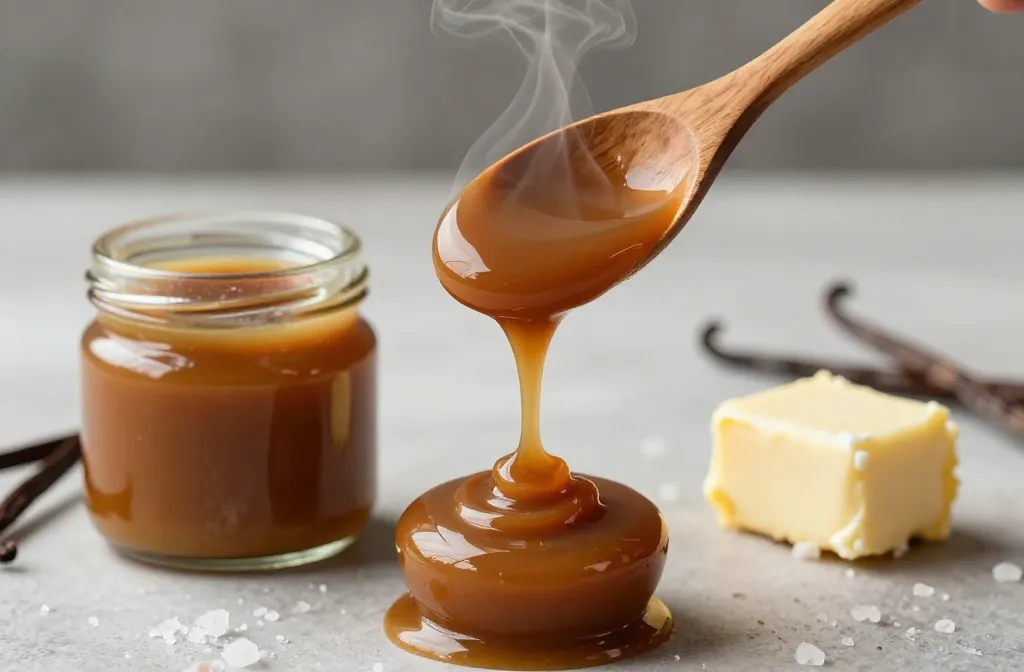
Spiced autumn: apple slices with cinnamon and a drizzle of caramel glaze.
Conclusion
Gluten free fruit tart doesn’t mean sacrificing flavor or charm. With the right crust foundation, a bright, balanced filling, and a fruit top that pops, you’ve got a dessert that looks almost too good to eat—almost. Try it, tweak it to your taste, and enjoy the compliments that follow. IMO, you’ll be baking this one weekly.
Disclosure: This post may contain affiliate links.
If you make a purchase through these links, I may earn
a small commission at no extra cost to you.
prab chahal
Hi, I’m Prabjot Chahal – the heart (and taste buds) behind this blog!
Food has always been my love language – from experimenting with family recipes to discovering unique flavors from around the world. I believe that cooking isn’t just about following a recipe, it’s about creating moments, sharing stories, and connecting with others over something delicious. Through this blog, I want to build a vibrant food community where we share more than just recipes – we share inspiration, tips, and the joy of making and enjoying good food together. Whether you’re here for quick weekday dinners, festive treats, or creative seasonal ideas, you’re part of this table. So grab a fork (or a whisk!) and let’s cook, bake, and share our love for food – one recipe at a time.