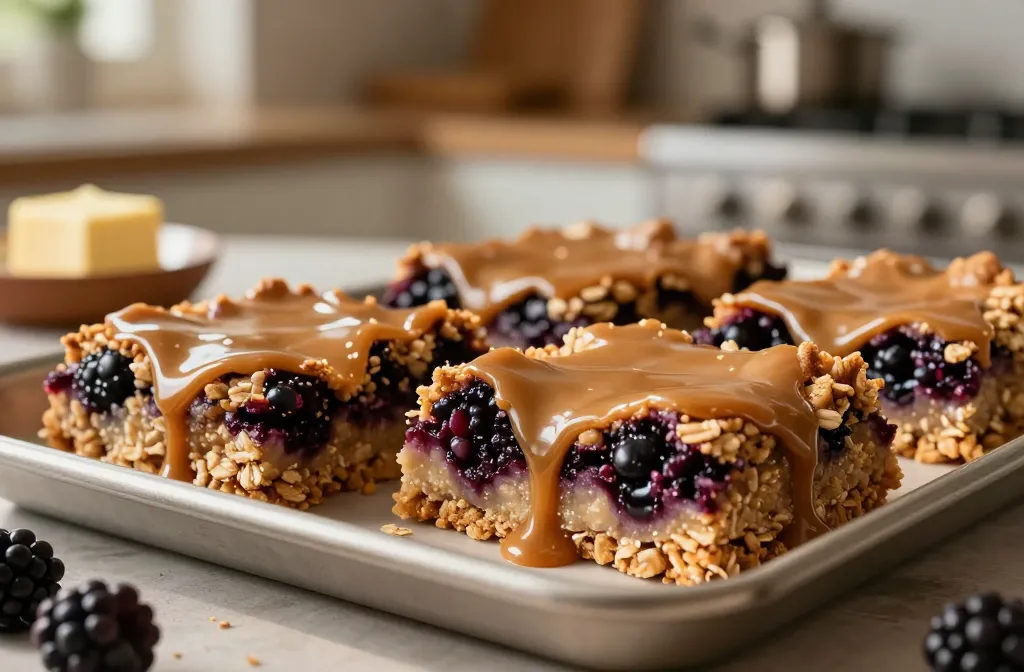
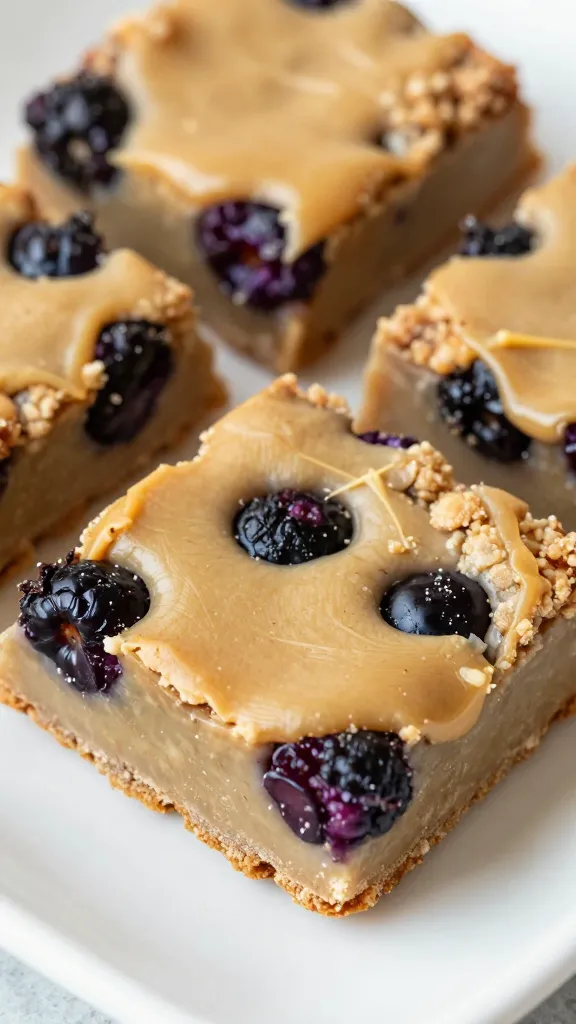
I’m not crying gluten, I’m crying over how good these Gluten-Free Brown Butter Blackberry Crisp Bars are. They bake up chewy, oaty, caramel-toasty goodness with juicy blackberry pockets hidden inside. If you’re dairy-free or just avoiding gluten, you’re in luck—these bars hit all the right notes without compromising texture or flavor.
What makes these bars so irresistible
You want a treat that tastes indulgent but isn’t a sugar crash from a mile away. These bars hit that sweet spot. The brown butter adds a toasty, nutty depth, the blackberries burst with bright tartness, and the gluten-free crust keeps things crumbly in the best possible way. It’s a snack you can justify baking on a Tuesday—seriously, the world needs more midweek dessert wins.
Core ingredients and how they work
Brown butter: Nutty, rich, and borderline caramel-y. The longer you cook it (watch it like a hawk), the more complex the flavor becomes.
Gluten-free flour blend: Look for one that has a mix of rice, sorghum, or millet with a binding agent like xanthan or guar gum. It’ll give you a sturdy crust that still feels tender.
Blackberries: Fresh or frozen work. Frozen blades stay intact better than you’d think, and they release juice as they bake—hello juicy pockets.
Oats and brown sugar crumble: They bring that crisp, crumbly top that’s essential for a bar. Use certified gluten-free oats if you’re super strict about gluten.
Salt and vanilla: Tiny details, huge flavor lift. FYI, don’t skip them.
Step-by-step: how to assemble these bars
Toast the oats and your gluten-free flour together briefly for extra flavor. It’s the kitchen version of a high-five.
Brown the butter until it smells like toffee and magic. Keep an eye on it; it can go from perfect to burnt faster than you can say “crisp bars!”
Mix the crumble topping until it resembles damp sand. This is the texture you want—hold its shape a little, crumble a little.
Layer the crust, spread in blackberry jammy swirls or whole berries, then crown with the crumb.
Bake until the edges are bronzed and the center sets up. Cool completely before slicing so you don’t end up with (delicious) fudgey bars.
Pro tips for perfect texture
Chill helps: If your dough feels soft, chill it for 15 minutes before pressing into the pan. Keeps edges neat and prevents mushy centers.
Press, don’t pat: When forming the crust, press firmly with your clean hands or the back of a measuring cup. You want compact, not airy.
Juicy berries: If you’re using very juicy berries, toss them with a tablespoon of gluten-free flour to trap excess liquid and prevent a soggy bottom.
Cool power: Let the bars cool completely on a rack before slicing. This sets the crumb and makes clean cuts easier.
Ingredient swaps and variations
Flour and texture swaps
Use almond flour for a nuttier flavor if you’re not strictly avoiding gluten. It will tighten up the texture, so add a touch more gluten-free blend or a touch of extra oats.
Oats swap: You can mix in a handful of chopped nuts for crunch, or swap half the oats for puffed quinoa for a lighter bite.
Fruit riffs
Raspberries or blueberries pair nicely with brown butter. Swap in your favorite seasonal berry for a different vibe.
Stir in lemon zest or a splash of lemon juice to brighten the blackberry presence. FYI, a little citrus goes a long way.
Flavor boosters
Add a pinch of cinnamon or cardamom to the crust for warmth. It’s subtle but makes the aftertaste feel cozy.
Top with a light drizzle of honey or maple syrup once cooled for a glossy finish and an extra kiss of sweetness.
Common mistakes to dodge
Overworking the dough. gluten-free batters don’t like heavy kneading. Mix until just combined and press firmly.
Under-baking the center. If you shake the pan and it wobbles, give it a few more minutes. You’re aiming for a set center, not a gooey one.
Too wet topping. If your crumble sticks together in a clump, it won’t crumble nicely on top. Dry it out a touch by toasting the oats a bit longer.
Variations you can actually pull off
Nut-free option: Use sunflower or pumpkin seeds in the crumble for texture, and skip any nuts in the crust.
Low-sugar version: Reduce the brown sugar by a tablespoon or two and rely on the natural tartness of berries to carry sweetness. A splash of vanilla extract helps here too.
Vegan tweak: Use a plant-based butter substitute that behaves like real butter in the browning process, and check that your gluten-free flour blend is vegan if needed.
FAQ
Are these bars truly gluten-free?
Yep. Use certified gluten-free oats and a gluten-free flour blend. Double-check any add-ins or jams for gluten-containing ingredients, just to be safe.
Can I freeze these bars?
Absolutely. Wrap individual bars tightly and freeze. Thaw at room temperature for about 20-30 minutes, or nuke gently in 15-second bursts if you’re in a hurry. FYI, they freeze great for grab-and-go mornings.
How long do they stay fresh?
Store at room temperature in an airtight container for up to 4 days. In the fridge, they’ll last about a week—note the crumb can firm up in the fridge, so let them sit at room temp a bit before digging in.
What I really want you to know: a quick recap
– The brown butter is the secret weapon that makes these bars feel special, even if you’re gluten-free. – The blackberry brightness cuts through the sweetness, keeping everything balanced. – A crisp crumble top is non-negotiable. It’s the chewy edge you crave in a bar, not a soft cake crumb. – You can customize with swaps, but don’t skip the chill and cut steps—they save you from a panful of crumble chaos.
Deck the pantry: final tips and tricks
Prep ahead: Brown the butter in advance and refrigerate. It’s ready to whisk in when you’re ready to assemble.
Texture check: If the crust seems off, add a tablespoon of gluten-free flour or an extra tablespoon of oats to adjust the density.
Storage hack: Line the pan with parchment for easy removal and clean slices later. It’s all about the ghost-free bars in the future.
Conclusion
Gluten-Free Brown Butter Blackberry Crisp Bars are a savvy, seriously tasty way to satisfy a sweet tooth without a gluten-induced shame spiral. They’re fancy enough for guests, but simple enough to bake on a Tuesday when you deserve a little indulgence. So grab your skillet, brown that butter, and let the blackberry party begin. FYI, you’re about to become the resident dessert MVP in your circle.
Disclosure: This post may contain affiliate links.
If you make a purchase through these links, I may earn
a small commission at no extra cost to you.
prab chahal
Hi, I’m Prabjot Chahal – the heart (and taste buds) behind this blog!
Food has always been my love language – from experimenting with family recipes to discovering unique flavors from around the world. I believe that cooking isn’t just about following a recipe, it’s about creating moments, sharing stories, and connecting with others over something delicious. Through this blog, I want to build a vibrant food community where we share more than just recipes – we share inspiration, tips, and the joy of making and enjoying good food together. Whether you’re here for quick weekday dinners, festive treats, or creative seasonal ideas, you’re part of this table. So grab a fork (or a whisk!) and let’s cook, bake, and share our love for food – one recipe at a time.