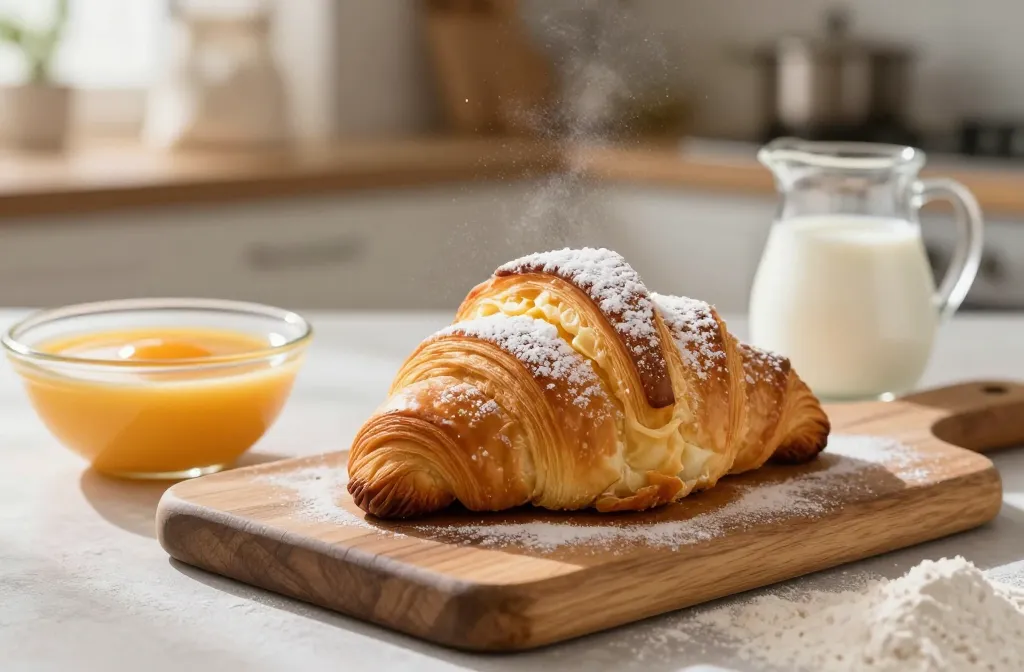
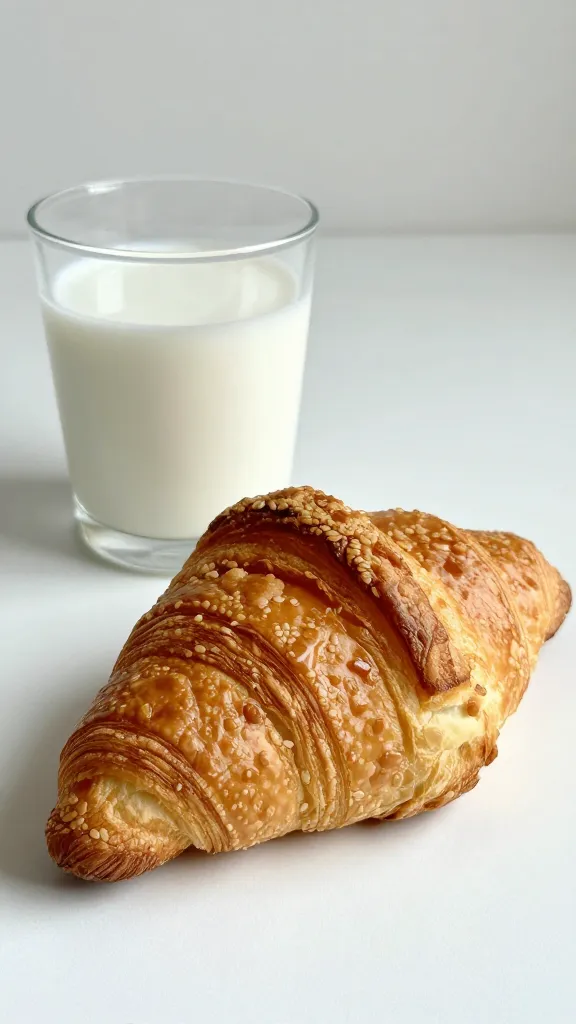
It’s not magic, it’s gluten-free croissants. Yes, you can get that flaky, butter-sparkly bite without wheat. And no, you don’t need a bakery-level brigade of equipment to do it. Let’s dive into a gluten-free croissant that actually feels French—maybe with a towel-throwing flourish, maybe just with a napkin and a smile.
Why gluten-free croissants can be worth the hustle
Croissants are all about that lamination, those airy layers, and a pocket of tenderness. Gluten-free dough often bets on tenderness and tenderness only—but you can coax a true croissant texture: crisp exterior, soft, buttery crumb inside, and layer upon layer without gluten getting in the way. FYI, the trick is precision, patient chilling, and a good dose of butter. If you’re craving something fancy that still fits your dietary needs, you’re in the right kitchen.
What you’ll actually need (the honest shopping list)
– Gluten-free flour blend with a balanced mix (rice, sorghum, tapioca, potato starch). Avoid blends that are all starch; you want some structure. – Vital wheat gluten substitute? Not required if you’re sticking to truly GF, but some bakers add a touch of psyllium husk for binding. Optional, but handy. – Butter (or high-fat dairy-free alternative) for lamination. Keep it cold. – Milk and eggs for richness and shine. You can swap in dairy-free milk if needed. – Sugar, salt, and yeast to get that bread-y lift. – Food-safe rolling pin sleeves or parchment to keep the dough clean and calm. – Optional add-ons: almond meal for nuttiness, powdered sugar for finishing, or a drizzle of chocolate.
Step-by-step: the laminated process that actually works
– Start with cold ingredients. Cold butter, cold dough, cold hands. If your butter melts, you’ve just undone all your hard work. – Roll out gently. Gluten-free dough is more fragile, so you’ll need to roll, fold, chill, and repeat. The number of folds determines flake and lift. – Keep it chill. Between folds, slide the dough back into the fridge for 20–30 minutes. Don’t skip this. It’s your best friend. – Shape with intention. Cut triangles, roll into crescents, and place on a lined tray. Give them space to prove, not crowd them like a subway car at rush hour. – Bake until deeply golden. The outside should be crisp; the inner layers should puff like little pastry clouds.
Common mistakes and how to dodge them
Overworking the dough
– You’ll tense up, the dough tears, and you lose layers. Gentle is sexy here. Stop when it looks smooth and just a touch resilient.
Butter that’s too warm
– Melted butter = flat croissant. Cold butter = glorious layers. Keep butter at a firm chill between folds.
Skimping on chilling time
– If you skip chilling, you’ll end up with a butter sludge mess. Chill is non-negotiable.
Pro tips for pro results
– Pro tip: freeze the dough rounds after the first lamination. This helps firm up the butter and makes shaping less terrifying. – Pro tip: use a bench scraper to lift and fold without tearing. Your future self will thank you. – Pro tip: brush with an egg wash or dairy-free glaze for that glossy finish. It’s Instagram-ready, I promise. – Pro tip: taste as you go. If the dough tastes flat, a pinch more salt can bring the flavor forward.
Ingredient swaps
– Dairy-free option: swap butter for a solid coconut oil mix or a vegan butter that behaves like butter in lamination. – Gluten-free blends: look for blends with xanthan gum or guar gum to increase elasticity. If your blend lacks it, add 1/2 teaspoon of xanthan gum per cup of flour. – Sweet variations: sprinkle a touch of cinnamon-sugar inside the triangles before rolling for a morning bun vibe.
Variations you can actually pull off
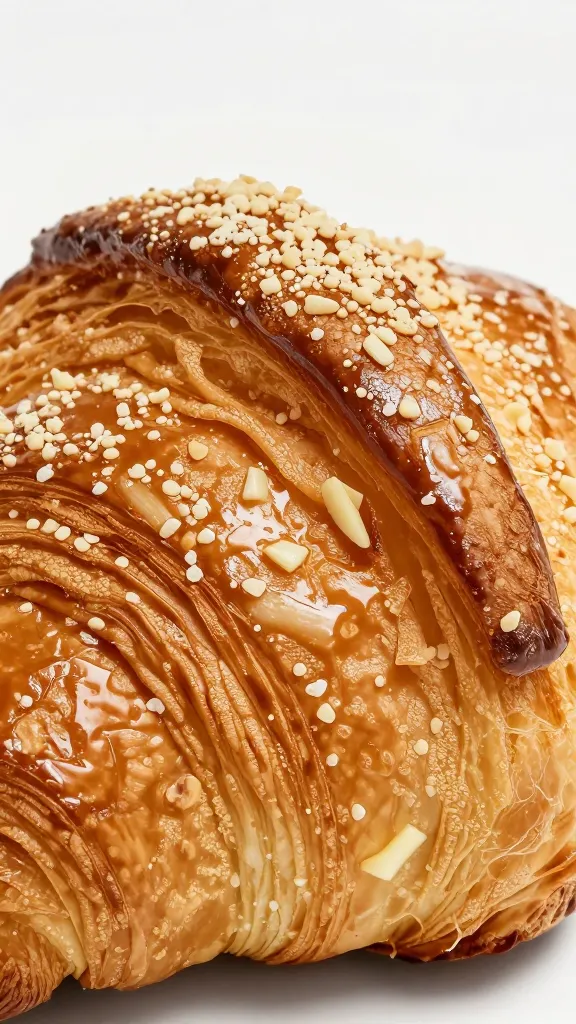
– Almond-flake croissants: sprinkle slivered almonds between folds for a nutty crunch. – Chocolate croissants: tuck a strip of dark chocolate inside each triangle before rolling. – Garlic-herb twists: replace sugar with a gentle garlic-herb butter for a savory version that still behaves like a croissant. – Fruit-filled folds: place a thin ribbon of jam in the center for a breakfast treat with personality.
– Dust with powdered sugar for a classic look, or glaze with a thin sugar-lemon glaze for extra gloss. – Serve with a dip: espresso, hot chocolate, or a dairy-free vanilla yogurt dip works surprisingly well.
FAQ: answers without the baking drama
Q: Can I make GF croissants without a mixer?
A: Absolutely. A sturdy wooden spoon and a little elbow grease will do. Just keep the butter cold and the dough well laminated.
Q: How long do GF croissants last?
A: Fresh is best—enjoy on day 1. You can freeze baked croissants and reheat gently, but they won’t be as flaky as immediately fresh ones.
Q: Do I need a special GF flour for lamination?
A: Not strictly, but a flour blend with some starch and a binding agent helps. If your dough tears, add a touch more binder and chill again.
How to troubleshoot texture issues fast
– If the interior feels crumbly, you probably rolled too thin or the butter melted too soon. Chill, relax, and add a tad more moisture (egg wash helps seal and hydrate slightly). – If the layers aren’t visible, you either overworked or under-chilled. Re-chill and re-laminate with a lighter touch. – If the croissants taste flat, balance the salt and butter. Salt helps wake up flavors in gluten-free dough, and enough fat gives that lovely mouthfeel.
Pro tips, common mistakes, and quick comparisons
Pro tips
– Always keep a cold workspace. If your kitchen is warm, work in shorter bursts. – Weigh ingredients for consistency. A tiny deviation can throw off laminations dramatically. – Use cold water or ice-cold liquids to mix. It helps keep the dough firm.
Common mistakes
– Skipping the resting period between folds. It’s not optional, it’s sacred. – Using a rolling pin that’s too warm. Your dough will smear, not layer. – Not preheating the oven properly. Temperature matters a lot for gluten-free lamination texture.
Comparison blocks
– GF croissant vs. traditional: The flavor can be similar, but you’ll notice a slightly different crumb and lift. The technique is in the chilling and folding, not the wheat gluten. – Dairy-free option: You can approximate the shine with a glaze, but butter still makes the best flaky layers. If you must go dairy-free, coconut oil blends can help with texture, but the aroma changes.
Final thoughts and a friendly nudge
Making gluten-free croissants is absolutely doable, but it’s a process. It rewards patience, a playful attitude, and a willingness to take notes after every bake. If you mess up a batch, laugh it off, wrap the dough, and try again. The next tray could be your best one yet. IMO, a little experimentation beats static perfection any day.
Conclusion
If you’ve been dreaming of buttery, flaky GF croissants that don’t crumble into a sad, gluten-free memory, you’re closer than you think. Practice your lamination rhythm, keep that dough chilly, and let the croissant magic unfold. Bon appétit, friend—and may your kitchen smell like a Paris bakery, minus the commute.
Disclosure: This post may contain affiliate links.
If you make a purchase through these links, I may earn
a small commission at no extra cost to you.
prab chahal
Hi, I’m Prabjot Chahal – the heart (and taste buds) behind this blog!
Food has always been my love language – from experimenting with family recipes to discovering unique flavors from around the world. I believe that cooking isn’t just about following a recipe, it’s about creating moments, sharing stories, and connecting with others over something delicious. Through this blog, I want to build a vibrant food community where we share more than just recipes – we share inspiration, tips, and the joy of making and enjoying good food together. Whether you’re here for quick weekday dinners, festive treats, or creative seasonal ideas, you’re part of this table. So grab a fork (or a whisk!) and let’s cook, bake, and share our love for food – one recipe at a time.