The bottom line: Buffalo Chicken Cauliflower Casserole is weeknight magic. Creamy, tangy, a little spicy, and secretly good for you. You get all the comfort without the pasta coma. Ready to dive in? Let’s go.
What makes this casserole a winner
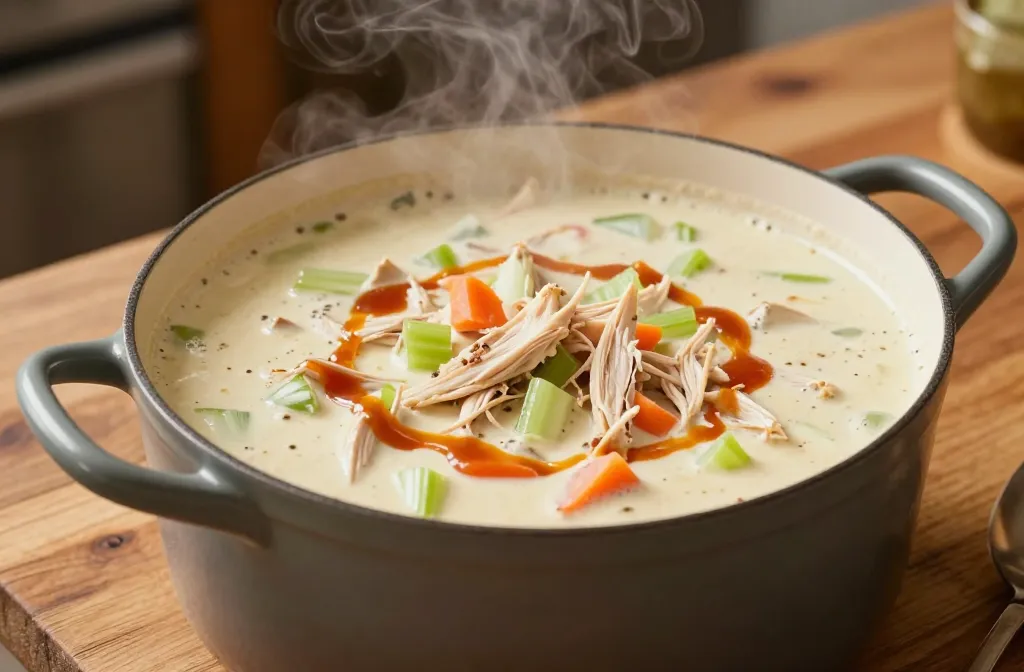
This dish hits that sweet spot between indulgent and doable. Cauliflower stands in for pasta, so you get plenty of texture without the carb overload. Then we smear it with Buffalo sauce, fold in shredded chicken, and tuck it all under a cheesy blanket. Flavor wise, it’s bold without being shouty. FYI, leftovers taste even better as the flavors settle in.
Core components you’ll need
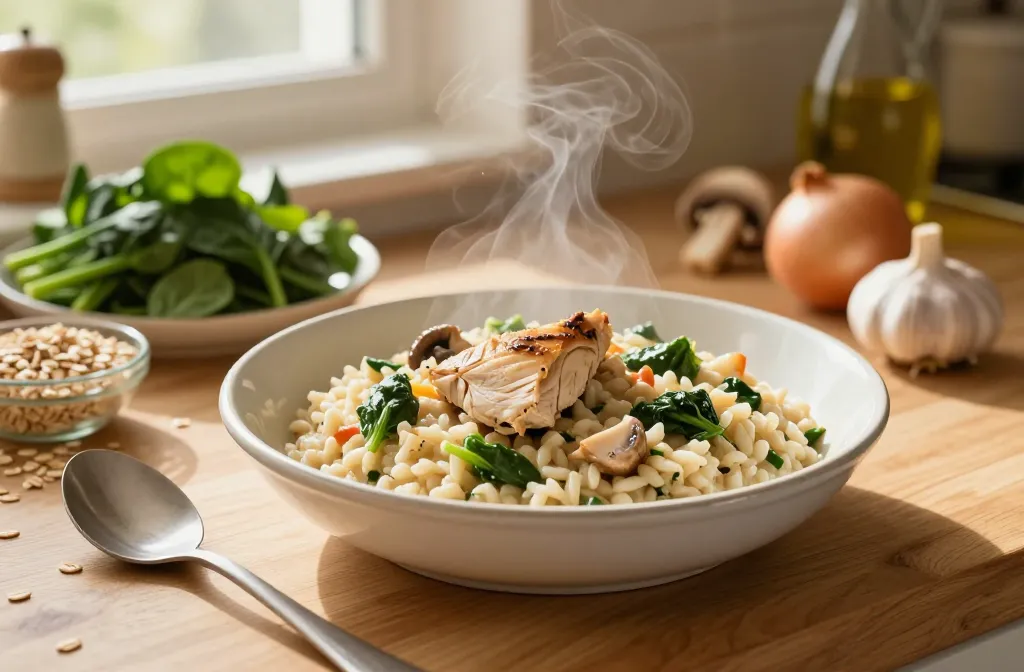
– Cauliflower: chopped into florets or grated to rice-like bits for a mix of textures. – Chicken: rotisserie chicken works great, or poach and shred your own. – Buffalo sauce: the star of the show—hot, tangy, and a touch of butter helps mellow it. – Cheese: a mix of mozzarella for melt and cheddar for bite. – Creaminess: a splash of cream cheese or Greek yogurt keeps things snug without turning soupy. – Extras: garlic, onion, celery for crunch, blue cheese or ranch drizzle if you’re feeling fancy.
Step-by-step assembly: getting it right
1. Preheat and prep: heat to about 375°F (190°C). Lightly grease a casserole dish so nothing sticks and you don’t have to perform a rescue mission later. 2. Build the base: toss cauliflower with a little salt and pepper, then give it a quick roast or steam until it’s tender-crisp. You want some bite left—trust me. 3. Mix the filling: in a bowl, combine shredded chicken, Buffalo sauce, cream cheese or yogurt, and a handful of cheese. Stir until evenly coated. 4. Layer and top: spread cauliflower in the dish, spoon over the Buffalo chicken mixture, then cover with the remaining cheese. 5. Bake until bubbly: 20–25 minutes, then broil for a minute or two if you want the top extra golden. Don’t wander away—burnt cheese is not a vibe. 6. Rest a few minutes: let it set so you don’t burn your mouth and ruin the first bite.
Flavor hacks: dialing in the heat and tang
– Want more heat? Add a pinch of crushed red pepper flakes or a dash of hot sauce to the filling. If you want it mild, stir in extra cream cheese to mellow. – Tame the tang? A touch of ranch dressing or a sprinkle of blue cheese crumbles on top adds a creamy balance. – Smoky note? Mix smoked paprika into the cauliflower before cooking for a subtle, grill-like depth.
Texture tricks: keeping it interesting
– Texture contrast: toss in a handful of celery or green onion for crunch. – Cheesy crust: sprinkle a small amount of parmesan on top in the final minutes for a crisp, cheesy lid. – Cauliflower prep matters: roasty cauliflower bits caramelize and bring sweetness that plays well with Buffalo sauce.
Pro tips
– Use rotisserie chicken to save time without skimping on flavor. It shreds up nicely and stays juicy. – If you’re dairy-free, swap in a dairy-free cream cheese and shredded dairy-free cheese. The sauce might be a touch thinner, so add a little extra cheese to thicken. – Want to sneak in veggies? Finely chop spinach or mix in diced bell peppers for color and nutrients. – For meal prep, assemble a double batch and freeze half before baking. Thaw and bake when you’re ready to roll.
Ingredient swaps
– Cauliflower option: use a mix of riced cauliflower and tiny florets for texture variety. – Protein swap: use cooked turkey or even black beans for a different vibe (note: beans will change the texture and protein profile). – Dairy swaps: swap cream cheese for Greek yogurt (full-fat for creaminess) or use shredded mozz and a splash of cream to keep it smooth.
Common mistakes
– Undercooking cauliflower: it needs a little bite to contrast with the creamy filling. – Too much sauce: you want coated, not swimming. If it’s soupy, bake a bit longer and uncover to evaporate. – Skipping salt: Buffalo sauce brings heat, but salt is essential to balance flavors. Taste and adjust.
Variations
– Buffalo ranch swirl: fold in a few tablespoons of ranch dressing into the filling, then top with extra cheese. – Cheesy buffalo bake: top with crumbled blue cheese before the final bake for extra tang. – Garlic buffalo glow: sauté minced garlic with the cauliflower for an aromatic start.
– Buffalo Chicken Cauliflower vs Buffalo Chicken Pasta: The cauliflower keeps carbs in check while delivering the same bold buffalo vibe. Pasta lovers, you still get the coating and creaminess, with fewer heavier noodles. – Baked vs pan-seared: Baking keeps the top evenly melty and the cauliflower tender. A quick broil at the end gives a sharper cheese crust, which pan-searing won’t replicate as easily. – Leftovers: This casserole reheats beautifully. The flavors intensify after a night in the fridge, so Ima say it’s even better the second day.
FAQ
Q: Can I make this ahead?
A: Yes. Assemble up to a day ahead and refrigerate. Bake a bit longer to heat through when ready to serve.
Q: Is this spicy enough for Buffalo sauce fans?
A: It can be, but you can dial it up by choosing a hotter sauce or adding a splash of hot sauce to the filling. If you’re serving kids, reduce the heat and offer extra buffalo on the side.
Q: How do I store leftovers?
A: Refrigerate in an airtight container for up to 4 days. Reheat in the oven or microwave until hot all the way through. Pro tip: a quick oven reheat keeps the texture nicer than a microwave alone.
Q: Can I freeze this?
A: Yes, but texture can shift a bit. Freeze after mixing, then bake covered until hot, uncover to finish browning. You might need a splash of extra cheese or cream to loosen it up after thawing.
Final flavor check: why this sticks
This casserole nails the comfort-food factor without dragging you down. The cauliflower gives you a familiar chew, Buffalo sauce brings that punch, and the cheese pull rewards your patience. It’s the exact kind of dish you crave after a long day but feel good about serving to friends or family. IMO, it’s the perfect balance of casual and celebratory.
Conclusion
Buffalo Chicken Cauliflower Casserole isn’t just a clever swap; it’s a confident, tasty meal that respects your time and your taste buds. It’s creamy, spicy, and cheesy in the right places, with enough texture to keep it interesting. Give it a try, tweak it to your liking, and you’ll probably find yourself making it on the regular.
Disclosure: This post may contain affiliate links.
If you make a purchase through these links, I may earn
a small commission at no extra cost to you.
prab chahal
Hi, I’m Prabjot Chahal – the heart (and taste buds) behind this blog!
Food has always been my love language – from experimenting with family recipes to discovering unique flavors from around the world. I believe that cooking isn’t just about following a recipe, it’s about creating moments, sharing stories, and connecting with others over something delicious. Through this blog, I want to build a vibrant food community where we share more than just recipes – we share inspiration, tips, and the joy of making and enjoying good food together. Whether you’re here for quick weekday dinners, festive treats, or creative seasonal ideas, you’re part of this table. So grab a fork (or a whisk!) and let’s cook, bake, and share our love for food – one recipe at a time.


")
")


")