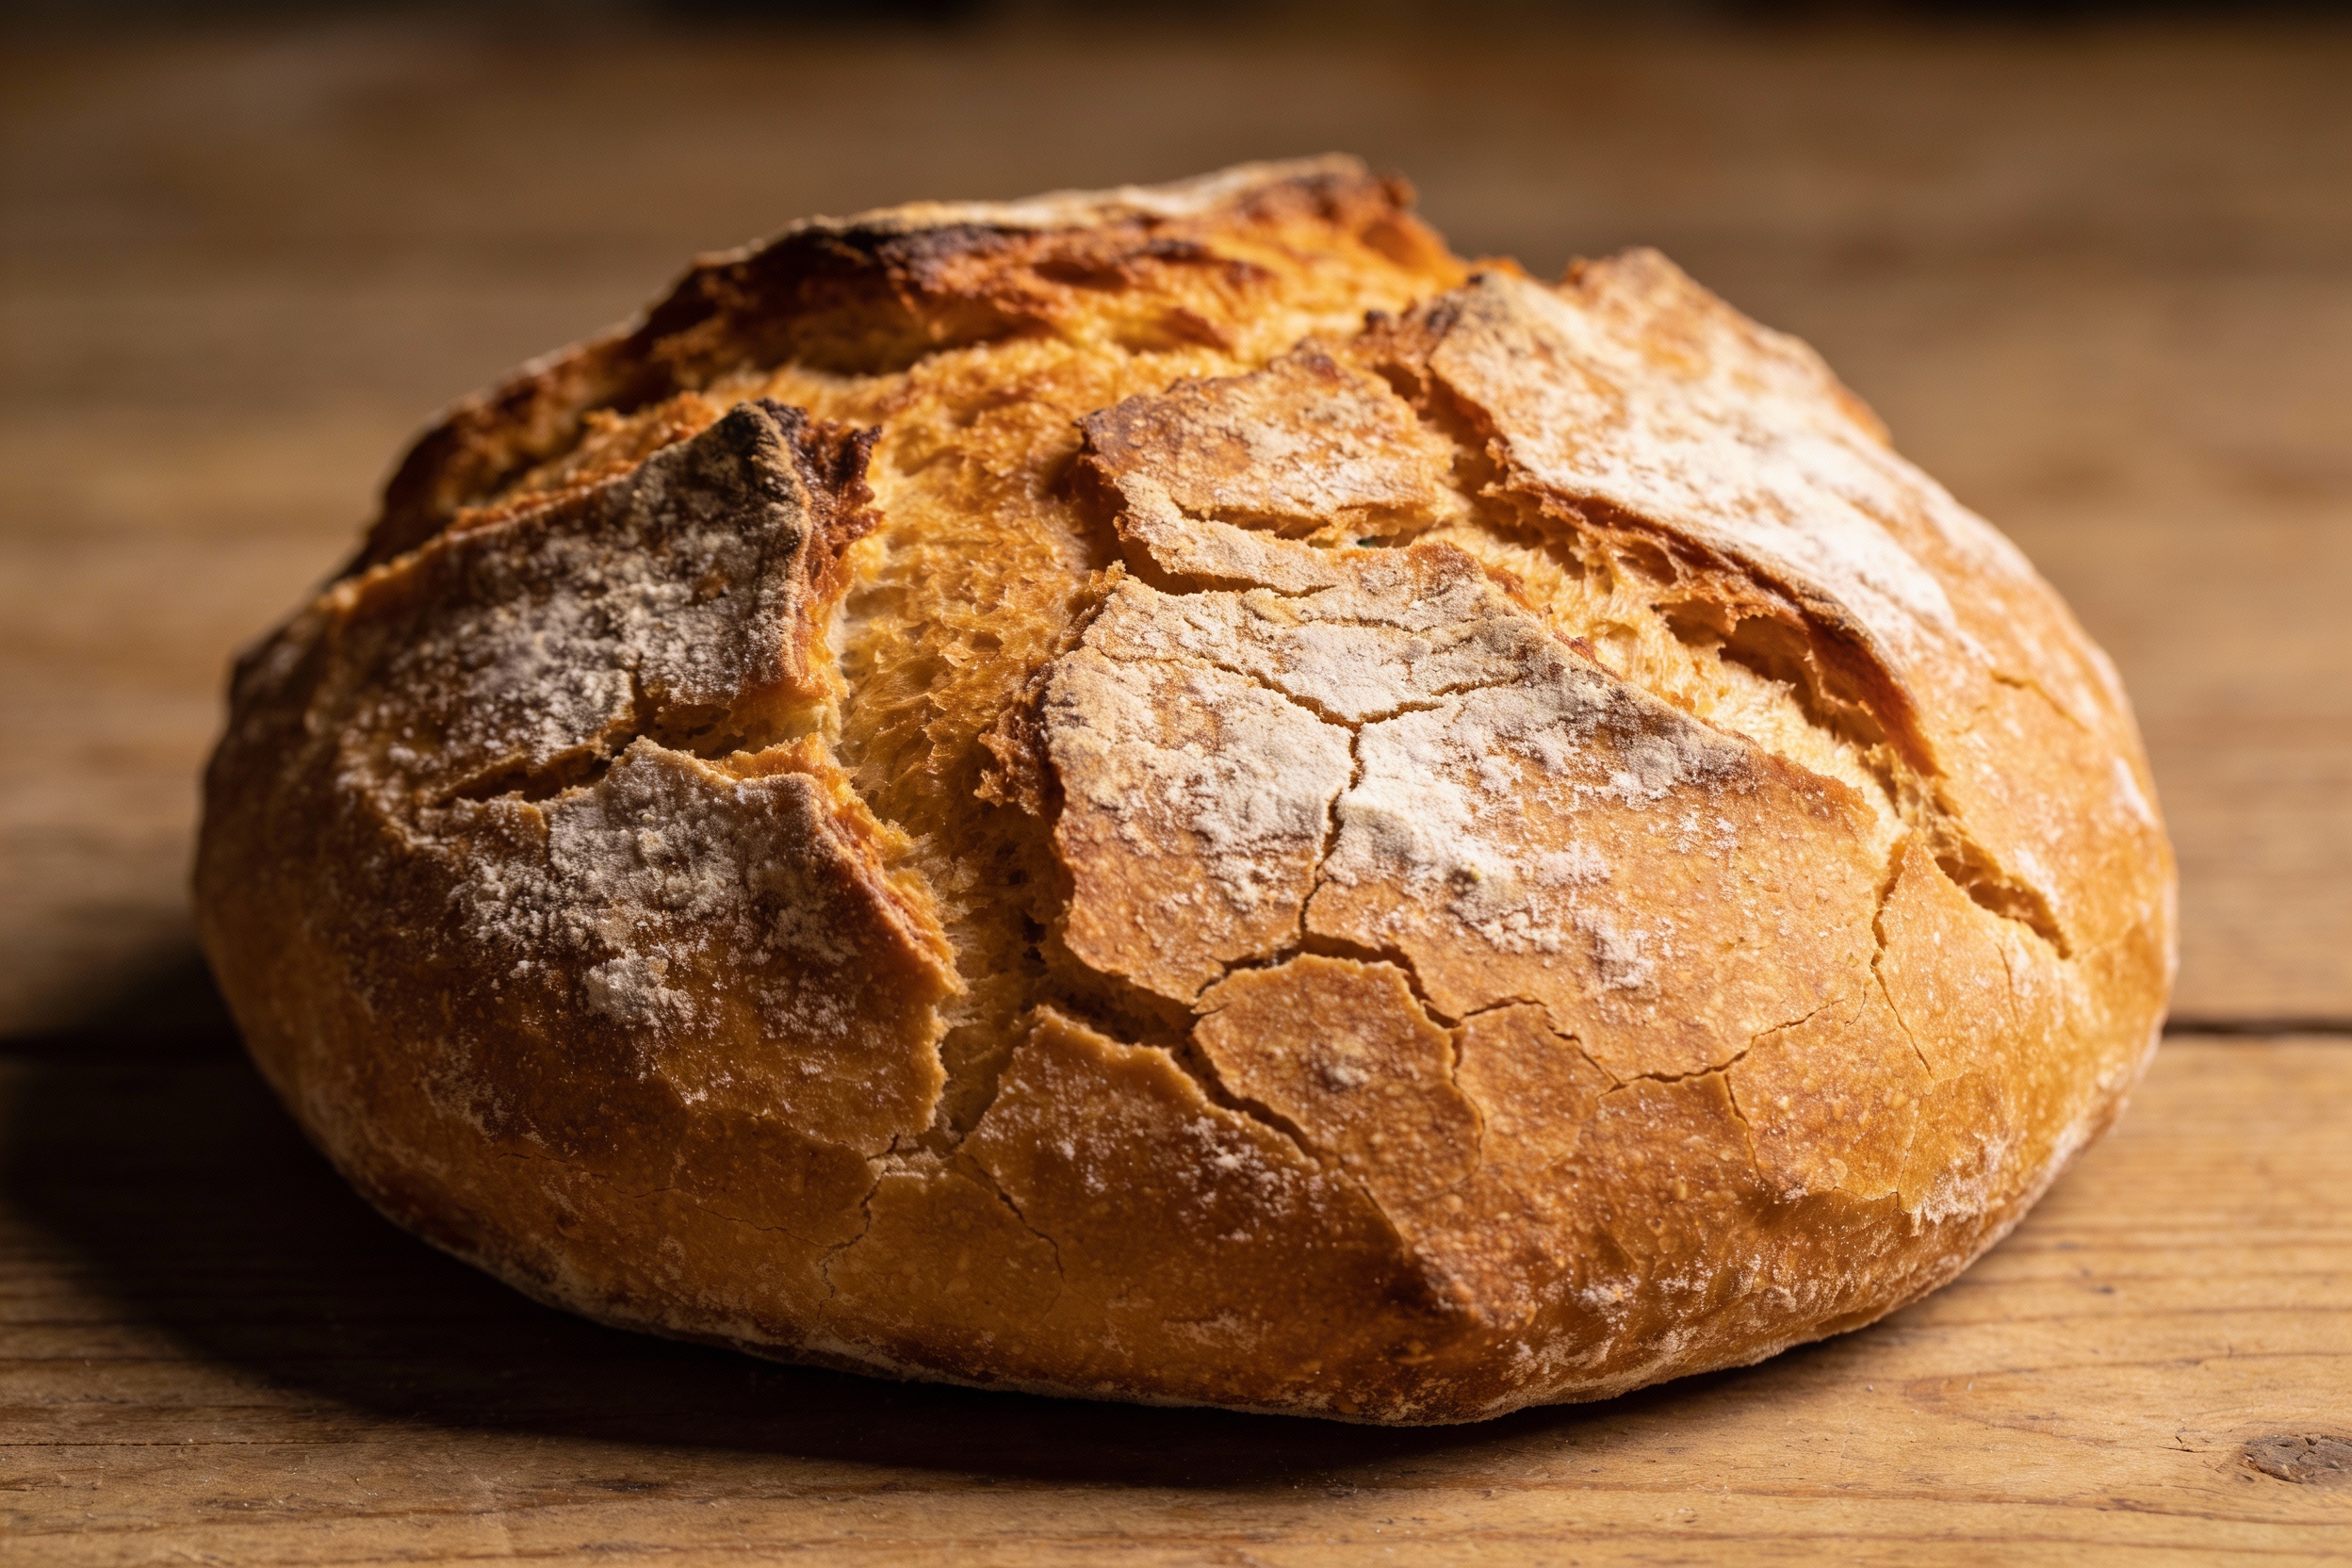
The kind of bread you tear with your hands and eat way too much of before dinner? That’s the rustic Italian loaf. Big crust, tender crumb, just enough chew to feel legit, and it makes your kitchen smell like you own a tiny trattoria. If you want bread that looks like it came from a wood-fired oven but actually came from your home oven, you’re in the right place. Let’s make a loaf that makes butter feel important.
What Makes a Rustic Italian Loaf “Rustic” Anyway?
Rustic means we keep it simple and let time do the heavy lifting. No fancy toppings or precision scoring—just a rugged crust and an open, airy interior. You focus on good flour, long fermentation, and a hot oven. The dough stays sticky and alive, and the flavor develops while you do literally anything else—clean, nap, scroll, whatever. Key traits of a great rustic Italian loaf:
Crackly crust that sings when it cools (yes, bread sings, and yes, you’ll feel proud).
Open crumb with irregular holes—perfect for olive oil dips and soup dunking.
Deep flavor from slow fermentation and a touch of olive oil.
Forgiving process that welcomes beginners and rewards patience.
Ingredients: Keep It Simple, Keep It Good
You don’t need a pantry full of artisanal wizardry. You just need solid basics. Here’s the usual lineup:
500 g bread flour (you can sub 10–20% with semolina or whole wheat for flavor)
360–380 g water, room temp (aim for a wet dough)
10 g fine sea salt
2 g instant yeast (or 60–80 g active, bubbly starter if you’re going sourdough)
1 tbsp extra-virgin olive oil (optional, but IMO it adds lovely aroma)
Optional flavor add-ins
1 tsp honey for a hint of sweetness
Fresh rosemary or thyme, chopped super fine
Black olives or sun-dried tomatoes, chopped and well-drained
Method: The Slow Magic (Without Overcomplicating It)
We’ll use a flexible method that fits busy schedules. You can do it in a day or let the fridge help.
Mix: Stir flour, water, and yeast until shaggy. Rest 20–30 minutes (autolyse). Add salt and olive oil, then mix until it all cooperates. The dough should feel sticky. If it clings like a koala, you nailed it.
Bulk ferment: Cover and let it rise at room temp 2–3 hours. During this time, do 3–4 rounds of stretch-and-fold every 30 minutes. It strengthens the dough without a workout.
Cold rest (optional but awesome): Pop the bowl in the fridge 8–18 hours. You build flavor while you sleep. FYI, cold dough handles easier.
Shape: Gently tip onto a lightly floured surface. Fold the edges into the center to form a tight round or oval. Don’t punch it down. Think “persuade,” not “assault.”
Proof: Place seam-side up in a floured banneton or a bowl lined with a floured towel. Cover and proof 45–90 minutes at room temp, or until puffy and springy to the touch.
Preheat: Heat your oven to 475°F (245°C) with a Dutch oven inside, or use a baking stone/steel with a steam tray.
Score and bake: Carefully invert the dough onto parchment, score with a lame or sharp knife, and load it. Bake covered 20 minutes, then uncover and bake 15–25 more until deep golden-brown. Internal temp should hit ~205–210°F (96–99°C).
Cool: Wait at least 45 minutes before slicing. I know. I know. But do it. Steam needs to set the crumb.
Timelines that actually work
Same-day: Start mid-morning, bake by dinner.
Overnight: Mix in the evening, chill overnight, bake the next day.
Gear: What You Need (and What You Don’t)
You don’t need a commercial deck oven. You just need heat and steam. Nice-to-haves:
Dutch oven: Traps steam, gives that epic crust.
Kitchen scale: Way more reliable than cups, IMO.
Banneton or bowl + floured towel: Supports the dough for a pretty, tall loaf.
Lame or razor: Clean scores that open dramatically.
Workarounds:
No Dutch oven? Use a baking stone and a preheated sheet pan on the bottom rack. Toss in a cup of hot water at bake time for steam.
No banneton? Colander lined with a well-floured towel works fine.
No lame? Use a very sharp serrated knife.
Texture and Flavor: The Why Behind the Wow
Rustic Italian loaves taste fantastic because they play the long game. Time breaks down starches into sugars, which feeds the yeast and boosts browning. You get deeper flavor, better crust, and that soft, custardy interior.
Hydration matters
Higher hydration means bigger holes and a lighter crumb. If 75% hydration scares you, try 70% and work up. Your confidence grows as your hands learn the dough.
Salt isn’t optional
Salt strengthens gluten and boosts flavor. If your loaf tastes flat, you probably went light. Measure it—your taste buds will thank you.
Shaping and Scoring: The Part Everyone Overthinks
Relax. You’re not sculpting marble; you’re folding dough. The goal: surface tension. Simple shaping workflow:
Fold like a letter, then roll into a tight log or cinch into a round.
Pinch the seam shut. Let it rest seam-side up during proof.
Scoring basics:
Angle the blade ~30 degrees.
One long, confident slash on an oval. A cross on a round.
Depth: about 1/4 inch so it opens nicely.
Serving Ideas: Not Just Bread, It’s A Lifestyle
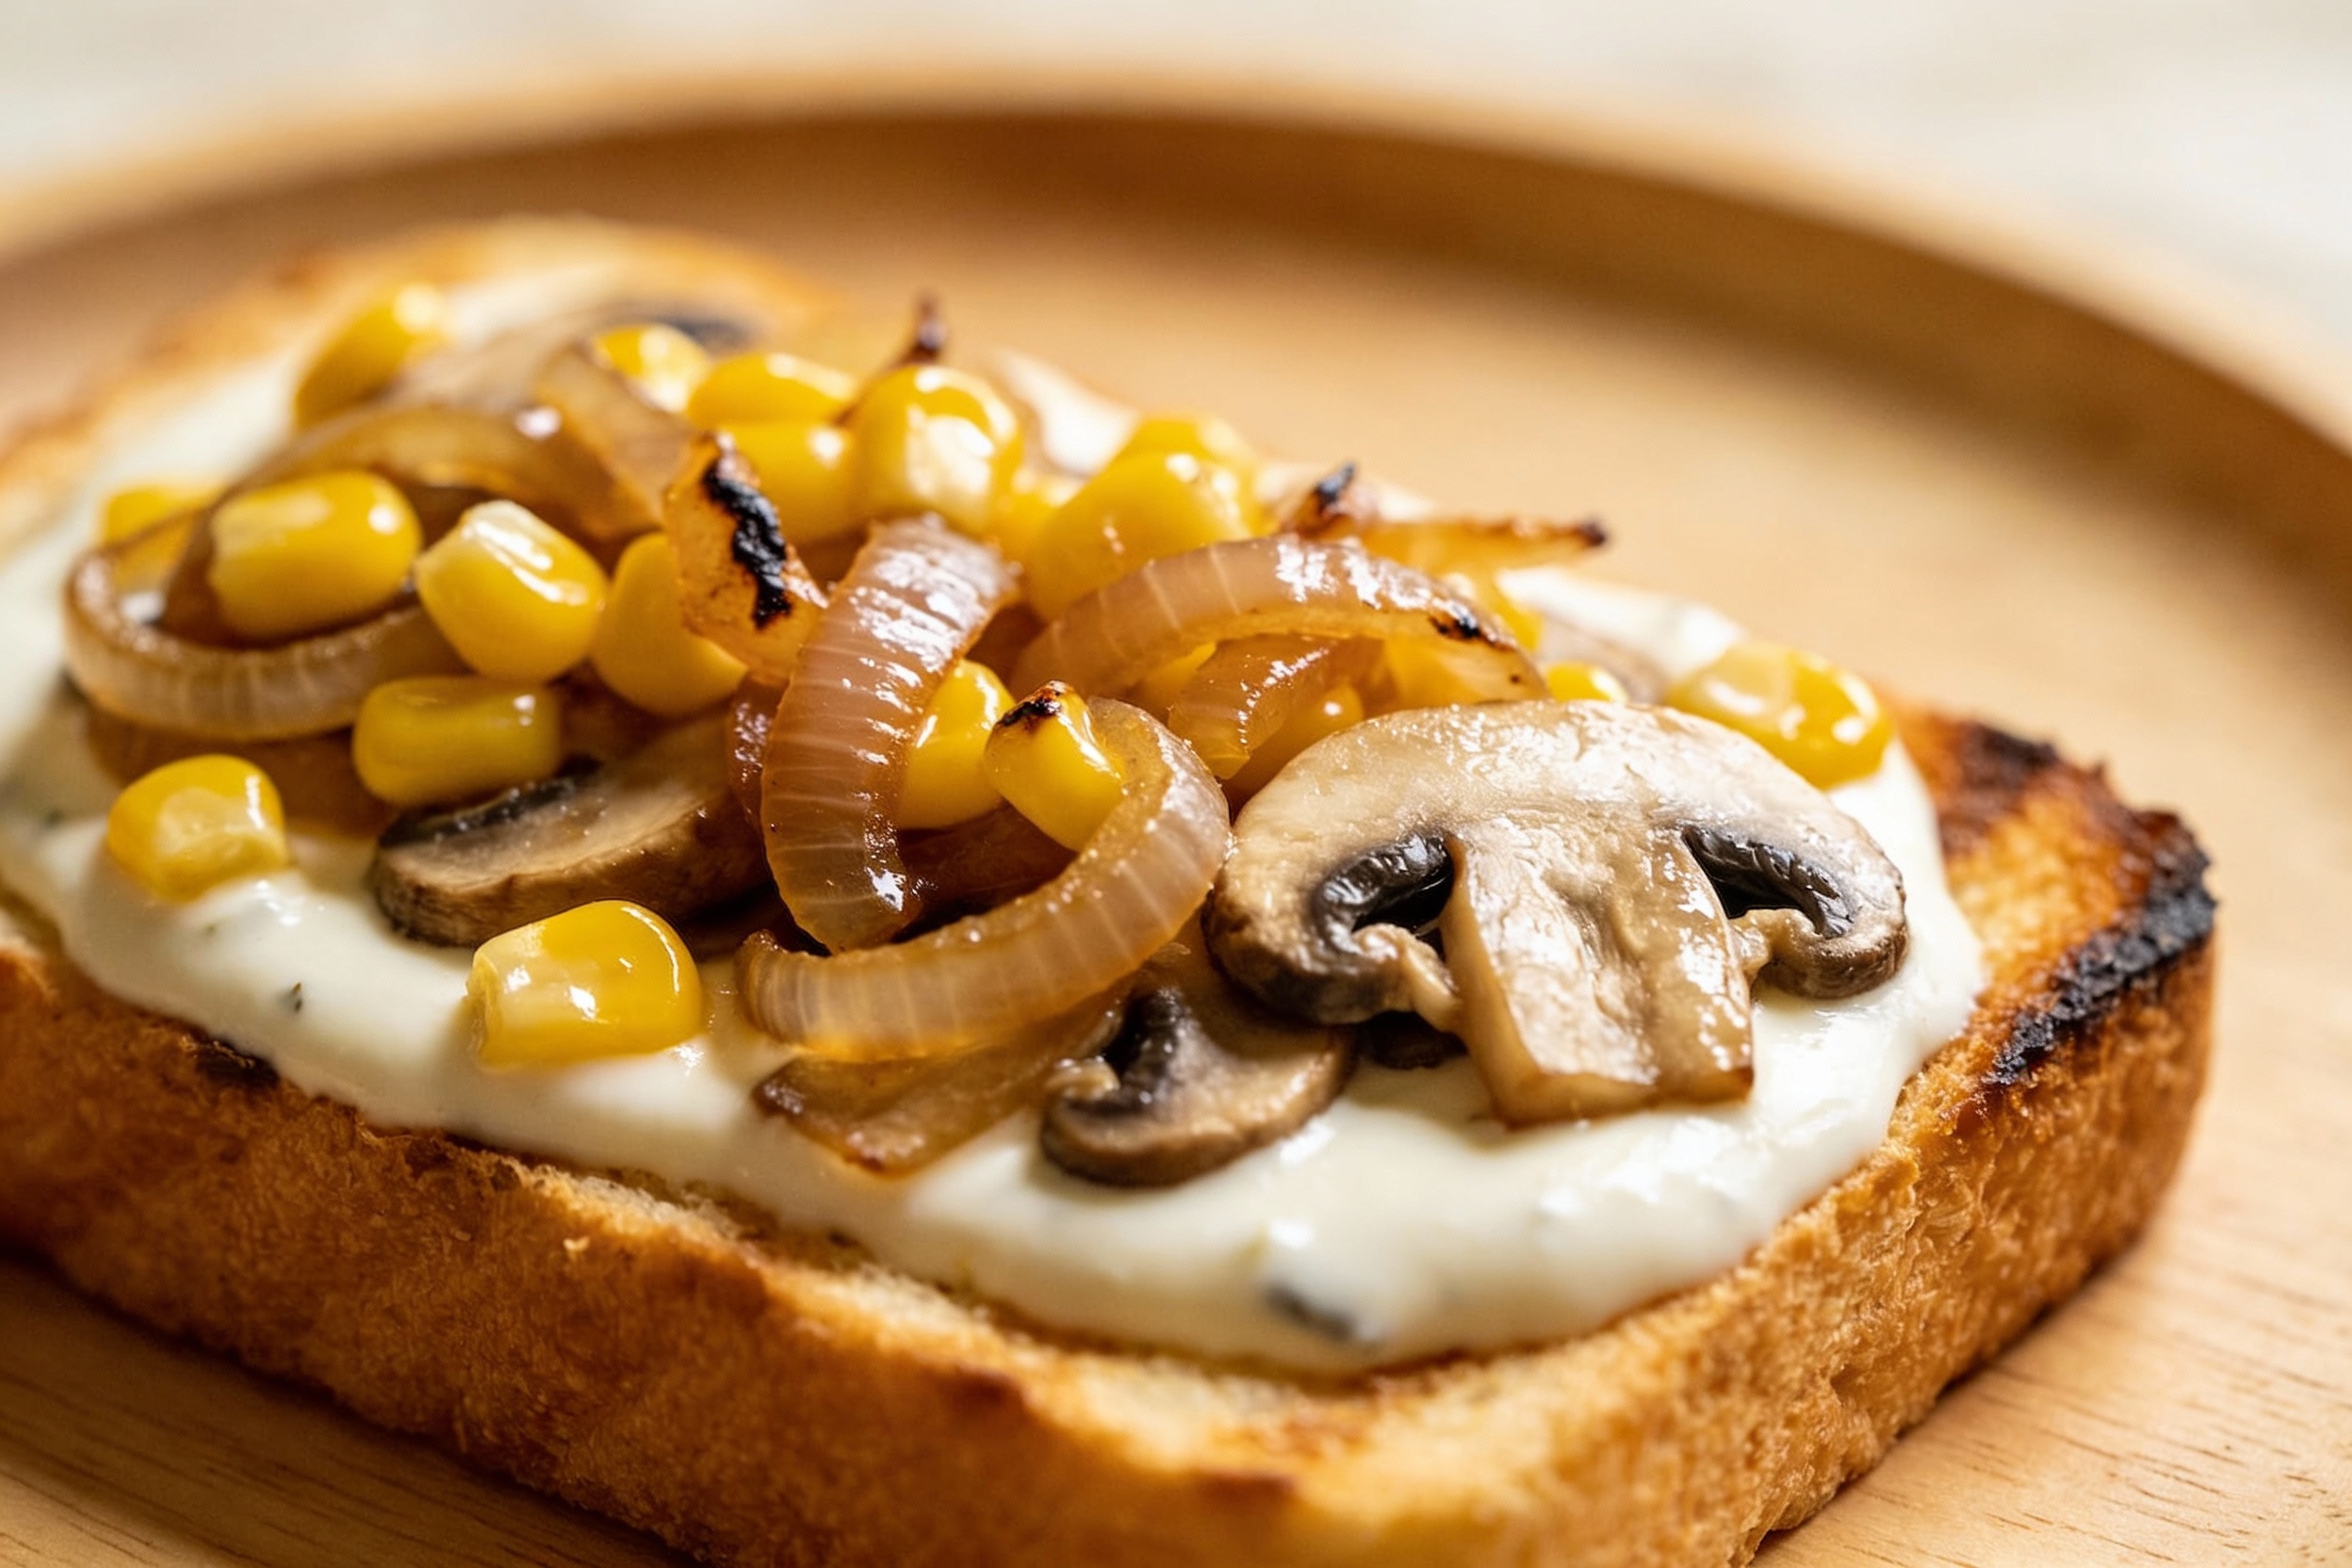
You can eat this with literally anything. But if you want peak deliciousness, pair it right.
Olive oil + balsamic + flaky salt: Classic for a reason.
Brothy soups and stews: Minestrone loves this bread.
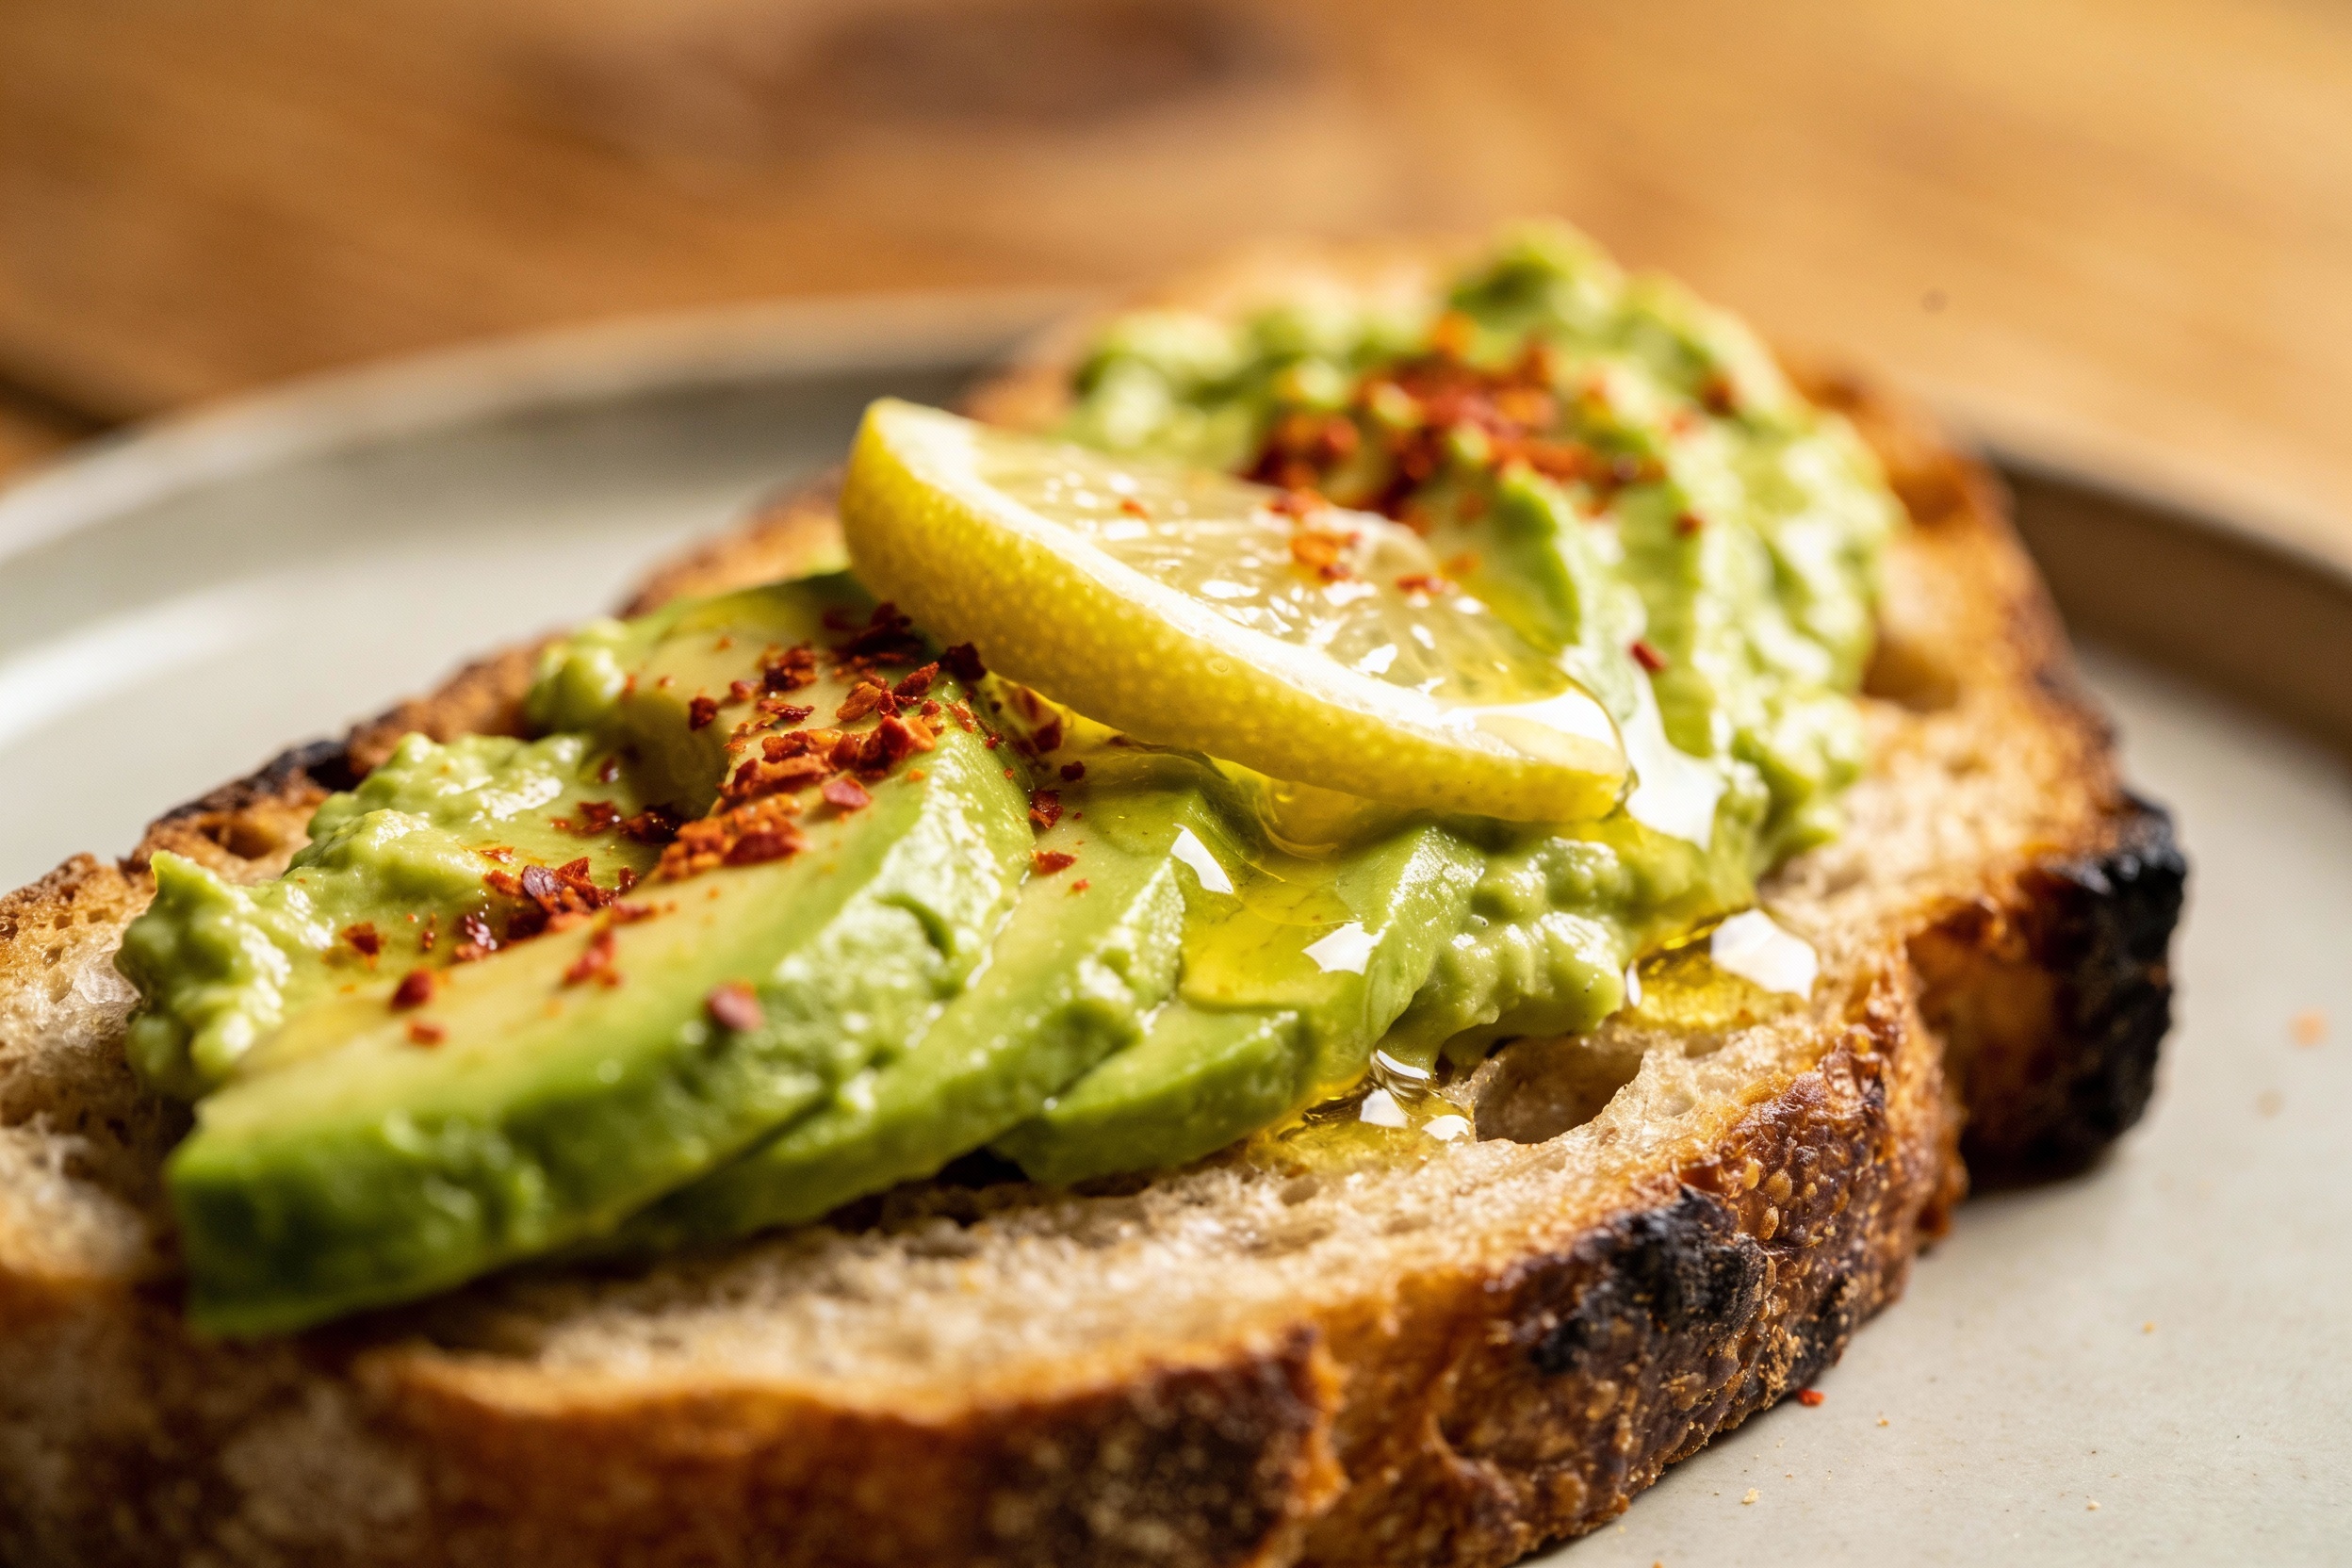
Bruschetta: Toast slices, rub with garlic, top with tomatoes and basil.
Panini: Press with mozzarella, prosciutto, and arugula.
Breakfast hero: Thick slice, soft scramble, drizzle of chili oil. You’re welcome.
Storage and revival
Short-term: Keep it cut-side down on a board, uncovered, for a day.
Longer: Wrap in a paper bag inside a cloth bag. Avoid plastic unless you like soft crust.
Freeze: Slice first, then freeze. Reheat in a 350°F oven for 8–10 minutes.
Common Mistakes (And How To Dodge Them)
Let’s save you from bread heartache.
Underproofing: Tight crumb and explosive tears. Do the poke test; dough should spring back slowly, not instantly.
Overproofing: Flat loaf, sad vibes. If it barely springs back, get it in the oven now.
Too much flour: Resist dusting like it’s snowing. Use just enough to handle.
Cold oven: Heat matters. Preheat longer than you think, especially for stones or Dutch ovens.
Slicing hot: You’ll squish the crumb. Wait. Brew coffee. Stare at it lovingly.
FAQ About Rustic Italian Loaf
Can I make this completely without yeast, like sourdough?
Totally. Swap the yeast for 60–80 g active sourdough starter and reduce the water slightly to balance hydration. Expect longer fermentation and a tangier profile. Flavor payoff? Huge.
Why is my loaf pale and not crusty?
You likely need more heat or steam. Preheat thoroughly and bake the first 20 minutes covered or with steam, then uncover to brown. Also, let it bake darker than your instincts say—color equals flavor.
My dough is super sticky. Did I mess up?
Probably not. High-hydration dough sticks—that’s the trade-off for great crumb. Use wet hands, a bench scraper, and light flouring. The dough strengthens after folds and rests.
Do I need bread flour, or can I use all-purpose?
Bread flour gives better structure and chew, but good all-purpose still works. If using AP, try slightly lower hydration and give the dough an extra fold or two. It’ll still turn out delicious.
What if I don’t have a Dutch oven?
Use a preheated baking stone or inverted sheet pan and create steam. Place a cast-iron pan on the bottom rack and add hot water at bake time. Not identical, but close enough to impress everyone, including yourself.
How do I get huge holes like in bakery bread?
Hydration, gentle handling, strong fermentation, and a hot bake. Don’t knock out gas during shaping, and avoid adding too much flour. Also, patience—your crumb game improves with practice.
Conclusion On Rustic Italian Loaf
A rustic Italian loaf doesn’t demand perfection—it rewards attention. Give it time, keep your hands gentle, and let heat and steam do their thing. You’ll pull a crackling, bronzed loaf from the oven and feel like a bread wizard, FYI. And once you slice into that airy crumb? Good luck not eating half of it standing at the counter.
Disclosure: This post may contain affiliate links.
If you make a purchase through these links, I may earn
a small commission at no extra cost to you.
prab chahal
Hi, I’m Prabjot Chahal – the heart (and taste buds) behind this blog!
Food has always been my love language – from experimenting with family recipes to discovering unique flavors from around the world. I believe that cooking isn’t just about following a recipe, it’s about creating moments, sharing stories, and connecting with others over something delicious. Through this blog, I want to build a vibrant food community where we share more than just recipes – we share inspiration, tips, and the joy of making and enjoying good food together. Whether you’re here for quick weekday dinners, festive treats, or creative seasonal ideas, you’re part of this table. So grab a fork (or a whisk!) and let’s cook, bake, and share our love for food – one recipe at a time.


")
")