Welcome, gluten-free newbs and seasoned taste testers alike. If you’ve been staring at labels, wondering what to cook that won’t taste like cardboard, you’re in the right place. This plan is all about simple, crave-worthy meals that soothe digestion, keep you energized, and still feel fun on a weeknight. No more guesswork, no more bland repeats, just tasty confidence you can actually sustain. FYI, you don’t need a pantry full of weird flour blends to win at gluten-free cooking.
Here’s the honest truth: gluten-free meals can feel restrictive, and that vibe is exhausting. You want flavor, texture, and something you’d actually crave after a long day. You want meals that travel well, reheat without roaring dryness, and attract compliments instead of explanations. Trust me, I’ve messed up enough gluten-free dinners to know what works and what doesn’t. This plan stitches together bright breakfasts, comforting lunches, and dinner ideas that feel deliciously indulgent without derailing your goals. Ready to tease your taste buds with a week of meals that stick to your ribs in the best way? Let’s dive in, one irresistible recipe at a time.
1. Weekday Sunrise Scramble That Feels Like a Cozy Café Brunch
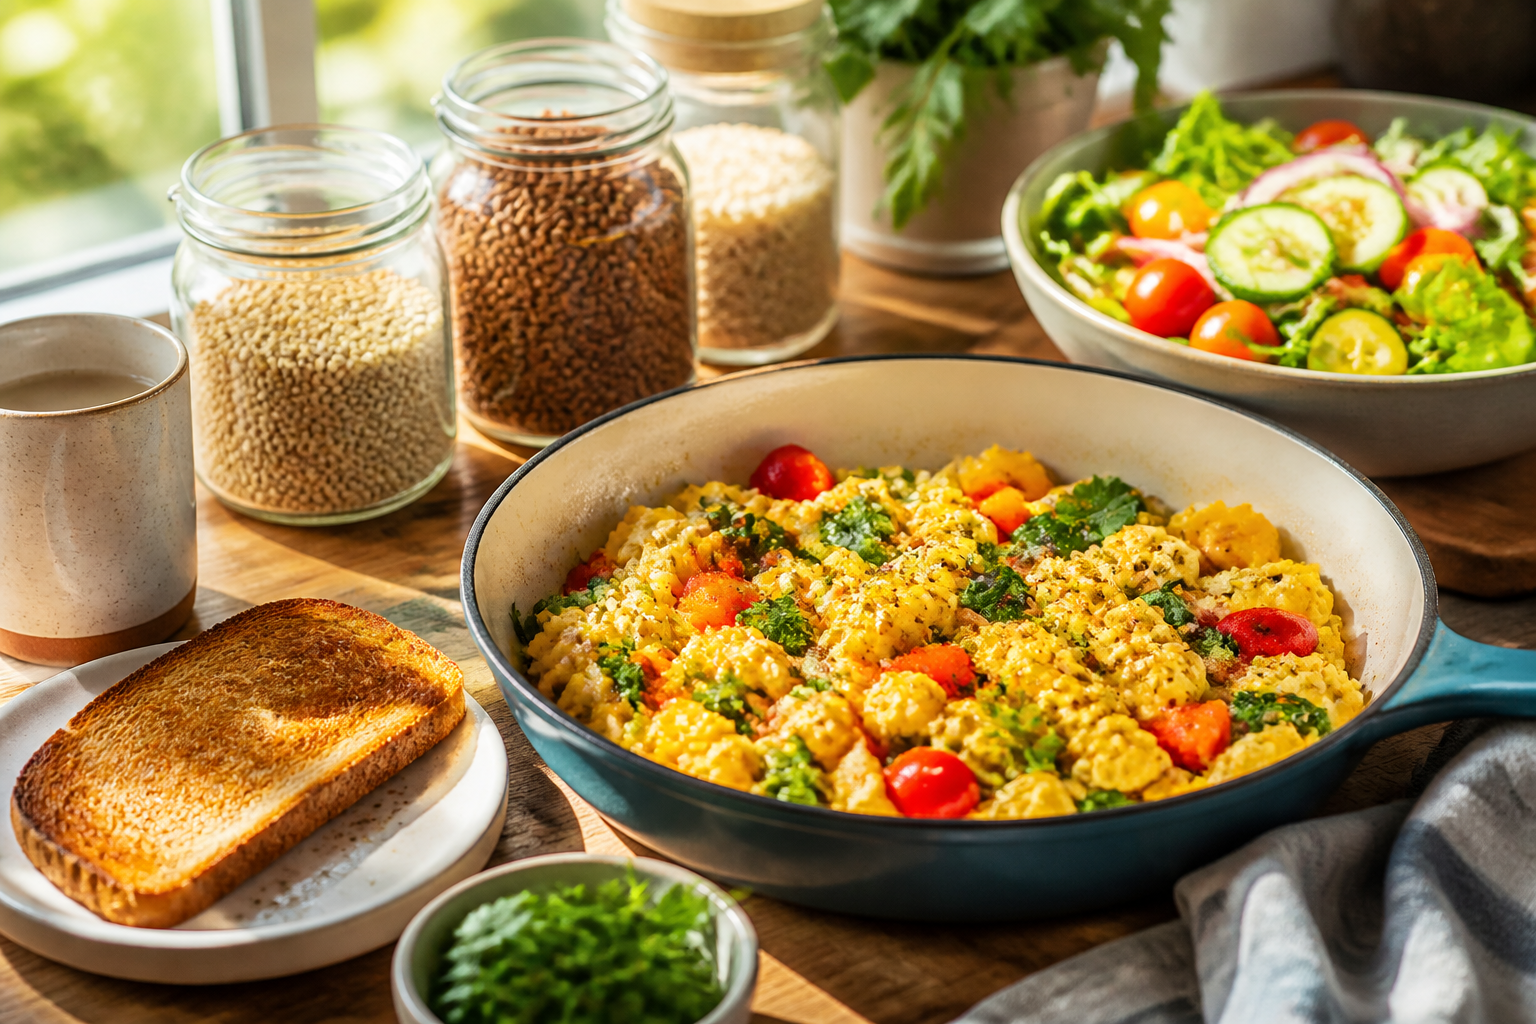
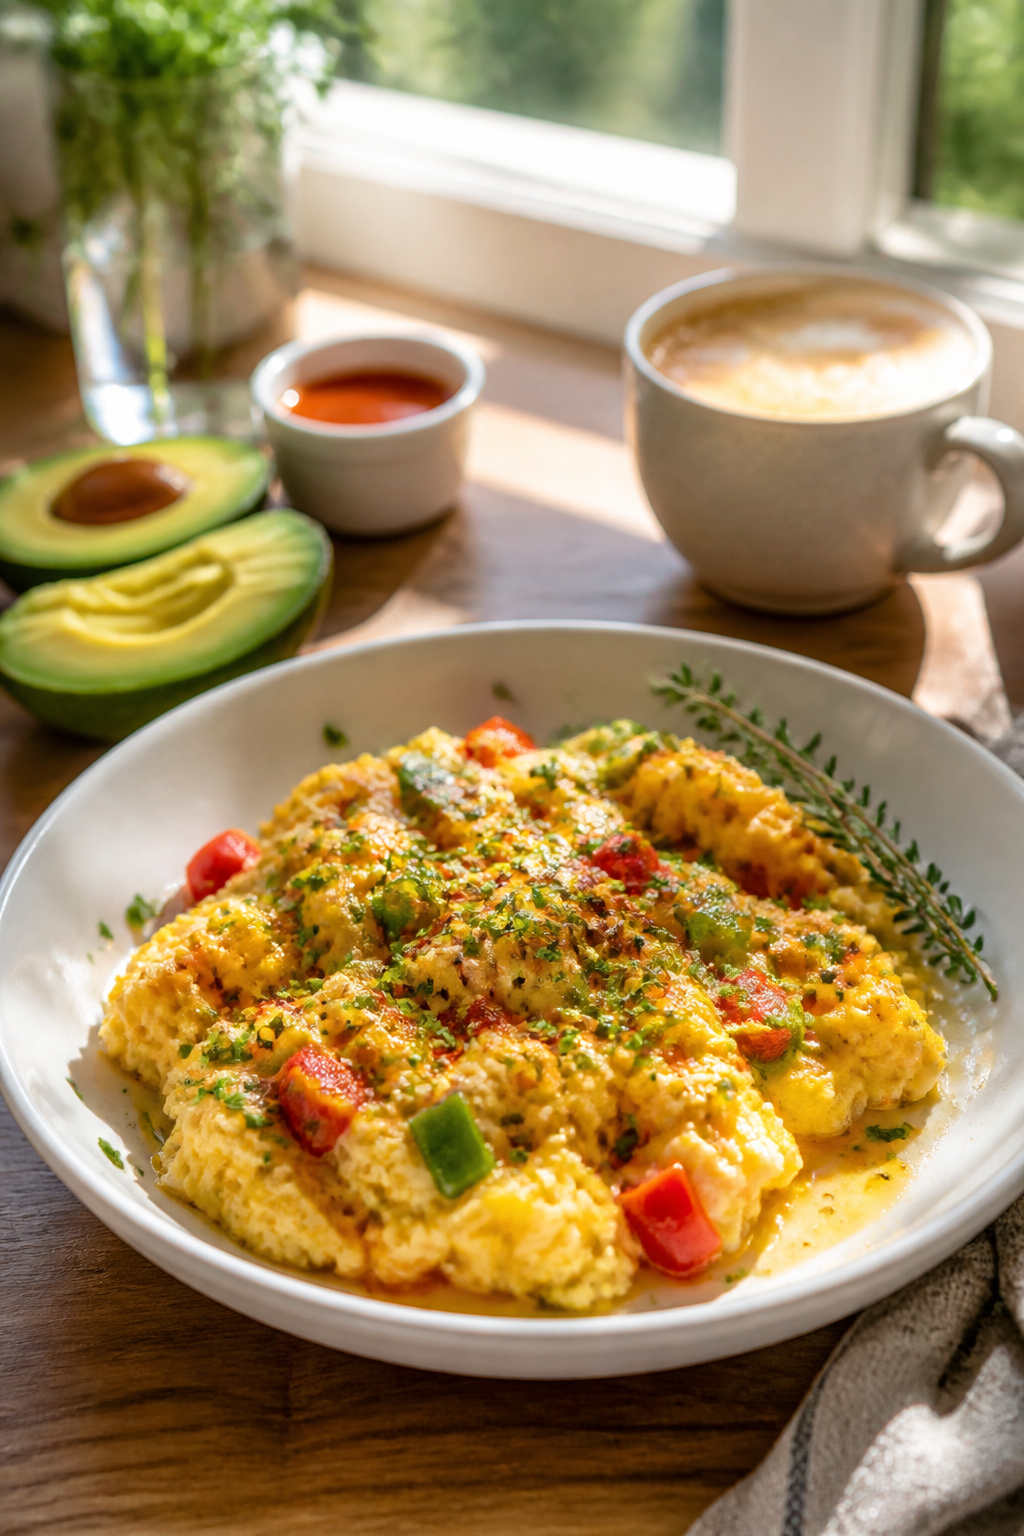
A morning that starts with a sizzle and a smile sets the tone for the whole day. This scramble is fluffy, savory, and bright with herbs and peppers. It’s the kind of quick, forgiving breakfast you text your friends about because you didn’t think eggs could feel this exciting. The texture is soft on the inside, with a hint of crisp edges from the pan—comfort and sunshine all in one bowl.
Why You’ll Love It
High-protein start that keeps you full until mid-morning
One-pan cleanup, seriously
Colorful veggies add crunch and mental energy
Fast enough to make on a rushed workday
Flexible with leftovers (hello roasted veggies)
Kid-friendly if you hide greens in plain sight
Ingredients
4 large eggs
¼ cup unsweetened almond milk
½ cup diced bell pepper (any color)
¼ cup sliced mushrooms
¼ cup chopped spinach
2 tbsp olive oil or butter
Salt and pepper to taste
¼ tsp paprika (optional for color)
Fresh parsley for garnish
Instructions
Whisk eggs with almond milk, salt, pepper, and paprika until well combined.
Heat olive oil in a nonstick skillet over medium heat.
Sauté peppers and mushrooms 2–3 minutes until just tender.
Pour in egg mixture and let sit 20 seconds, then scramble gently.
Fold in spinach and cook until eggs are fully set but still creamy, about 1–2 minutes.
Garnish with parsley and serve hot with a side of avocado if you like.
Pro Tips
Beat eggs thoroughly to maximize fluffiness.
Warm your pan before adding eggs for a better scramble crust.
Use cashew cheese shreds if you want extra melty richness.
Keep leftovers in an airtight container for a quick breakfast.
Easy Variations
Add sun-dried tomatoes for a tangy boost.
Swap spinach for kale and add a pinch of garlic powder.
Top with feta or dairy-free cheese for a salty bite.
Mistakes To Avoid
<liOvercooking eggs until rubbery—pull them off while glossy.
Overcrowding the pan, which steams rather than sautés.
Skipping the milk—a touch keeps the texture lighter.
Serving Ideas
Plate with a slice of gluten-free sourdough or serve over warm quinoa for extra staying power. A drizzle of hot sauce or a squeeze of lime adds brightness.
The Story Behind It
Picture this morning: you stumble into the kitchen, half-awake, perfume of toasty peppers filling the air, and a sizzling sound that feels like a hug. The first bite tastes like sunshine with a hint of peppery bite. It’s a simple routine that forgives your groggy self and still makes you feel like a grown-up chef. This recipe isn’t pretending to be fancy; it’s made to work with whatever you have, and it tastes amazing even when you rush through the process. You’ll come back to this scramble on busy weekdays and think, “Why did I ever skip breakfast?”
2. Lemon-Garlic Chicken with Veggie Noodles That Dances on Your Palate
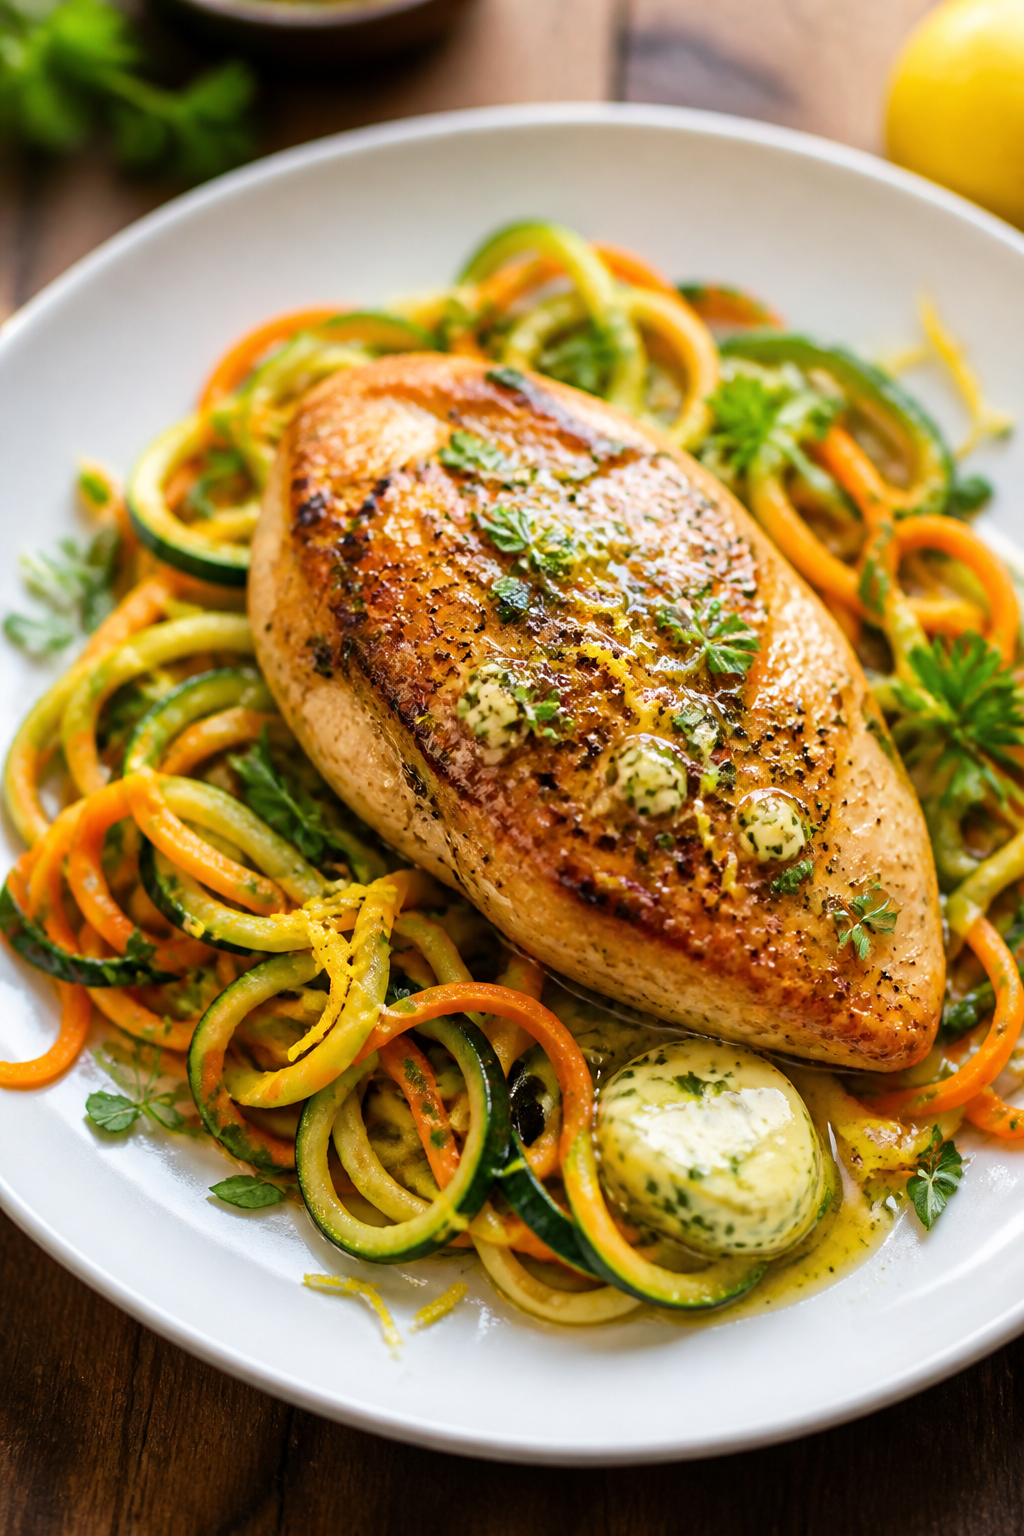
Think juicy chicken with a bright lemon kiss and ribbons of zucchini and carrot noodles that feel like pasta but are lighter on the gluten-free vibe. This dish is a reminder that gluten-free worlds can taste fresh, vibrant, and a little gourmet without requiring a culinary degree. The aroma alone—lemon zest, garlic, a hint of butter—will lure everyone to the table.
Why You’ll Love It
Low-carb, high-flavor main that satisfies
Sheet-pan friendly for easy weeknights
Lean protein with a zippy citrus finish
Texture contrast between tender chicken and crisp veg noodles
2 large carrots, peeled into thin ribbons or sticks
2 tbsp olive oil
2 cloves garlic, minced
1 lemon (zest and juice)
2 tbsp butter or dairy-free alternative
Salt and pepper to taste
Crushed red pepper flakes (optional)
Fresh parsley for garnish
Instructions
Slice chicken into thin cutlets and pat dry; season with salt and pepper.
Heat 1 tbsp olive oil in a skillet over medium-high heat; sear chicken 3–4 minutes per side until golden and cooked through. Remove.
In the same skillet, add butter, garlic, and a pinch of red pepper flakes; sauté 30 seconds.
Add lemon zest and juice; swirl in zucchini noodles and carrot ribbons; toss 2–3 minutes until just tender.
Return chicken to the pan; toss with noodles 1 minute to rewarm and coat with sauce.
Garnish with parsley and a final squeeze of lemon if desired.
Pro Tips
Don’t overcook the noodles; they should stay firm (al dente vibes).
Use a spiralizer or peeler ribbons to vary texture.
Keep a little extra lemon for finishing brightness at the table.
Butter adds gloss and depth—don’t skip it if you’re dairy-tolerant.
Easy Variations
Swap chicken for salmon for a richer alternative.
Use gluten-free pesto for a herby twist.
Top with toasted pine nuts for crunch.
Mistakes To Avoid
Over-whooshing the noodles until mushy; keep them crisp-tirmed.
Too much garlic overpowering the citrus—balance is key.
Overcrowding the pan which steams the chicken rather than sears it.
Serving Ideas
Plate with a light side salad or a handful of gluten-free garlic bread if you need that comforting bite. A splash of extra lemon juice brightens everything.
Imagine opening your fridge and realizing you have a handful of vegetables, a lemon, and a couple chicken breasts that look lonely. This dish shows up like a pep talk from your best pantry buddy: you can make something elegant out of simple stuff. The noodles take on the lemony butter kiss, while the chicken stays juicy and confident. It’s the kind of meal that makes you feel like you actually know what you’re doing in the kitchen, even when you’re juggling work and life. Seriously, it’s a confidence booster in plate form.
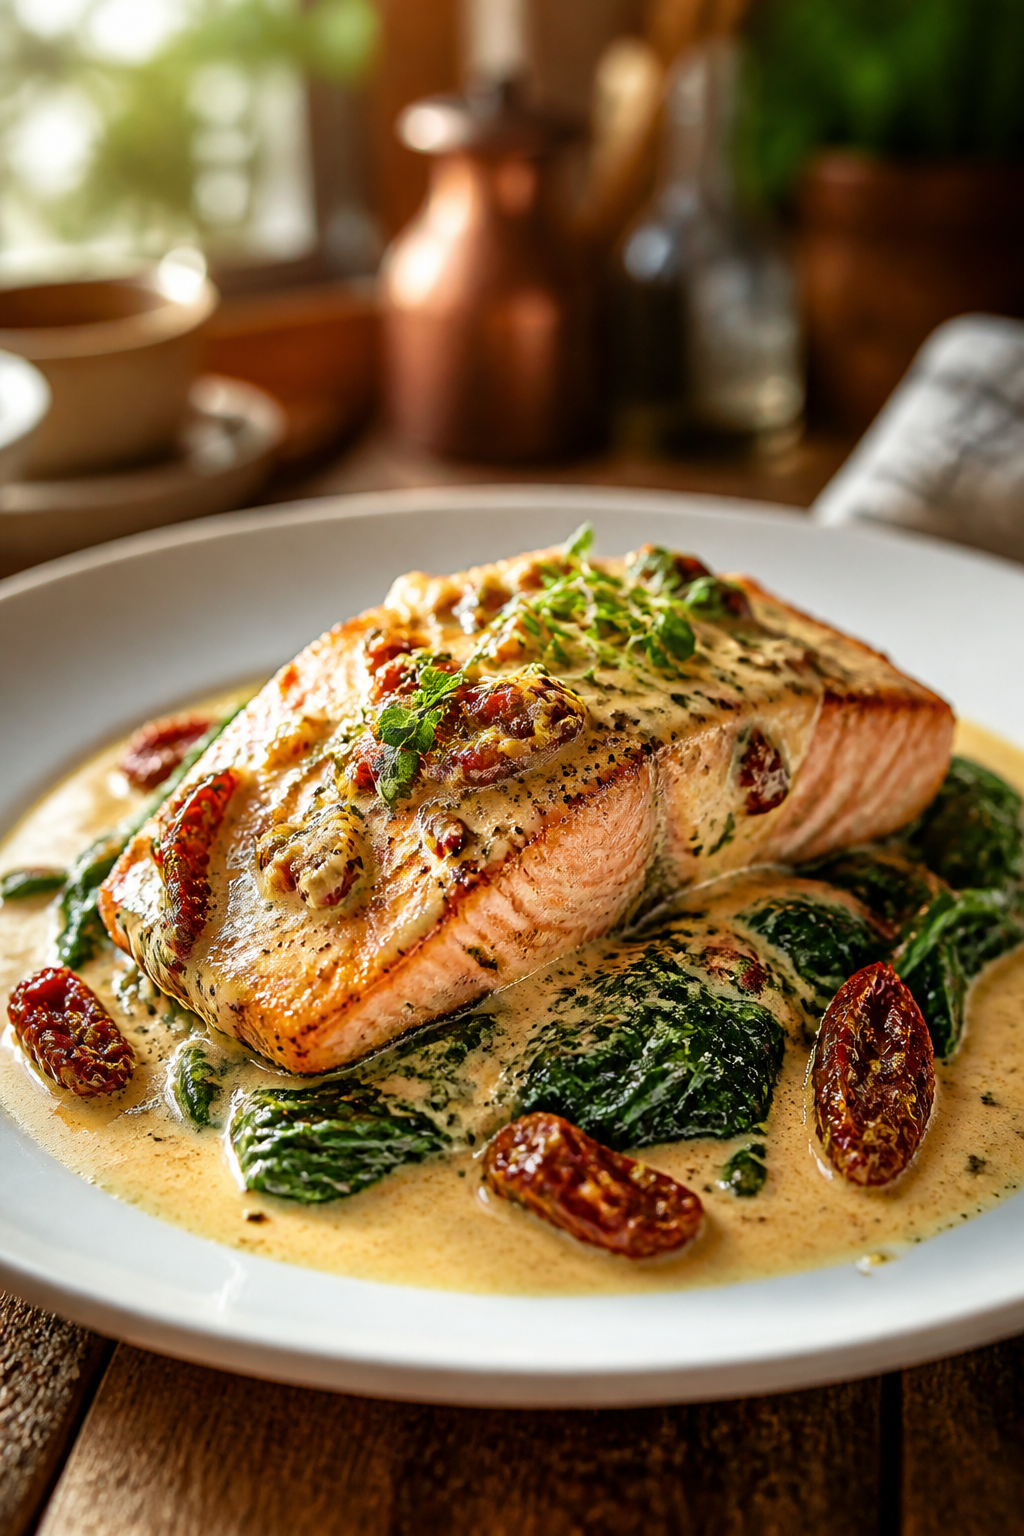
3. Creamy Tuscan-Style Salmon with Spinach Hearts
Salmon that glides across your palate with a garlicky, creamy sauce and a rush of sun-dried tomatoes and spinach. It’s a dish that feels fancy but comes together in the time it takes to reheat your coffee. The salmon stays tender and flaky, the sauce clings to every bite, and the spinach gives a pop of green that makes you grin.
Why You’ll Love It
Luxurious texture without the fuss
Excellent one-pan supper for busy nights
High in omega-3s and protein
Flavorful without being heavy
Great for date night or meal-prep lunches
Kid-friendly with a creamy vibe
Ingredients
2 salmon fillets (6 oz each)
2 cups fresh spinach
½ cup canned crushed tomatoes
¼ cup heavy cream or coconut cream
2 cloves garlic, minced
1 tbsp olive oil
¼ cup grated Parmesan (optional)
Salt and pepper to taste
½ tsp dried oregano
Fresh basil for garnish
Instructions
Season salmon with salt, pepper, and oregano.
Heat oil in a skillet over medium-high heat; sear salmon 3–4 minutes per side until opaque and flaky. Remove.
In the same skillet, add garlic; sauté 30 seconds until fragrant.
Stir in crushed tomatoes and cream; simmer 3–4 minutes to thicken slightly.
Add spinach and cook until wilted; return salmon to the pan to warm through, spooning sauce over.
Sprinkle with Parmesan and basil just before serving.
Pro Tips
Don’t overcook salmon; it’s best when still juicy in the center.
Use coconut cream for a dairy-free version with a tropical note.
Let sauce reduce a touch to concentrate flavor.
Season in layers to avoid flat taste.
Easy Variations
Swap salmon for cod or shrimp for a lighter seafood option.
Stir in a handful of olives for a briny kick.
Finish with a squeeze of lemon for brightness.
Mistakes To Avoid
Overly thick sauce that masks salmon texture.
Salmon sticking to pan—use enough oil and proper heat.
Under-seasoning the sauce—taste as you go.
Serving Ideas
Pair with gluten-free orzo or simple roasted potatoes for a hearty plate. A side of roasted asparagus or green beans completes the rainbow of color.
The Story Behind It
Picture a quiet Sunday evening, the kitchen smelling like garlic and summer tomatoes, a flawless pink fillet resting on a glossy pool of creamy sauce. It feels indulgent but not heavy, like a dish you’d order at a chic bistro you can actually afford. The trick is balancing brightness with creamy richness—the salmon carries the star power, and the sauce is the loyal sidekick who never steals the spotlight. This dish teaches you that you can have restaurant-worthy flavor at home without burning the budget or your patience.
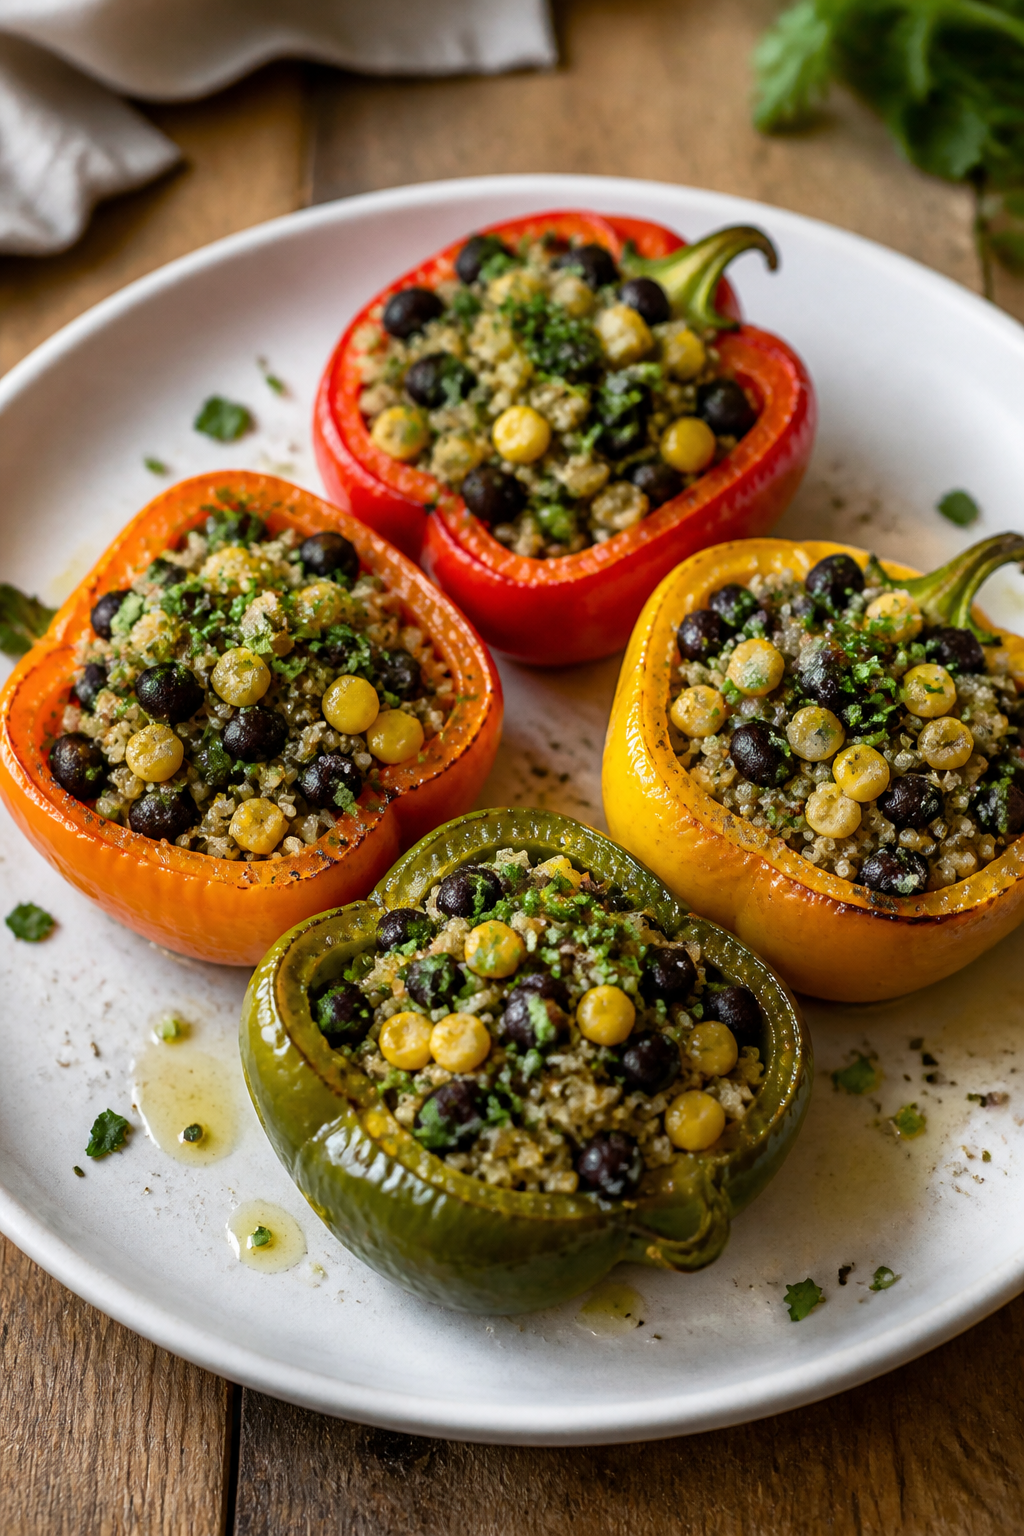
4. Veggie-Packed Quinoa-Stuffed Peppers With Energetic Fresh Herbs
These peppers are a rainbow hug—sweet bell peppers roasting alongside fluffy quinoa, black beans, corn, and fresh herbs. The result is a hearty, gluten-free staple that tastes like a celebration but behaves like a reliable weeknight hero. You’ll notice the textures—peppers tender-crisp, quinoa fluffy, beans tender—plus a crisp herby finish that keeps things lively.
Why You’ll Love It
Filled with plant-based protein and fiber
Make-ahead friendly for batch cooking
Colorful, photogenic, and crowd-pleasing
Perfect as a main course or hearty side
Freezer-friendly for long weeks
Great for meal-prep lunches
Ingredients
4 bell peppers (mixed colors)
1 cup cooked quinoa
1 can black beans, rinsed
1 cup corn kernels (fresh or frozen)
1 small onion, diced
2 cloves garlic, minced
1 cup diced tomatoes
¼ cup chopped cilantro
1 tsp cumin
1 tsp chili powder
Salt and pepper to taste
1 cup shredded cheese (cheddar or dairy-free)
Instructions
Preheat oven to 375°F (190°C). Slice tops off peppers and remove seeds; place upright in a baking dish.
In a skillet, sauté onion and garlic in a drizzle of oil until soft.
Stir in quinoa, black beans, corn, tomatoes, cilantro, cumin, chili powder, salt, and pepper; cook 3–5 minutes to let flavors mingle.
Stuff peppers with the quinoa mixture; top with shredded cheese.
Cover with foil and bake 25 minutes; uncover and bake 5–10 minutes more until peppers are tender and cheese is bubbly.
Let rest 5 minutes before serving to set the filling.
Pro Tips
Roast peppers briefly before stuffing for deeper sweetness.
Use leftover quinoa and beans to speed up assembly.
Freeze unbaked stuffed peppers for a future quick meal.
Chop the stems and mix in for extra texture and nutrition.
Easy Variations
Swap black beans for chickpeas for a different texture.
Add crumbled feta for a tangy bite.
Make it with brown rice instead of quinoa for a heartier base.
Mistakes To Avoid
Overfilling peppers causing uneven cooking.
Undercooking the peppers—give them a little extra time if they’re thick-walled.
Using dry seasoning—let the mix soak in flavors before stuffing.
Serving Ideas
Pair with a simple avocado-lime salad or a dollop of dairy-free yogurt for creaminess. A side of salsa adds brightness and zest.
The Story Behind It
There’s a memory baked into this recipe: family dinners where peppers steam in the oven and the kitchen smells like a sunny market. Stuffing them feels like tucking little treasure chests with vibrant fillings. The combination of quinoa and beans gives a satisfying bite that sticks with you, while the herbs provide a fresh, almost garden-like finish. It’s not just a dish; it’s a comfort ritual you can feel good feeding to friends and yourself alike. Seriously, it’s the kind of meal you want to eat again tomorrow just to chase that first perfect bite.
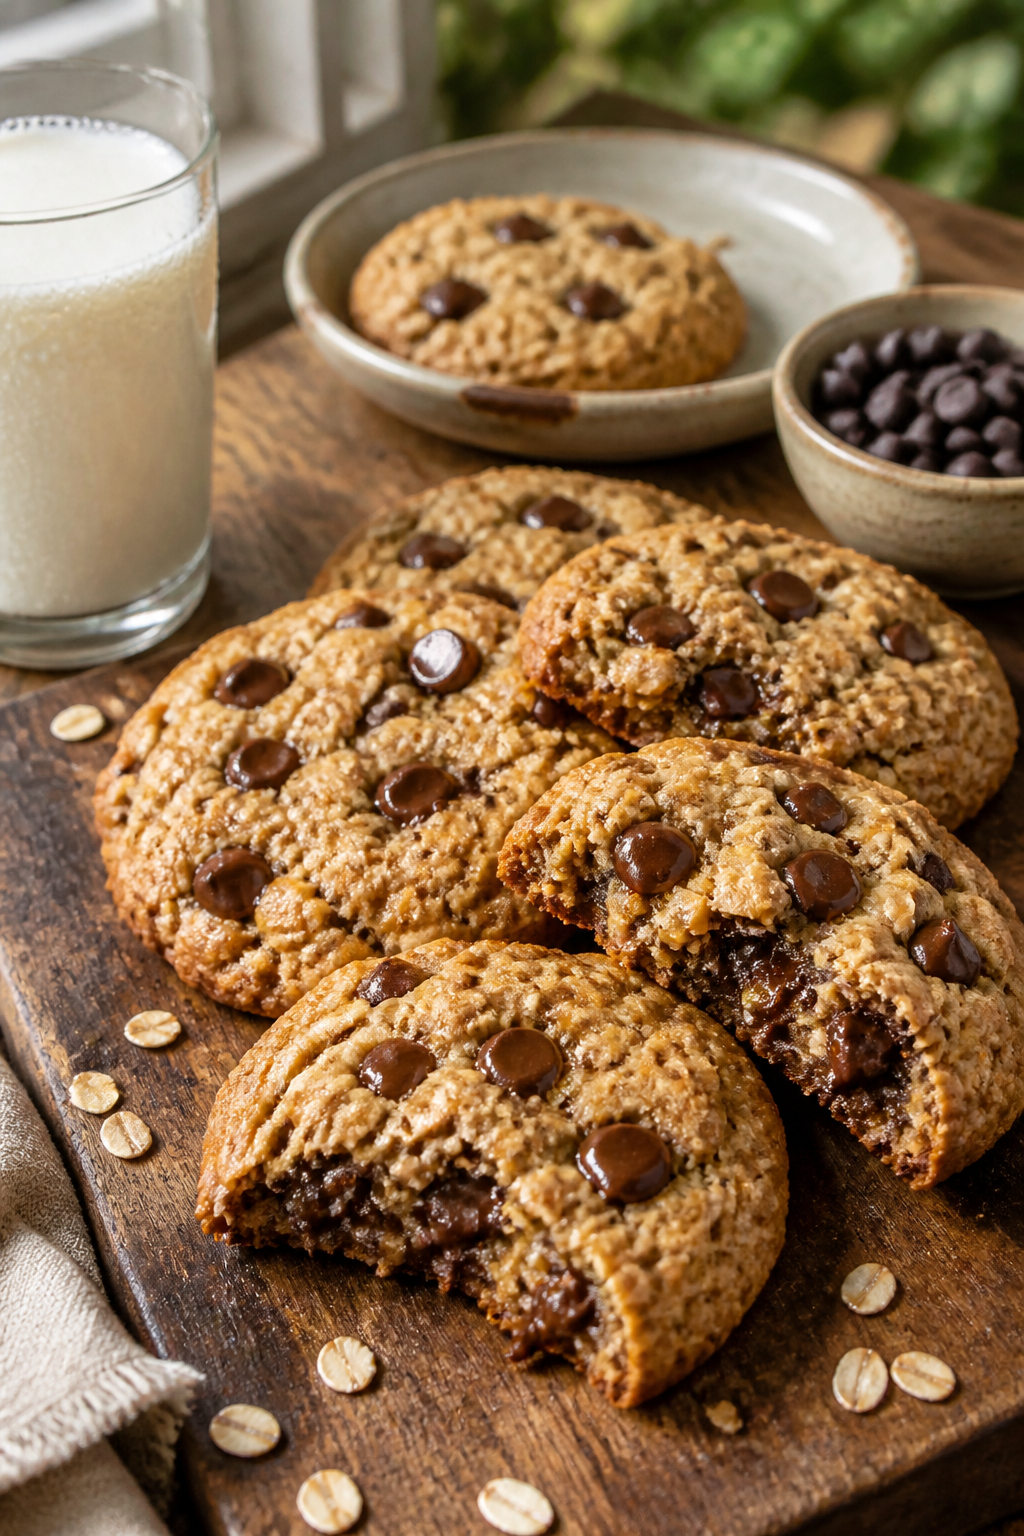
5. Decadent Chocolate-Chip Oat Cookies (Gluten-Free, Naturally) That Never Fail
Yes, cookies can exist in a gluten-free world without tasting like disappointment. These cookies are soft in the center with a subtle chew on the edges, loaded with melty chocolate chips and a hint of vanilla. They’re a reminder that dessert can be both comforting and responsible—no fake flavor, just honest, pantry-friendly goodness. They travel well, dunk beautifully, and make a gym bag snack feel like a legit treat.
Why You’ll Love It
Soft-centered cookies with a chewy edge
No floury aftertaste thanks to oats and almond flour
One-bowl quick cleanup
Freezer-friendly and meal-prep friendly
Kid-tested and adult-approved
Always a crowd-pleaser
Ingredients
1 cup gluten-free rolled oats
½ cup almond flour
½ cup brown sugar
¼ cup coconut oil, melted
1 large egg
1 tsp vanilla extract
½ cup chocolate chips
¼ tsp baking soda
¼ tsp salt
Instructions
Preheat oven to 350°F (175°C). Line a baking sheet with parchment.
In a bowl, mix oats, almond flour, baking soda, and salt.
Stir in coconut oil, egg, vanilla, and brown sugar until a thick dough forms.
Fold in chocolate chips; scoop 1–2 tablespoon portions onto the sheet.
Bake 10–12 minutes until edges are golden; let cool on a rack.
Store in an airtight container for up to a week or freeze for longer.
Pro Tips
If you like extra chewy cookies, chill the dough 20 minutes before baking.
Use mini chocolate chips for more evenly distributed bites.
Swap half the oil with applesauce for a lighter version.
Toast the oats lightly before mixing for a deeper toasty flavor.
Easy Variations
Add shredded coconut for a tropical twist.
Swap chocolate chips for peanut butter chips for a PB-flavored crowd-pleaser.
Stir in crushed almonds for a satisfying crunch.
Mistakes To Avoid
Overbaking—the center should stay soft; take them out slightly underdone.
Using very brown sugar without enough moisture—balance with a touch of extra oil.
Using hot cookie sheets right after removing from oven—let them rest to set.
Serving Ideas
Pair with a scoop of vanilla ice cream or dunk in a glass of cold milk. They also make fantastic inclusive party treats because they disappear fast.
The Story Behind It
These cookies are a love letter to late-night cookie cravings without the gluten hangover. I remember baking with a friend who swore gluten-free cookies never could hold a candle to real cookies. We swapped flours, trusted oaty texture, and voila—soft centers that melt in your mouth. The first bite is warm and comforting, like a hug from your favorite hoodie. The lingering chocolate and toasty oats sing, “We can have dessert and feel good about it.” Seriously, these cookies are the taste of “I got this,” even on your most chaotic days.
Frequently Asked Questions
Q1: Can I meal prep these gluten-free recipes for the week?
A1: Absolutely. Most can be cooked in advance and reheated gently. Store in airtight containers and reheat in the microwave or on the stove with a splash of broth or water to restore moisture.
Q2: Are these recipes strictly gluten-free?
A2: Yes. Each recipe uses gluten-free ingredients and avoids cross-contamination steps that trip people up. If you’re highly sensitive, use dedicated cookware and clean surfaces between steps.
Q3: Can I adapt these for dairy-free eaters?
A3: Yes. Sub dairy products with coconut, almond, or cashew alternatives. For example, use dairy-free cream and plant-based cheese where requested.
Q4: Do these meals work for meal-prep Sundays?
A4: Definitely. The batch-friendly nature of most dishes makes them ideal for Sundays. You can portion them into containers for grab-and-go lunches or quick dinners.
Q5: How do I prevent cookies from spreading too much?
A5: Chill the dough a bit, don’t overmix, and avoid excessive sugar on the surface. A touch of extra almond flour can help if they spread too much.
Q6: How can I customize these for picky eaters?
A6: Add familiar flavors, like extra cheese, a mild sauce, or a familiar veggie, and keep spices gentle. Taste and adjust as you go to keep everyone happy.
Q7: Are these meals budget-friendly?
A7: Yes. They use pantry staples and seasonal produce. Buy proteins on sale and batch-cook to stretch your dollars further.
Q8: What if I’m not a confident cook?
A8: Start with the Sunrise Scramble or the Salmon dish. They’re forgiving, quick, and teach you proper pan technique without overwhelming you.
Final Thoughts
If you’ve stuck with gluten-free cooking because you feared blandness or shopping chaos, you just found your new weekly rhythm. These five recipes are designed to spark curiosity, deliver comfort, and fuel your days with genuine flavor. Try the Sunrise Scramble on a breezy morning, then circle back to the Lemon-Garlic Chicken with veggie noodles for a lunch that tastes like a spa day in a bowl. Save the Stuffed Peppers for a weekend dinner that doubles as a freezer-friendly hero, and close out the week with the decadent Oat Cookies for a win that satisfies your sweet tooth without sacrificing your gluten-free goals. Trust me, your future self will thank you for sticking with this plan and letting your kitchen become a place of real, joyful cooking. You’ve got this—go grab that whip, a pan, and start cooking. You’re not just feeding yourself; you’re feeding your confidence.
Printable Recipe Card
Want just the essential recipe details without scrolling through the article? Get our printable recipe card with just the ingredients and instructions.
Disclosure: This post may contain affiliate links.
If you make a purchase through these links, I may earn
a small commission at no extra cost to you.
prab chahal
Hi, I’m Prabjot Chahal – the heart (and taste buds) behind this blog!
Food has always been my love language – from experimenting with family recipes to discovering unique flavors from around the world. I believe that cooking isn’t just about following a recipe, it’s about creating moments, sharing stories, and connecting with others over something delicious. Through this blog, I want to build a vibrant food community where we share more than just recipes – we share inspiration, tips, and the joy of making and enjoying good food together. Whether you’re here for quick weekday dinners, festive treats, or creative seasonal ideas, you’re part of this table. So grab a fork (or a whisk!) and let’s cook, bake, and share our love for food – one recipe at a time.