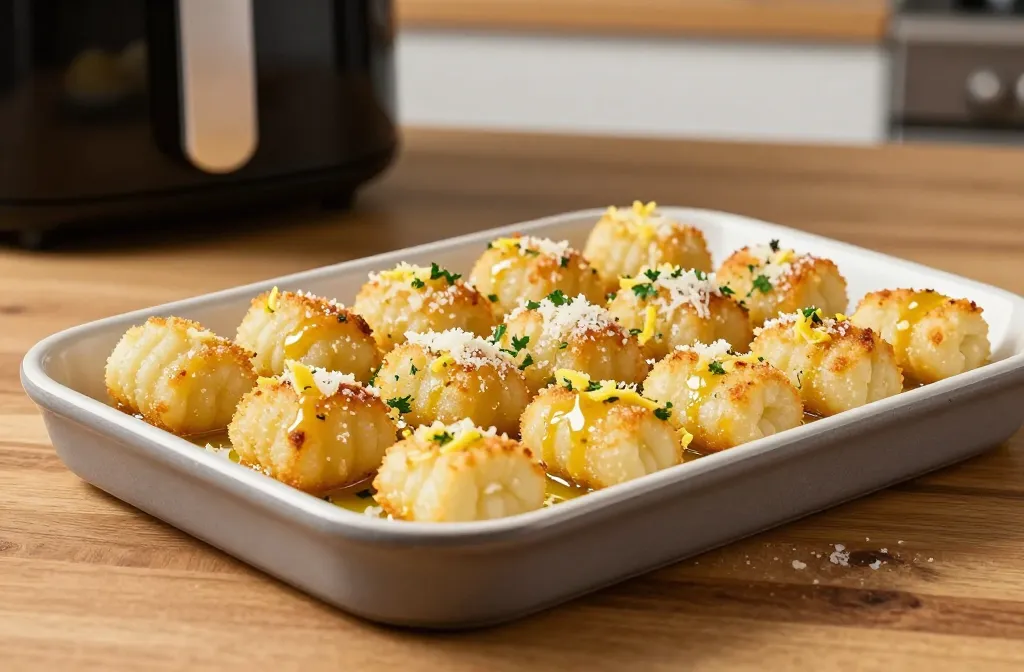
If garlic bread and a quesadilla had a baby, it would be this: crispy, buttery, garlicky tortilla magic from your air fryer. No dough proofing. No oven preheating for ages. Just a tortilla, some garlic butter, and 6 minutes between you and snack greatness. Honestly, this might be the highest ROI snack of your week.
Why Tortilla Garlic Bread Works (and Rocks)
You get the crunch of traditional garlic bread without babysitting a broiler. Tortillas crisp up fast and soak in garlic butter like they were born for it. They also deliver that thin, shattery edge that regular bread can’t touch.
Plus, tortillas are reliably there when you need them. Stale bread? Not helpful. A stack of tortillas in the fridge? Your new garlic-bread canvas. And, FYI, you can customize every layer in seconds.
The Quick Ingredient Lineup For Tortilla Garlic Bread

Nothing fancy. Just a few pantry MVPs. Here’s the baseline:
- Flour tortillas (8–10 inch size works best; corn works but gets more brittle)
- Butter (softened), or olive oil if you want dairy-free
- Fresh garlic, finely minced or grated
- Fresh parsley or basil, chopped
- Salt and black pepper
- Parmesan (optional but highly recommended)
- Mozzarella or provolone if you want cheesy vibes
- Red pepper flakes, lemon zest, or Italian seasoning (optional flair)
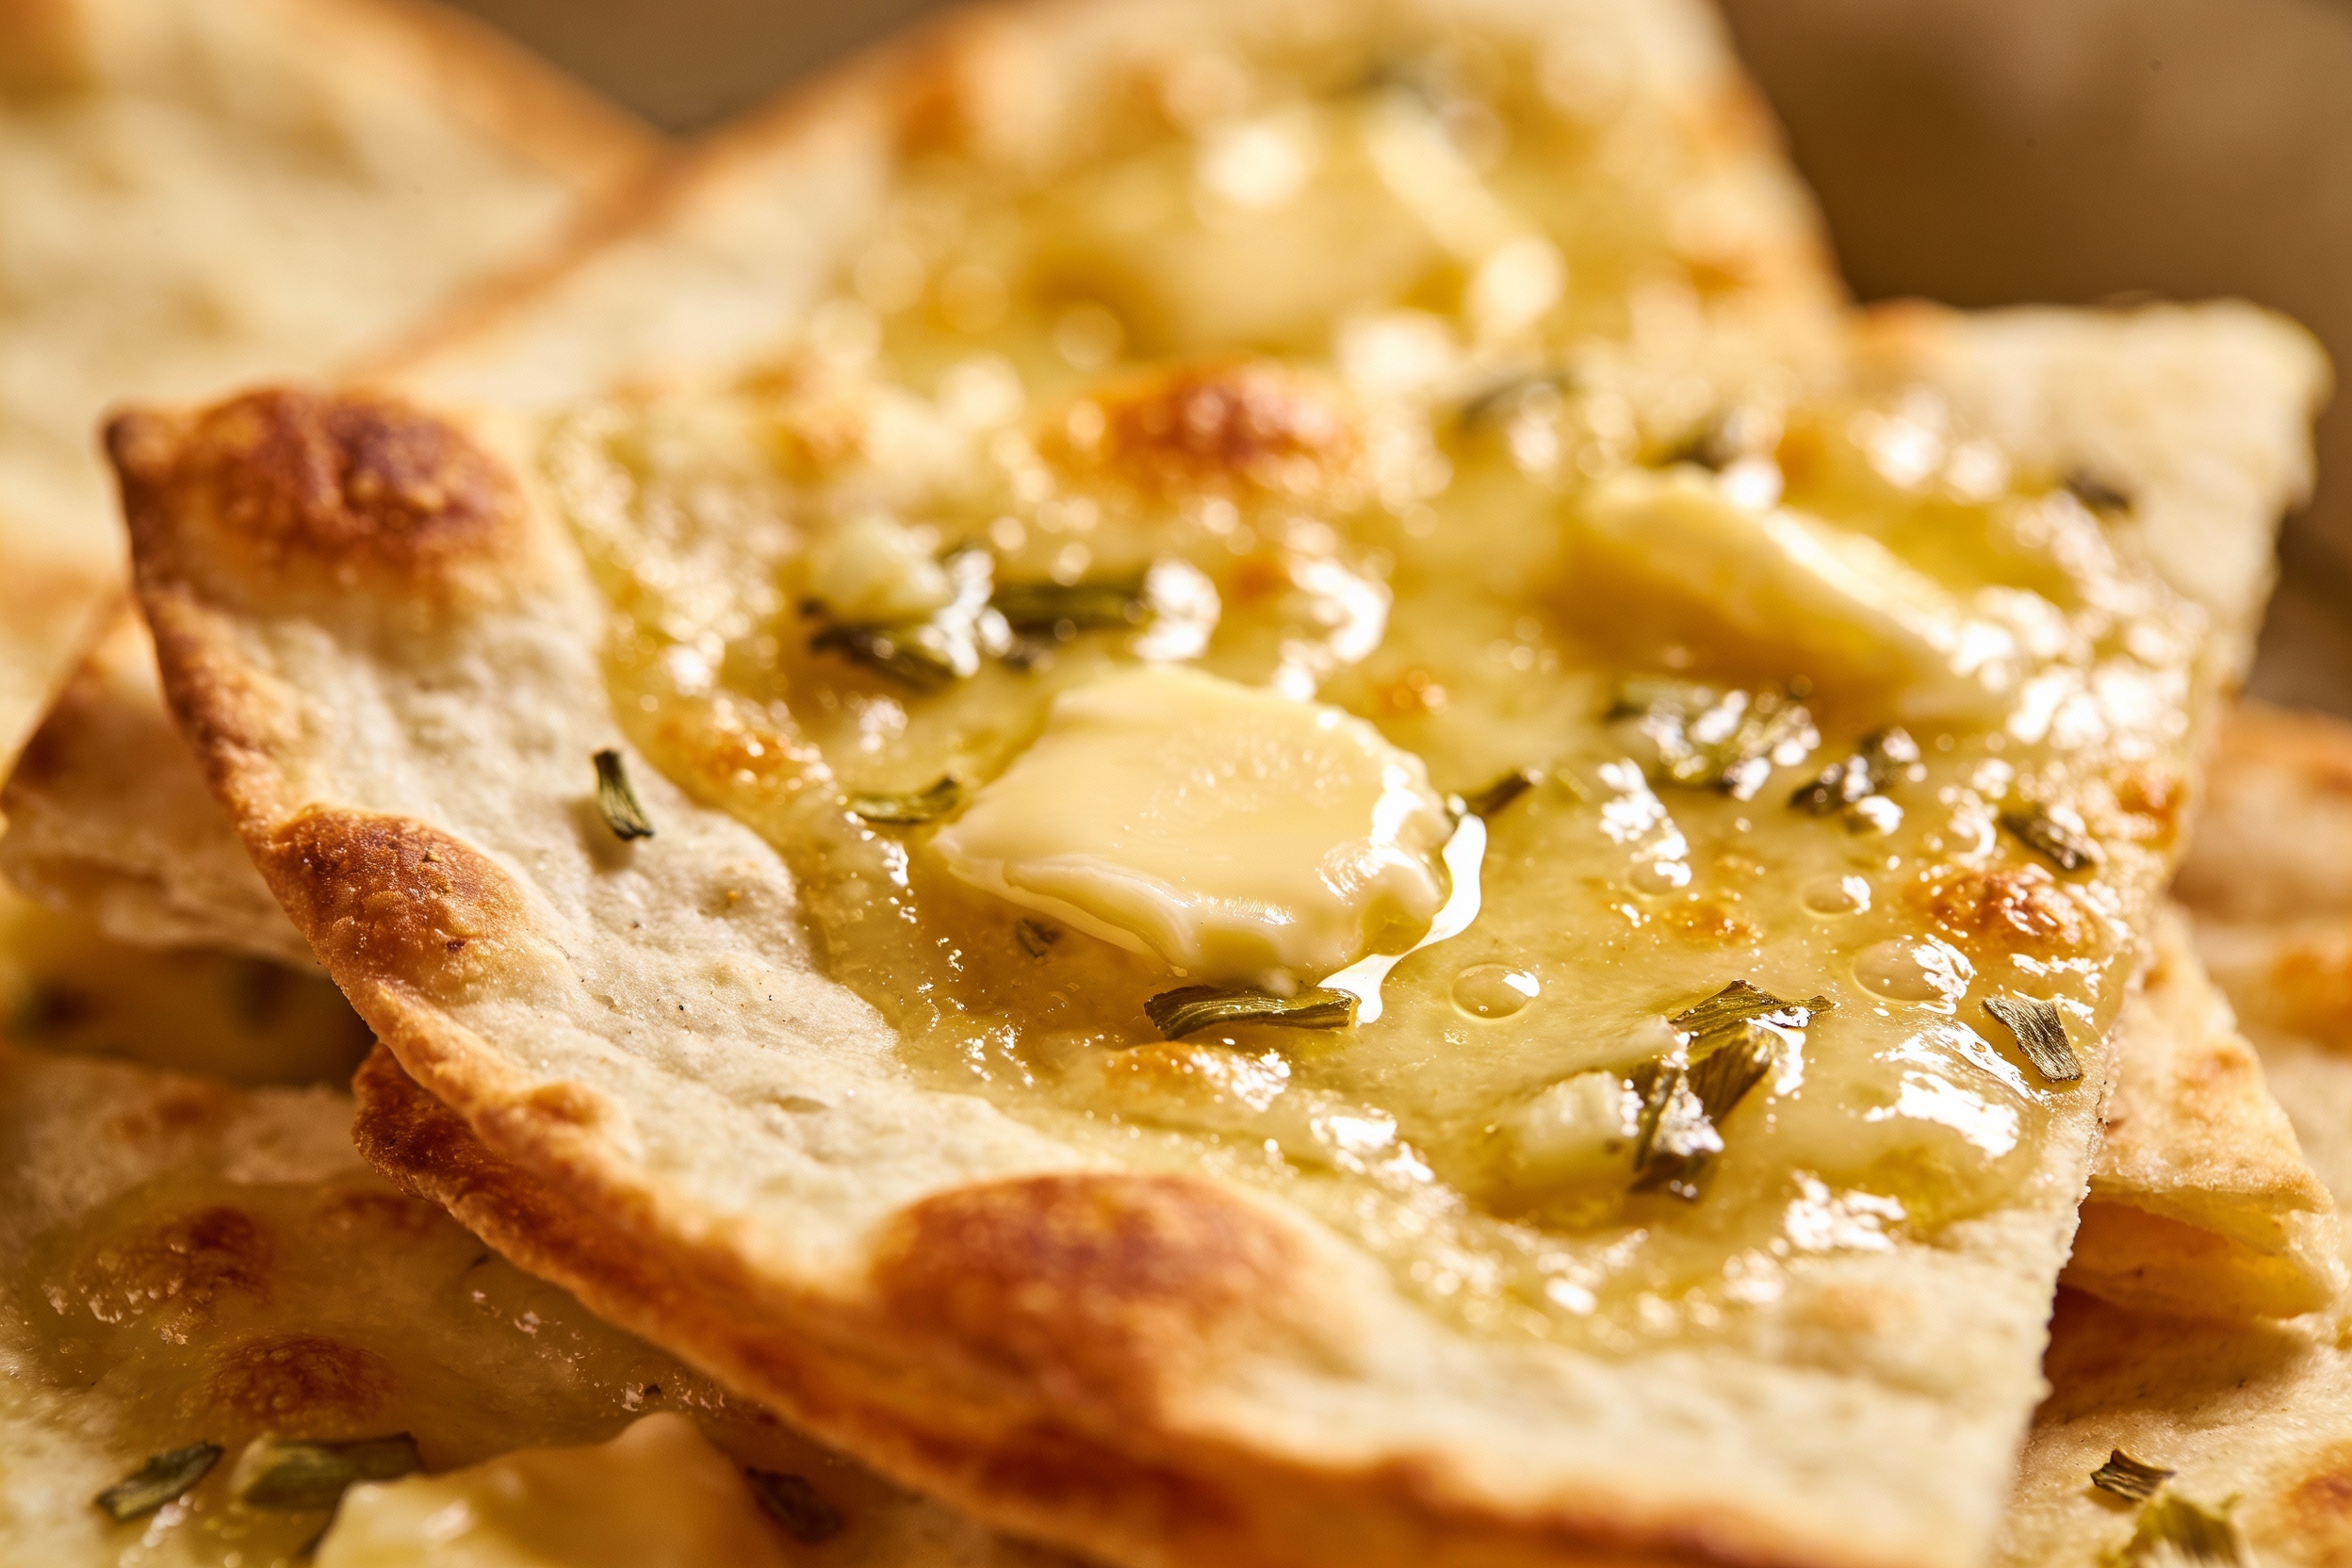
The Garlic Butter (aka the Boss)
Mix 3 tablespoons softened butter with 2–3 cloves garlic, 1 tablespoon chopped parsley, a pinch of salt, and a grind of pepper. Add 1 tablespoon grated Parmesan for umami. Taste it. If it doesn’t make you happy, add more salt or garlic. IMO, a little lemon zest takes it from “yum” to “you made this?!”
Step-by-Step: Air Fryer Tortilla Garlic Bread
You don’t need to measure everything to the gram. This is snack cooking, not pastry school.
- Preheat the air fryer to 375°F (190°C) for 2–3 minutes. Hot basket = crispier tortilla.
- Prep the tortilla: Spread a thin, even layer of garlic butter over one side. Go edge-to-edge for max crunch. Sprinkle Parmesan if using. If you’re going cheesy, add a light layer of shredded mozzarella on half the tortilla.
- Fold or not? For classic garlic bread vibes, keep it open-faced. For cheesy, fold like a quesadilla so the cheese stays put.
- Air fry for 3–4 minutes, flip, then cook 2–3 more minutes until golden and crisp. Watch the last minute—tortillas go from perfect to “who summoned the smoke alarm” fast.
- Finish: Sprinkle more parsley, a little extra Parmesan, and maybe a squeeze of lemon if you’re feeling chef-y.
Timing Cheatsheet
- Plain garlic tortilla: 5–6 minutes total
- Cheesy folded version: 6–7 minutes
- Thicker tortillas (like burrito-size): Add 1 minute
Tortilla Garlic Bread Texture Tips So You Nail It Every Time

Want shatteringly crisp, not greasy and floppy? Do this:
- Use softened butter, not melted. Melted butter pools and makes soggy spots.
- Don’t overload cheese. A light sprinkle melts evenly and keeps the tortilla crisp.
- Flip halfway. Both sides need equal heat for even browning.
- Work in batches. Crowding traps steam; steam is crispness’s enemy.
- Let it rest 1 minute after cooking. The crust sets and gets even crisper.
What About Corn Tortillas?
They work, but they behave differently. Brush lightly with oil instead of butter to avoid cracking, and keep fillings minimal. Expect a crunch that leans tostada—delicious, just a different vibe.
Flavor Upgrades You’ll Actually Use
Here’s where tortilla garlic bread becomes your snack playground. Mix and match:
- Chili-Garlic: Add red pepper flakes and a drizzle of chili crisp after cooking.
- Lemon-Herb: Stir lemon zest and thyme into the garlic butter; finish with a squeeze of lemon.
- Pesto-Parm: Swirl a teaspoon of pesto into the butter; shower with Parmesan.
- Cheesy Supreme: Mozzarella + Parmesan + a little provolone. Dip in marinara. Boom, pizza-adjacent.
- Everything Bagel: Sprinkle everything seasoning over the buttered side. Dip in whipped ricotta or cream cheese.
- Garlic Ranch: Mix dry ranch seasoning into the butter. Shockingly addictive.
Mini Party Bites
Use street-taco tortillas, cut into wedges after cooking, and serve with a trio of dips: marinara, garlic yogurt, and hot honey. Warning: they vanish.
Tortilla Garlic Bread: Make-Ahead, Freezing, and Reheating

You can totally batch these for future you.
Related Posts:


")


- Make-ahead: Mix garlic butter and keep it in the fridge for a week. It also freezes beautifully in small portions.
- Assemble-and-hold: Spread tortillas with garlic butter, stack with parchment, and refrigerate up to 2 days.
- Freeze: Buttered tortillas freeze well. Cook straight from frozen at 360°F (182°C) for 6–8 minutes, flipping once.
- Reheat: 325°F (163°C) for 2–3 minutes. It crisps back up nicely—no microwave sadness.
Pairings and Dips (AKA Excuses to Eat More)
Let’s be honest, half the fun is the dip lineup. Here are easy wins:
- Marinara for pizza energy
- Garlic-herb yogurt (Greek yogurt + lemon + herbs)
- Whipped ricotta with honey and pepper
- Spicy tomato salsa if you went corn tortilla
- Hot honey on cheesy versions—sweet-heat FTW
Serving Ideas
Slice into wedges and serve next to soup or salad. Top with sliced tomatoes and basil for a mini Margherita situation. Or fold with scrambled eggs for breakfast garlic bread. Yes, breakfast garlic bread. We’re innovators here.
Tortilla Garlic Bread Troubleshooting
Things happen. Here’s how to fix them:
- Tortilla flies around in the basket: Weigh it down the first minute with a rack or a few toothpicks.
- Edges burn before center crisps: Lower temp to 350°F (177°C) and extend time by 1–2 minutes.
- Garlic burns: Mix garlic into the butter thoroughly and avoid big clumps; or use garlic powder for part of it.
- Soggy outcome: You used too much butter or cheese. Go thinner. Preheat next time. Flip halfway.
FAQ About Tortilla Garlic Bread
Do I need to preheat the air fryer?
Short answer: yes, if you want extra crispness. Preheating dries the basket and gets the tortilla’s bottom sizzling immediately, which prevents soggy spots. It’s 2 minutes that pays off, IMO.
Can I use oil instead of butter?
Totally. Use olive oil for a lighter, dairy-free option. Brush lightly so it doesn’t pool, and add a pinch of extra salt since butter carries salt and flavor differently.
What’s the best cheese for melting?
Mozzarella melts like a dream, provolone adds flavor, and Parmesan brings that salty bite. A 70/30 mozzarella-to-Parm blend tastes amazing and still crisps well. Avoid super wet fresh mozzarella unless you blot it.
How do I keep the tortilla from puffing up or flying?
Poke a few tiny holes with a fork, then place a rack or skewers over it for the first minute. After it sets, it’ll stay put. Or fold it with cheese and the weight solves the problem.
Can I make this gluten-free?
Yes—use gluten-free flour tortillas or corn tortillas. Brush corn tortillas with oil to prevent cracking and cook at a slightly lower temp (360°F/182°C) for better control.
Is fresh garlic necessary?
Fresh tastes best, but garlic powder works great and won’t burn as easily. Start with 1/2 teaspoon per tortilla and adjust to taste. You can also combine both for layered garlic flavor, FYI.
Conclusion On Tortilla Garlic Bread
Air fryer tortilla garlic bread proves you don’t need a bakery loaf—or 30 minutes—to crush a craving. You need a tortilla, garlicky butter, and a hot air fryer. Keep it classic, go cheesy, or get weird with pesto and hot honey. Whatever route you take, you’re six minutes away from crunchy, buttery glory.
Related Recipe: Crispy Garlic Pizza Rolls Cheesy, Golden & Ready in 12 Minutes