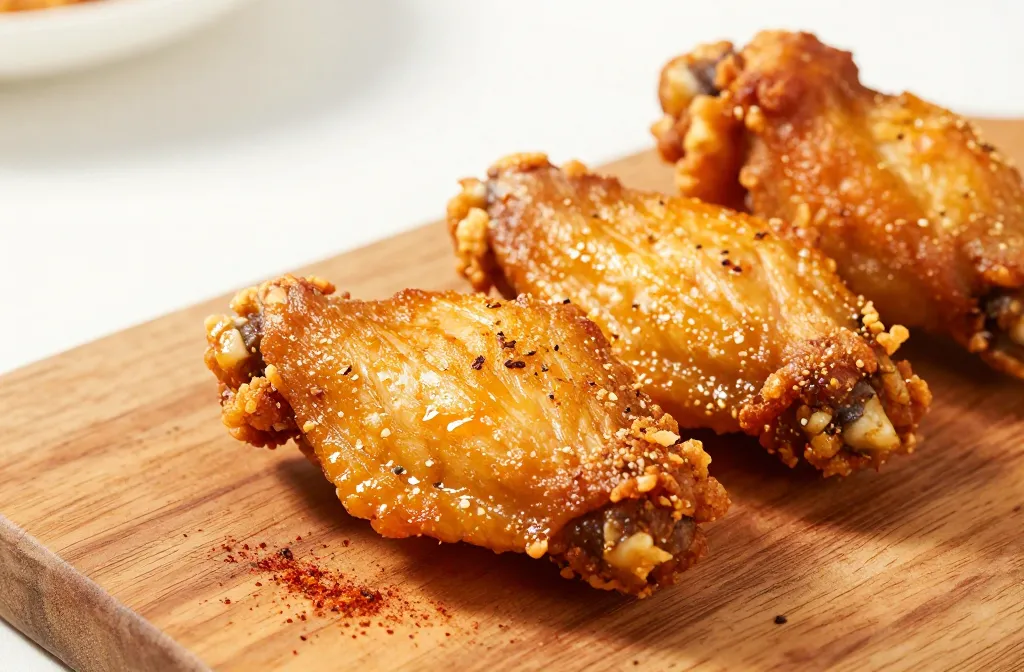
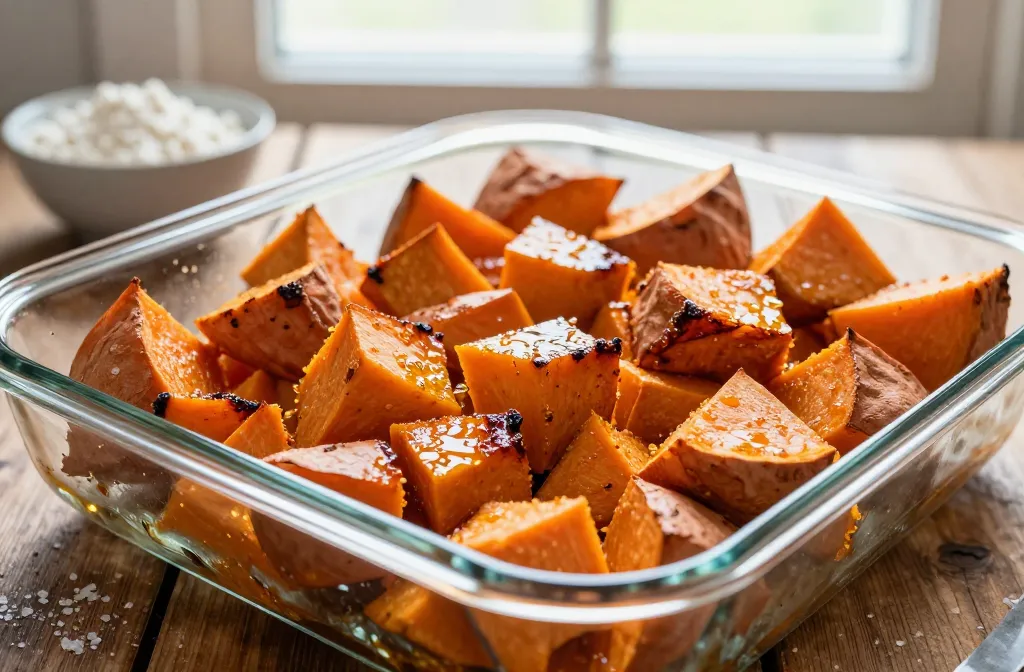
From the first bite, you’ll know this is not your average chicken wing. Dry rub, gluten-free, and air-fried to crispy perfection—without a greasy aftertaste. If you crave flavor that sticks to your ribs without gluten drama, you’re in the right kitchen.
Why gluten-free dry rub wings rock in an air fryer
You get that crave-worthy snap and juicy interior without deep-frying. The air fryer does the heavy lifting, and a dry rub keeps things simple and weeknight-friendly. Plus, gluten-free means no flour coatings or hidden thickeners—just honest, bold seasoning. FYI, the best part is you control the heat, salt, and spice all in one tray.
What you need to start
Chicken wings (buffalo, flats, drums—your call)
Gluten-free dry rub mix (see below for a slam-dunk blend)
Olive oil or cooking spray
Air fryer basket and tongs
Optional: fresh lemon for a bright finish
Tip: pat the wings dry before tossing. Moisture is the enemy of crisp. If you skip this, you’ll get more steamed than crispy—no bueno.
Crafting the perfect gluten-free dry rub
Your dry rub is where the magic happens. You want a balanced mix of heat, salt, and a touch of sweetness to help caramelize in the basket.
Classic gluten-free dry rub (go-to)
2 tbsp smoked paprika
1 tbsp chili powder
1 tsp garlic powder
1 tsp onion powder
1 tsp dried oregano
1 tsp salt
1/2 tsp black pepper
1/4 tsp cayenne (adjust to spice tolerance)
Tips for best results
Shake or whisk rub ingredients thoroughly to avoid pockets of salt or spice.
Coat wings evenly. A light mist of oil helps the rub adhere and promotes crisping.
Let seasoned wings rest 10–15 minutes before cooking to let flavors bloom.
Cooking method: air fryer setup and timing
Crack the code on crispy, gluten-free wings in under 30 minutes. The key is a hot, even air blast and a quick flip.
Step-by-step
Preheat your air fryer to 400°F (200°C) for 3–5 minutes.
Toss wings with a light coat of oil and the dry rub until evenly coated.
Place wings in a single layer. Don’t overcrowd—air needs to circulate like a busy subway car.
Cook 10 minutes, then flip and cook another 8–12 minutes until skin is crisp and internal temp hits 165°F (74°C).
Rest 2–3 minutes, then serve with wedges of lemon if you’re fancy.
Common mistakes to avoid
Overcrowding the basket = soggy skin. Cook in batches if needed.
Using too much oil = greasy texture. A light spray goes farther than you think.
Skipping the preheat. The crisp payoff suffers without a hot start.
Flavor variations you’ll want to try
Sticking to one rub is fine, but variety is the spice of life. Here are a few riffs that stay gluten-free and gloriously tasty.
Garlic-Parmesan crunch
Swap some paprika for a parmesan coating after cooking and a quick spray of olive oil.
Finish with grated Parmesan and a quick squeeze of lemon for brightness.
Buffalo kick sans gluten
After air frying, toss in a mix of hot sauce and melted butter. Or olive oil for a lighter finish.
Add a pinch of white vinegar to brighten the tang without extra gluten.
Sweet heat honey-lime glaze
Mix gluten-free hot sauce with honey and a dash of lime juice. Toss wings after cooking for a glossy glaze.
Top with chopped cilantro for a fresh finish if you’re into that.
Pro tips, common mistakes, and quick fixes
Let’s layer in some nerdy-but-useful tips so you don’t wing it (pun intended).
Pro tips
Pat wings dry, again. It’s the simplest step with the biggest payoff.
Use baking powder in the rub for extra crispness if you don’t mind a tiny deviation from pure rub flavor. It’s gluten-free if you choose a clean label.
Shake the basket halfway through cooking so every side gets a sun-kissed, crispy finish.
Common mistakes
Not measuring oil: too little reduces crisp; too much creates oil slicks. Find that sweet spray nozzle setting and stick to it.
Turning the heat too high or leaving it too low. 400°F is a happy middle for most wings.
Ignoring doneness: you want internal temp at least 165°F. If you’re in doubt, cut a wing to peek.
Ingredient swaps
Oil: use avocado oil for a neutral flavor that tolerates high heat.
Sweeteners: maple sugar or coconut sugar work if you want a deeper caramel note.
Spice profile: swap in chipotle powder for a smoky heat.
Variations and flavor pairings
Wings aren’t just about the bite—they’re about what you pair them with. Here are some easy companions to upgrade the experience.
Slaw swap: a crunchy jalapeño cabbage slaw adds zing and crunch.
Dips on deck: gluten-free ranch, blue cheese, or a tangy yogurt-dill dip.
Side vibes: celery, carrot sticks, and pickles for that classic wing joint feel at home.
FAQ: quick answers, no fluff
Got questions? Here are the answers you actually need.
Can I bake instead of air fry?
Yep. Preheat to 425°F (218°C) and bake on a rack over a sheet. It takes about 25–30 minutes, flipping halfway. The air fryer just makes it faster and crispier with less oil.
If you start with gluten-free wings and use a certified gluten-free rub, you’re clean. Check labels on spices to avoid hidden gluten or cross-contamination.
How do I store leftovers?
Store in an airtight container in the fridge for up to 4 days. Re-crisp in the air fryer at 350°F (175°C) for 3–5 minutes to bring back the snap.
Conclusion
Gluten-free air fryer chicken wings with a dry rub deliver big flavor without the gluten drama or greasy baggage. They’re quick, customizable, and honestly kinda fun to make. So grab your favorite rub, preheat that air fryer, and get ready to wow yourself and whoever’s lucky enough to snag a bite. IMO, wing night just found its new best friend.
Disclosure: This post may contain affiliate links.
If you make a purchase through these links, I may earn
a small commission at no extra cost to you.
prab chahal
Hi, I’m Prabjot Chahal – the heart (and taste buds) behind this blog!
Food has always been my love language – from experimenting with family recipes to discovering unique flavors from around the world. I believe that cooking isn’t just about following a recipe, it’s about creating moments, sharing stories, and connecting with others over something delicious. Through this blog, I want to build a vibrant food community where we share more than just recipes – we share inspiration, tips, and the joy of making and enjoying good food together. Whether you’re here for quick weekday dinners, festive treats, or creative seasonal ideas, you’re part of this table. So grab a fork (or a whisk!) and let’s cook, bake, and share our love for food – one recipe at a time.