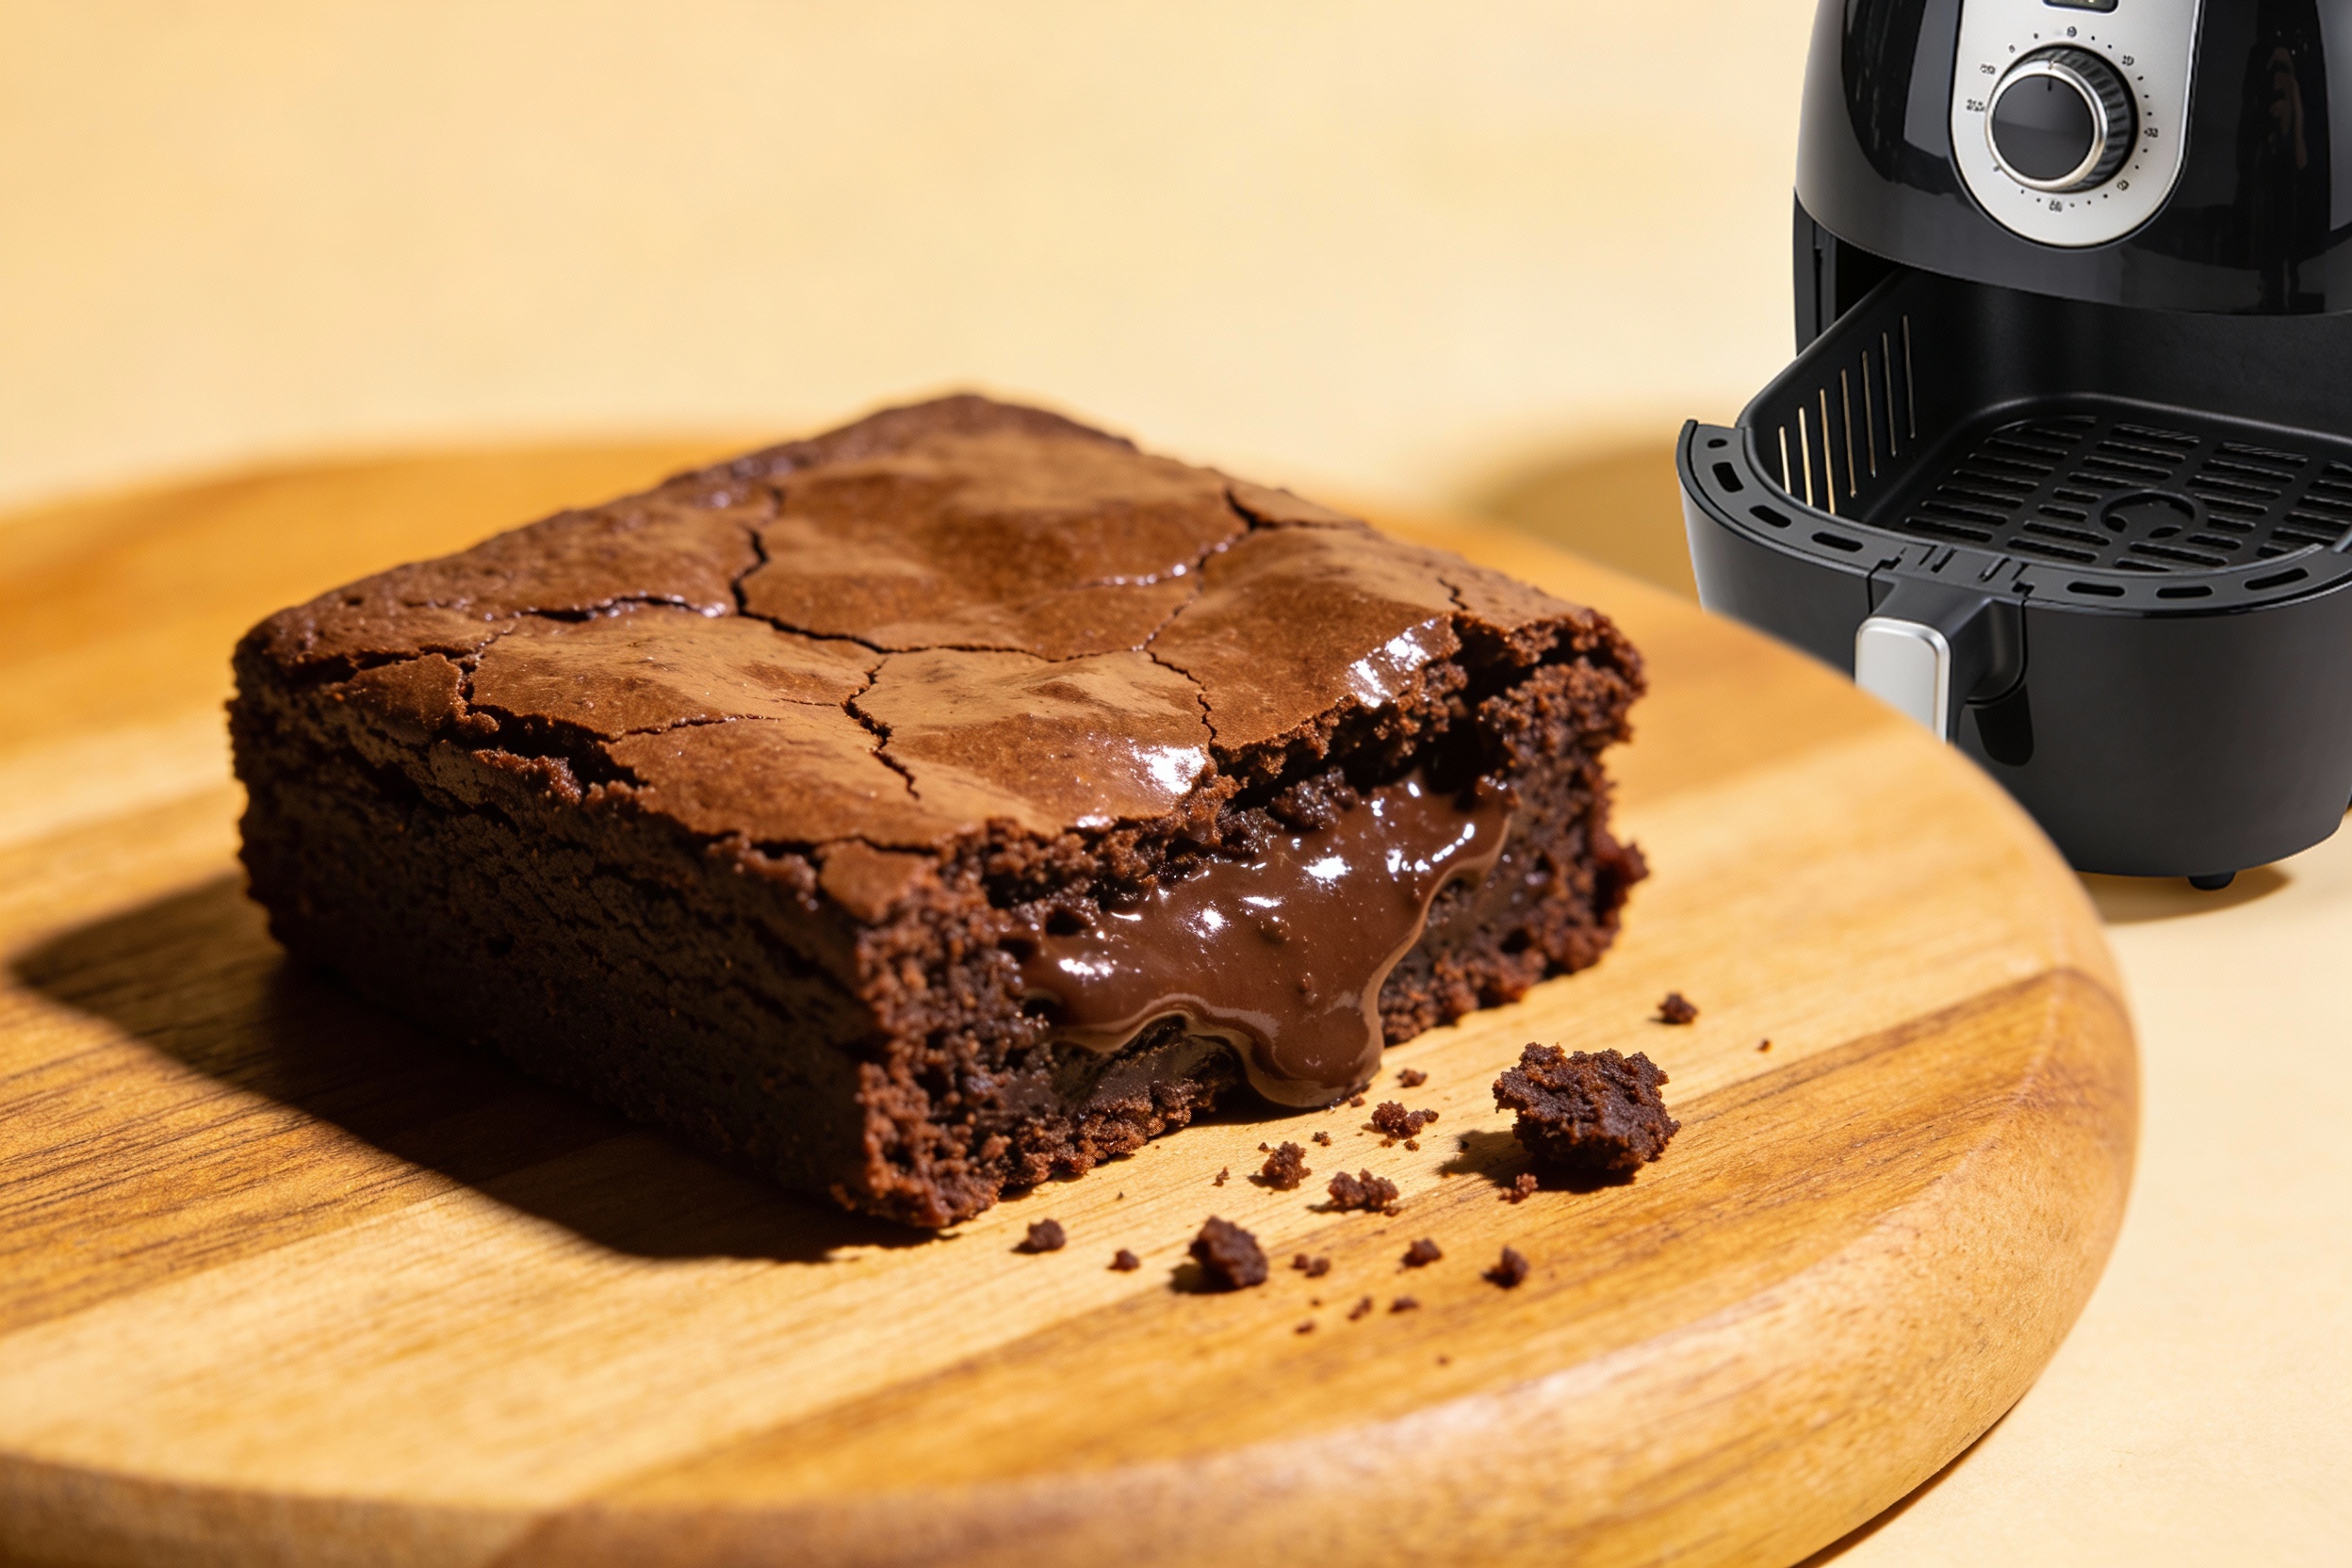
You want brownies. You want them fast. You don’t want to heat up the kitchen for a whole pan. The air fryer has entered the chat. In less time than it takes to rewatch your favorite TikTok loop 30 times, you can have gooey, fudgy brownies that taste like you actually tried. Spoiler: you didn’t. And that’s the beauty of it.
Why Air Fryer Brownies Are a Power Move
You get dessert in 15-20 minutes with almost no cleanup. We call that a win. The air fryer heats faster than your oven and cooks small batches evenly, so you don’t babysit a pan for an hour. You also get control. Want edges with a soft center? Done. Prefer a gooey middle that sticks to your spoon like a rom-com ending? Easy. Small batch, big payoff.
The Air Fryer Brownies Ingredient List (aka, No Grocery Panic)
You can make these from scratch or use a box mix. Both work. IMO, a good box mix in the air fryer tastes like you spent the afternoon whisking. From-scratch brownie mix:
1/2 cup unsalted butter, melted
3/4 cup granulated sugar
1/4 cup brown sugar
2 large eggs
1 teaspoon vanilla extract
1/3 cup cocoa powder
1/2 cup all-purpose flour
1/4 teaspoon salt
Optional: 1/2 cup chocolate chips or chopped chocolate
Box mix route (FYI: extremely valid):
1 box brownie mix
Use 1/2 to 2/3 of the mix (save the rest), then scale liquids accordingly
Follow the package oil/egg/water ratios, but reduce to match the amount of dry mix you use
Pan and Prep Essentials
You need a small pan that fits your air fryer basket:
6- to 7-inch round cake pan or a small square pan
Line with parchment and lightly grease, or use a silicone pan
Leave a parchment “sling” for easy lift-out
Air fryer brownies Step-by-Step: Brownies in 20 Minutes
1) Preheat the air fryer to 320°F (160°C). Most models preheat in 2-3 minutes. Lower heat keeps the top from overbrowning before the center sets. 2) Make the batter.
Whisk melted butter, sugars, eggs, and vanilla until glossy.
Sift or stir in cocoa, flour, and salt just until combined. Don’t overmix.
Air Fryer Brownies: Serving and Storing Keep the Magic Going
Serve warm with a scoop of ice cream, obviously. Or dust with powdered sugar if you’re feeling classy. FYI, a drizzle of warm peanut butter can fix a bad day faster than therapy (kidding, kind of). Storage tips:
Room temp in an airtight container: 2-3 days
Fridge: up to 5 days (they firm up—great for clean slices)
Freezer: wrap slices individually and freeze up to 2 months
Reheat in the air fryer at 300°F for 2-3 minutes to revive the fudginess
FAQ About Air Fryer Brownies
Can I bake the full box of brownie mix in the air fryer?
You can, but not all at once. Most air fryer pans hold about half to two-thirds of a standard mix without overthick batter. Make two smaller batches or use multiple mini pans for best texture and cook-through.
Do I need to preheat my air fryer?
Preheating helps brownies set faster and cook evenly, so I recommend it. If you skip it, add 2-3 minutes to the cook time and check doneness with a toothpick.
Why are my brownies dry?
You probably cooked too hot or too long. Drop the temp to 300-320°F and check early. Also, measure flour lightly—too much flour = dry, cakey results. A little extra butter or a handful of chocolate chips helps moisture, IMO.
Can I make gluten-free air fryer brownies?
Yes. Use a 1:1 gluten-free flour blend or a gluten-free brownie mix. Air fryers handle GF batters well because the small batch cooks evenly. Just watch the timing, since GF mixes can dry faster.
My brownies didn’t get that shiny top. What did I miss?
Whisk the eggs and sugar until glossy before adding dry ingredients. Use granulated sugar, not all brown sugar. And don’t overmix once the flour goes in. A few chocolate chips on top before cooking can also fake the shine, FYI.
Are silicone pans okay in the air fryer?
Yes, but note they insulate more than metal. Expect slightly longer cook times and softer edges. If you love crispy edges, go metal.
Conclusion On Air Fryer Brownies
Air fryer brownies deliver instant gratification with minimal mess and maximum decadence. You control the texture, toppings, and batch size, and you get dessert faster than your oven can preheat. Keep the temp low, the batter layer modest, and the chocolate generous. Then grab a spoon and enjoy the payoff—you earned this shortcut. IMO, it’s the smartest late-night baking move around.
Disclosure: This post may contain affiliate links.
If you make a purchase through these links, I may earn
a small commission at no extra cost to you.
prab chahal
Hi, I’m Prabjot Chahal – the heart (and taste buds) behind this blog!
Food has always been my love language – from experimenting with family recipes to discovering unique flavors from around the world. I believe that cooking isn’t just about following a recipe, it’s about creating moments, sharing stories, and connecting with others over something delicious. Through this blog, I want to build a vibrant food community where we share more than just recipes – we share inspiration, tips, and the joy of making and enjoying good food together. Whether you’re here for quick weekday dinners, festive treats, or creative seasonal ideas, you’re part of this table. So grab a fork (or a whisk!) and let’s cook, bake, and share our love for food – one recipe at a time.


")
")


")
")