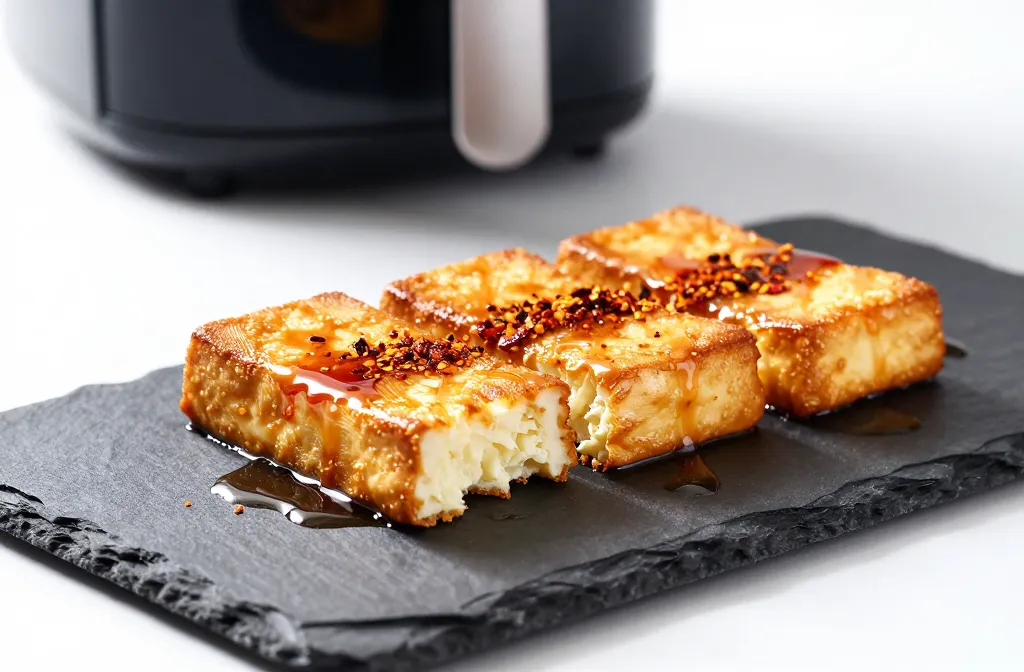
You know those pizza rolls that vanish faster than you can say “hot cheese”? Let’s make them extra irresistible. We’re talking crispy garlic pizza rolls in the air fryer—golden outside, gooey inside, and absolutely loaded with garlicky goodness. No waiting for the oven, no soggy microwave sadness. Just quick, crunchy bliss that smells like an Italian grandmother’s hug.
Why Crispy Garlic Pizza Rolls Hit Different
Air fryers don’t just cook— they transform. You get a crisp shell without drowning anything in oil, which means less mess and more crunch. Pizza rolls also cook evenly in the air fryer, so you avoid that tragic half-frozen center situation. Plus, air fryers preheat fast. You can go from “hmm, snack?” to “wow, snack!” in under 10 minutes. IMO, that’s living the dream.
The Garlic Glow-Up: What You’ll Need For Crispy Garlic Pizza Rolls
Let’s upgrade those humble pizza rolls with a punchy garlic butter topping. It’s easy and it tastes like pizzeria night without the delivery fee. Ingredients:
You’re basically three steps from greatness. Ready?
Preheat the air fryer to 380°F (193°C). FYI, some models don’t need preheating, but I find it helps with even crisping.
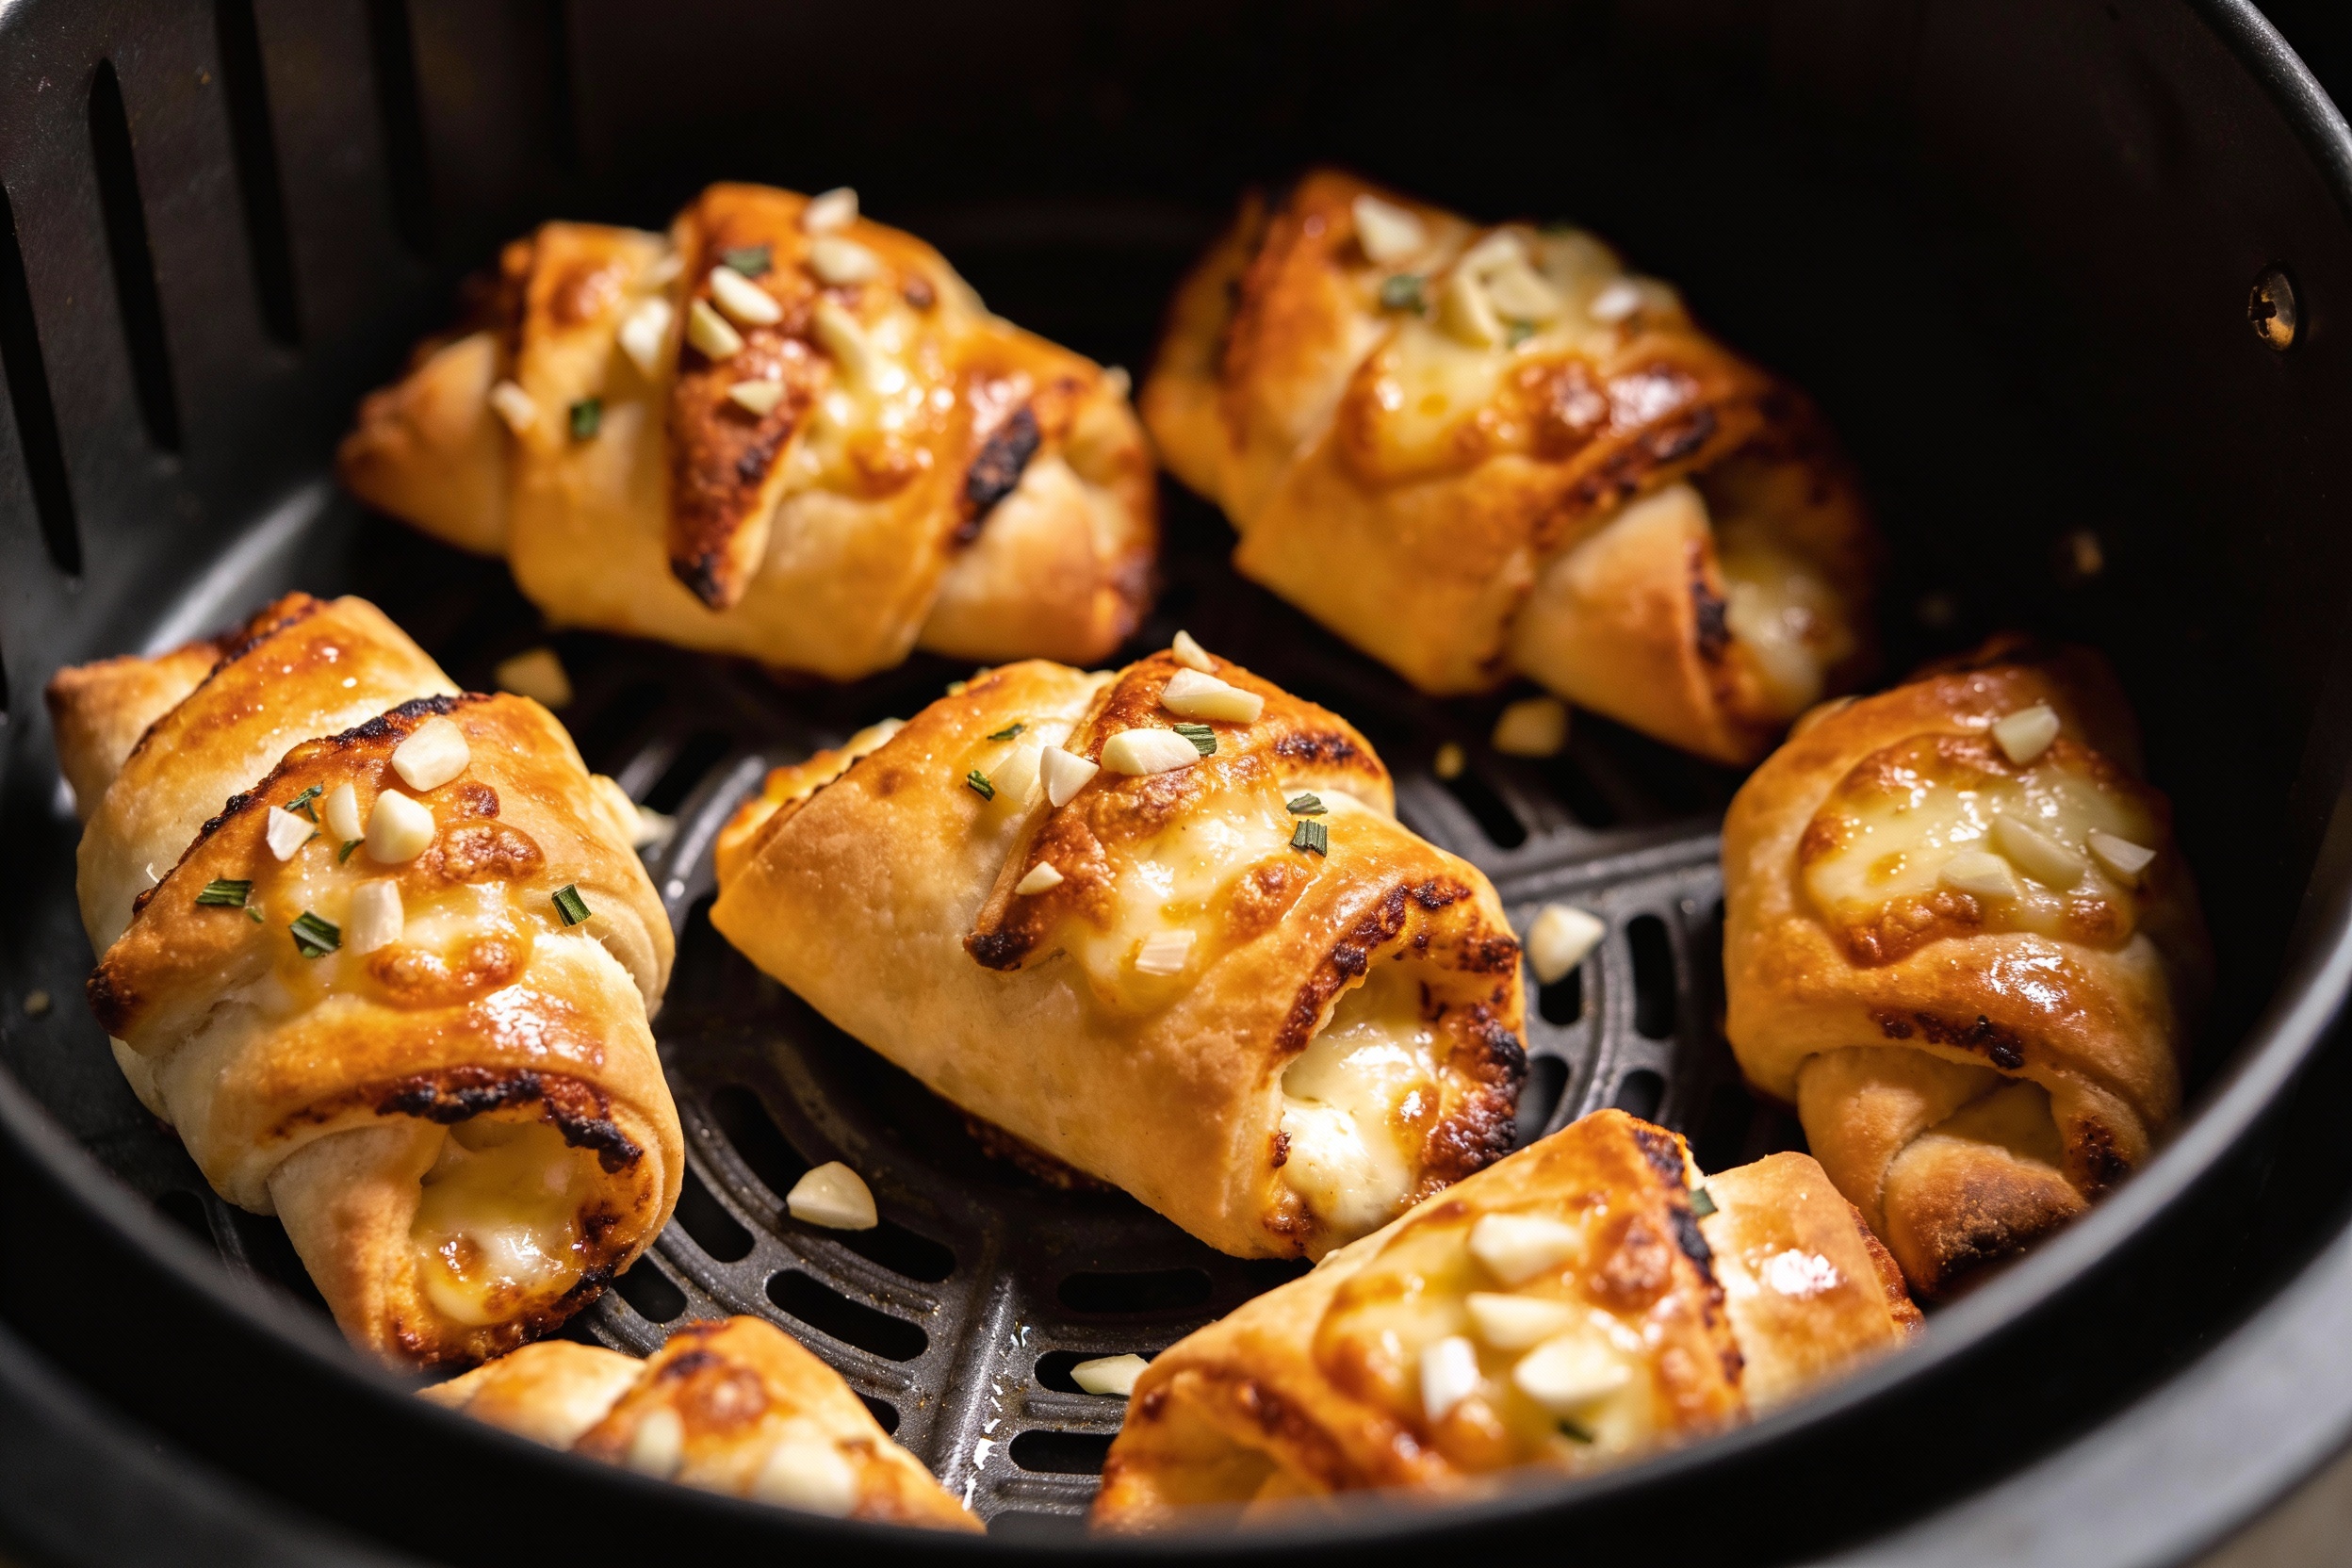
Air fry the rolls. Add pizza rolls in a single layer—no crowding. Cook 6–8 minutes, shaking halfway. You want golden brown edges and zero pale patches.
Make the garlic butter. While they cook, stir together melted butter, olive oil, garlic, Italian seasoning, red pepper flakes, and Parmesan. Taste and add a pinch of salt if needed.
Coating Strategy: Brush or Toss?
– Brush: Lay hot pizza rolls on a plate and brush with garlic butter for light, even coverage. – Toss: Transfer rolls to a bowl, drizzle sauce, and toss gently. This gives maximum flavor but can soften them if you use too much. Pro tip: Start with half the sauce, then add more to taste. You can’t un-sauce a soggy roll.
Timing and Texture: Nail the Crunch
Air fryers can be divas. Different models cook at different intensities, so trust your eyes. General timing guide:
Small rolls: 5–6 minutes at 380°F
Standard rolls: 6–8 minutes at 380°F
Extra crispy: Add 1–2 minutes, but watch closely
Signs they’re done:
Even browning with tiny blisters
Little sauce bubbles peeking out (but not exploding)
They feel firm when shaken in the basket
Keep Them From Bursting
– Don’t crank the temp too high. 400°F often leads to pizza volcanos. – Shake gently at the halfway mark—don’t puncture them. – Don’t overcrowd; trapped steam = ruptures.
Crispy Garlic Pizza Rolls: Flavor Upgrades That Slap
Want to flex? Upgrade your garlic butter or add dips that make you feel like a culinary mastermind. Garlic Butter Variations:
Lemon-Garlic: Add 1 teaspoon lemon zest and a squeeze of juice.
Herb Bomb: Mix in fresh parsley, basil, or chives.
Spicy: Add extra red pepper flakes or a dash of hot honey after coating.
Umami Boost: Double the Parmesan or add a sprinkle of garlic powder after coating for extra punch.
Dip Ideas:
Warm marinara with extra oregano
Garlic ranch (yes, more garlic—commit!)
Pesto for a fresh, nutty vibe
Buffalo sauce with blue cheese crumbles
Make It a Meal
Pair your pizza rolls with a quick side salad (arugula, lemon, olive oil, salt) or roasted veggies from the same air fryer. Balance? Sort of. Tasty? Absolutely.
Batch Cooking and Serving Hot
Serving a crowd or just very hungry roommates? You can batch it without losing crisp. Do this:
Cook in single layers. Don’t pile them on or you’ll get uneven texture.
Keep finished rolls in a warm oven (200°F) on a wire rack so the bottoms stay crisp.
Wait to sauce until right before serving to keep maximum crunch.
Leftovers? Reheat in the air fryer at 350°F for 3–4 minutes. They crisp right back up. If they’re already sauced, go shorter so the garlic doesn’t burn.
Troubleshooting: Avoid the Oops
We’ve all been there. Here’s how to dodge the common mistakes.
Rolls exploded: Lower temp to 370–380°F and don’t overfill the basket.
Soggy after saucing: Use less butter, brush instead of toss, and sauce immediately before eating.
Uneven browning: Shake halfway and rotate the basket if your air fryer has hot spots.
Garlic tastes harsh: Use a microplane to grate garlic or sauté it briefly in the butter before mixing.
FAQ About Crispy Garlic Pizza Rolls
Do I need to thaw the pizza rolls first?
Nope. Cook them straight from frozen for best texture. Thawing leads to soggy outsides and leaky insides.
What temperature works best for air fryer pizza rolls?
380°F hits the sweet spot for most air fryers. It crisps the outside without torching the filling. If your model runs hot, drop to 370°F.
Can I make them dairy-free?
Yes. Swap butter and Parmesan for olive oil and nutritional yeast. Add a pinch of onion powder for depth. Still delicious, still crispy.
How do I keep the garlic from burning?
Add the garlic to melted butter and let it sit while the rolls cook. The residual warmth softens the bite. If sautéing, do it over low heat for 30–60 seconds only.
What’s the best way to sauce without losing crunch?
Brush lightly while they’re hot, then finish with a sprinkle of Parmesan and herbs. If you want to toss, use half the sauce first and add more only if needed.
Can I cook multiple flavors together?
Yes, but group similar sizes together for even cooking. Some brands vary in thickness, which affects timing.
Conclusion On Crispy Garlic Pizza Rolls
Crispy garlic pizza rolls in the air fryer just make sense. You get fast crunch, bold flavor, and zero fuss—perfect for game night, movie marathons, or a lazy Tuesday. Keep that garlic butter ready, play with the dips, and don’t be afraid to go extra on the Parm. IMO, it’s the snack upgrade you’ll keep making on repeat.
Disclosure: This post may contain affiliate links.
If you make a purchase through these links, I may earn
a small commission at no extra cost to you.
prab chahal
Hi, I’m Prabjot Chahal – the heart (and taste buds) behind this blog!
Food has always been my love language – from experimenting with family recipes to discovering unique flavors from around the world. I believe that cooking isn’t just about following a recipe, it’s about creating moments, sharing stories, and connecting with others over something delicious. Through this blog, I want to build a vibrant food community where we share more than just recipes – we share inspiration, tips, and the joy of making and enjoying good food together. Whether you’re here for quick weekday dinners, festive treats, or creative seasonal ideas, you’re part of this table. So grab a fork (or a whisk!) and let’s cook, bake, and share our love for food – one recipe at a time.


")
")