Here’s the blunt truth: feeding yourself hard-working protein on a budget can feel like a scavenger hunt. You want flavor, variety, and real energy to power your days, not bland leftovers. So I built a week’s worth of protein-packed meals that total about $25, but deliver big on texture, aroma, and satisfaction. FYI, you’ll laugh at how simple it is to keep your meals exciting without breaking the bank. Trust me, your future self will thank you for this.
These recipes aren’t just cheap—they’re cunning. They sneak savory punch into every bite, with smart leftovers and smart prep that turn one cooking session into a week of easy dinners and lunches. Wondering how to stretch chicken, beans, and eggs into crowd-pleasing flavors? You’re in the right place. Each recipe sparks curiosity: what if you combine pantry staples in a way you’ve never tried? What if protein does double duty, with quick sauces and zingy toppings? You’ll find your answer here, matched with practical pro tips and variations so you can remix until you’re dancing in the kitchen.
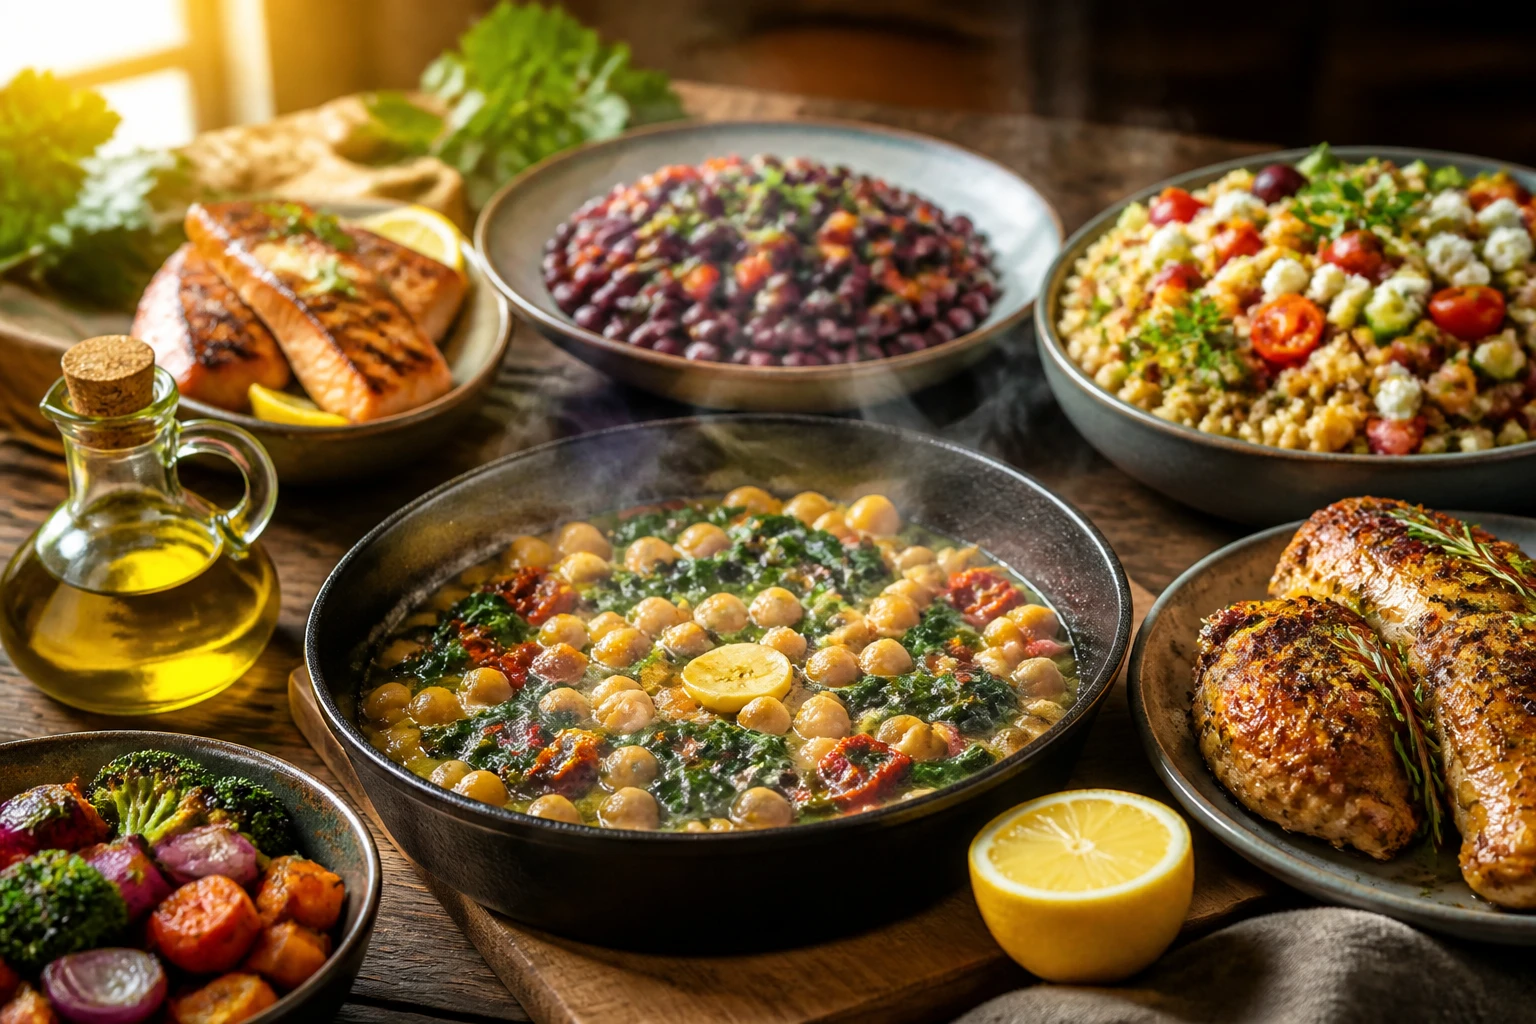
Now, let’s dive into the five recipes that prove you don’t need a fancy grocery haul to fuel your week like a champ. Ready to be surprised by how delicious affordable protein can be? Let’s go.
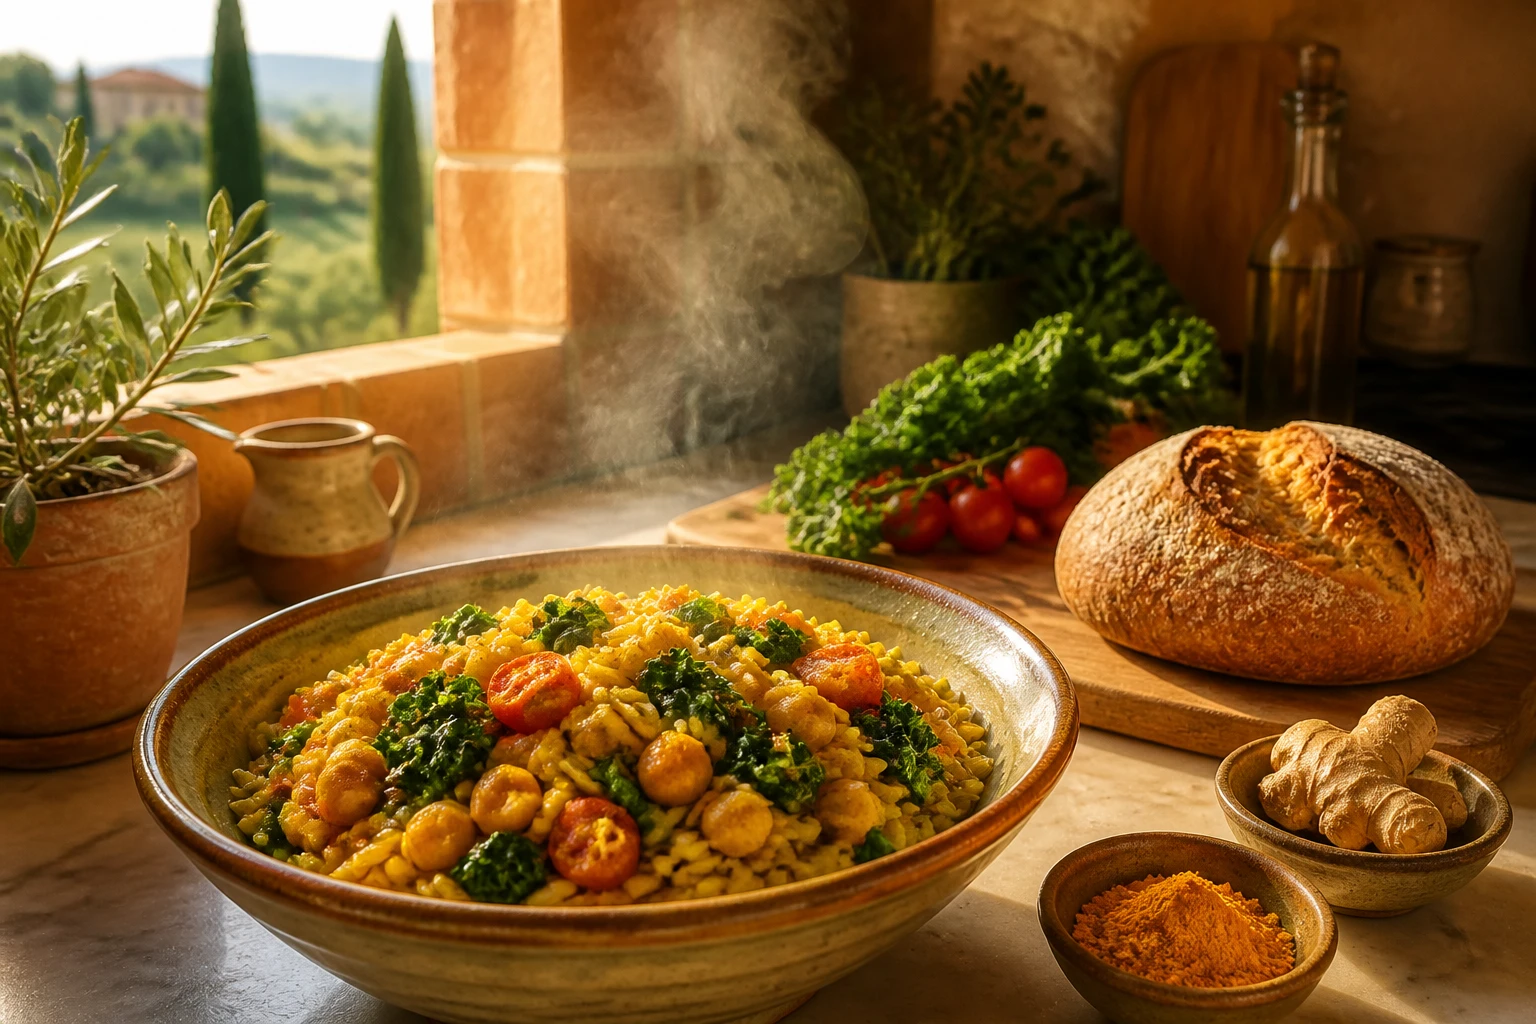
1. Tuscan Chickpea and Spinach Skillet That Feels Like a Warm Hug
Picture this: a skillet scented with garlic and lemon, the chickpeas taking on a creamy, smoky edge from paprika and a kiss of olive oil. The spinach wilts just enough to cling to each chickpea, and a touch of parmesan shaves off a salty, nutty finish. This dish is perfect over a bed of quinoa or with crusty bread for dipping. It’s the kind of weeknight hero that feels like a victory lap after a long day.
Why You’ll Love It
Super quick, ready in about 20 minutes
High-protein, plant-forward and budget-friendly
One-pan cleanup keeps weeknights sane
Flavors deepen as it sits, great for leftovers
Ingredients
1 tablespoon olive oil
3 cloves garlic, minced
1 (15 oz) can chickpeas, drained and rinsed
2 cups baby spinach
1 teaspoon smoked paprika
1/2 teaspoon dried oregano
1/4 cup vegetable or chicken stock
Juice of 1/2 lemon
Salt and pepper to taste
Grated parmesan, for serving (optional)
Chopped parsley, for garnish
Cooked quinoa or crusty bread, to serve
Instructions
Heat olive oil in a large skillet over medium heat. Add minced garlic and sauté until fragrant, about 30 seconds.
Stir in chickpeas and paprika; cook 2–3 minutes to bloom the spices.
Pour in stock, add oregano, and simmer until most of the liquid reduces, about 4 minutes.
Fold in spinach in batches until it wilts and brightens, about 2 minutes.
Finish with lemon juice, salt, and pepper; taste and adjust seasoning.
Scatter parmesan and parsley just before serving, if using. Serve over quinoa or with bread.
Pro Tips
Make it heartier by adding a handful of cooked lentils for extra protein.
For a richer finish, swirl in a teaspoon of butter at the end.
Store leftovers in an airtight container; reheat gently to avoid sogginess.
Use kale if you’re out of spinach—won’t lose the texture balance.
Easy Variations
Swap chickpeas for white beans and add sun-dried tomatoes for a tangy boost.
Stir in a splash of white wine and capers for a Mediterranean twist.
Top with toasted pine nuts for crunch.
Mistakes To Avoid
<liOvercooking the spinach makes it slimy; add it in later.
Adding too much stock at once can make the dish watery.
Skipping lemon juice; brightness is essential for balance.
Serving Ideas
Serve with warm quinoa for a filling bowl.
Pair with crusty bread for dipping, like a champ.
Turn leftovers into a vibrant salad by tossing with cherry tomatoes and cucumber.
2. Lemon-Pepper Tuna Cakes with Herb Yogurt Dip
Imagine canned tuna transformed into golden, sizzling cakes that stay tender inside and crackle on the outside. The lemon zest and pepper give it a zing that screams late-summer beach picnics, while the herb yogurt dip keeps everything light and refreshing. It’s the kind of recipe you whip up when you want something comforting but not heavy, and it travels surprisingly well for lunch.
Why You’ll Love It
Compact protein punch with pantry staples
Delivers crispy texture without deep-frying
Bright, yogurt-based dip adds freshness
Great for make-ahead lunches
Ingredients
2 (5 oz) cans tuna in water, drained
1/4 cup breadcrumbs (or crushed crackers)
1 beaten egg
Zest of 1 lemon
1 tablespoon lemon juice
1/2 teaspoon black pepper
1/4 teaspoon paprika
1 tablespoon olive oil
For dip: 1/2 cup plain Greek yogurt, 1 tablespoon chopped dill, 1 teaspoon lemon juice, salt to taste
Instructions
In a bowl, mix tuna, breadcrumbs, egg, lemon zest, lemon juice, pepper, and paprika until well combined.
Shape into four patties. Chill 10 minutes to help them hold together.
Heat olive oil in a nonstick skillet over medium heat. Cook patties 3–4 minutes per side until golden.
Whisk together dip ingredients; season to taste.
Serve patties with the herb yogurt dip, and a squeeze of lemon if you like extra brightness.
Leftover patties store well in the fridge for 2 days; reheat gently.
Pro Tips
Keep the patties snug by not overmixing; you want some texture.
Use panko for extra crunch, or rye breadcrumbs for a heartier bite.
Dip can be made in advance and stored separately.
Easy Variations
Add finely chopped parsley and capers for a briny twist.
Make lemon-dill fish cakes using salmon instead of tuna.
Turn into a wrap with crisp lettuce and tomato.
Mistakes To Avoid
Overcooking leads to dry patties; monitor heat closely.
Too much binding agent makes them dense—keep it light.
Serving Ideas
Pair with a cucumber salad for a cooling balance.
Use as a protein-packed protein-bowl topper with grains and greens.
3. Savory Egg Fried Rice That Tells a Flavor Story
Eggs aren’t just breakfast; they’re tiny powerhouses. This fried rice uses leftover rice, a handful of frozen veggies, and pantry-friendly soy and sesame for a restaurant-tested vibe. It feels indulgent but stays budget-friendly, making it the perfect weeknight “I deserve this” dish. It’s also incredibly forgiving—your future self will thank you for leftovers with a whisper of sesame oil and a dash of hot sauce.
Optional: diced cooked chicken, shrimp, or tofu for extra protein
Instructions
Heat oil in a large skillet or wok over medium-high heat. Add ginger and aromatics for 30 seconds.
Push ingredients to the side and scramble eggs in the center until just set; mix with aromatics.
Add rice and break up any clumps; stir-fry 3–4 minutes until heated through.
Stir in peas and carrots, soy sauce, and sesame oil; toss to coat evenly.
Fold in green onions and any extra protein; cook 1–2 minutes more.
Finish with a splash more soy if needed and serve hot.
Pro Tips
Day-old rice yields the best texture—if using fresh, spread on a tray to cool first.
High heat is your friend for that quick, slightly charred edge.
If you’re watching sodium, use a low-sodium soy sauce and add a pinch of sugar to balance.
Easy Variations
Add diced bell peppers for color and crunch.
Swap in kimchi for a spicy kick and tangy kick.
Omit eggs for a vegan version and whisk chickpea flour into the stir-fry for protein boost.
Mistakes To Avoid
Overcrowding the pan lowers the heat and steams the rice instead of frying it.
Skipping the eggs’ scramble step; you’ll miss the dish’s binding and texture.
Adding sauces too early can burn and taste bitter.
Serving Ideas
Top with chili crisp for heat and texture.
Serve with a side of quick pickled cucumbers to brighten the plate.
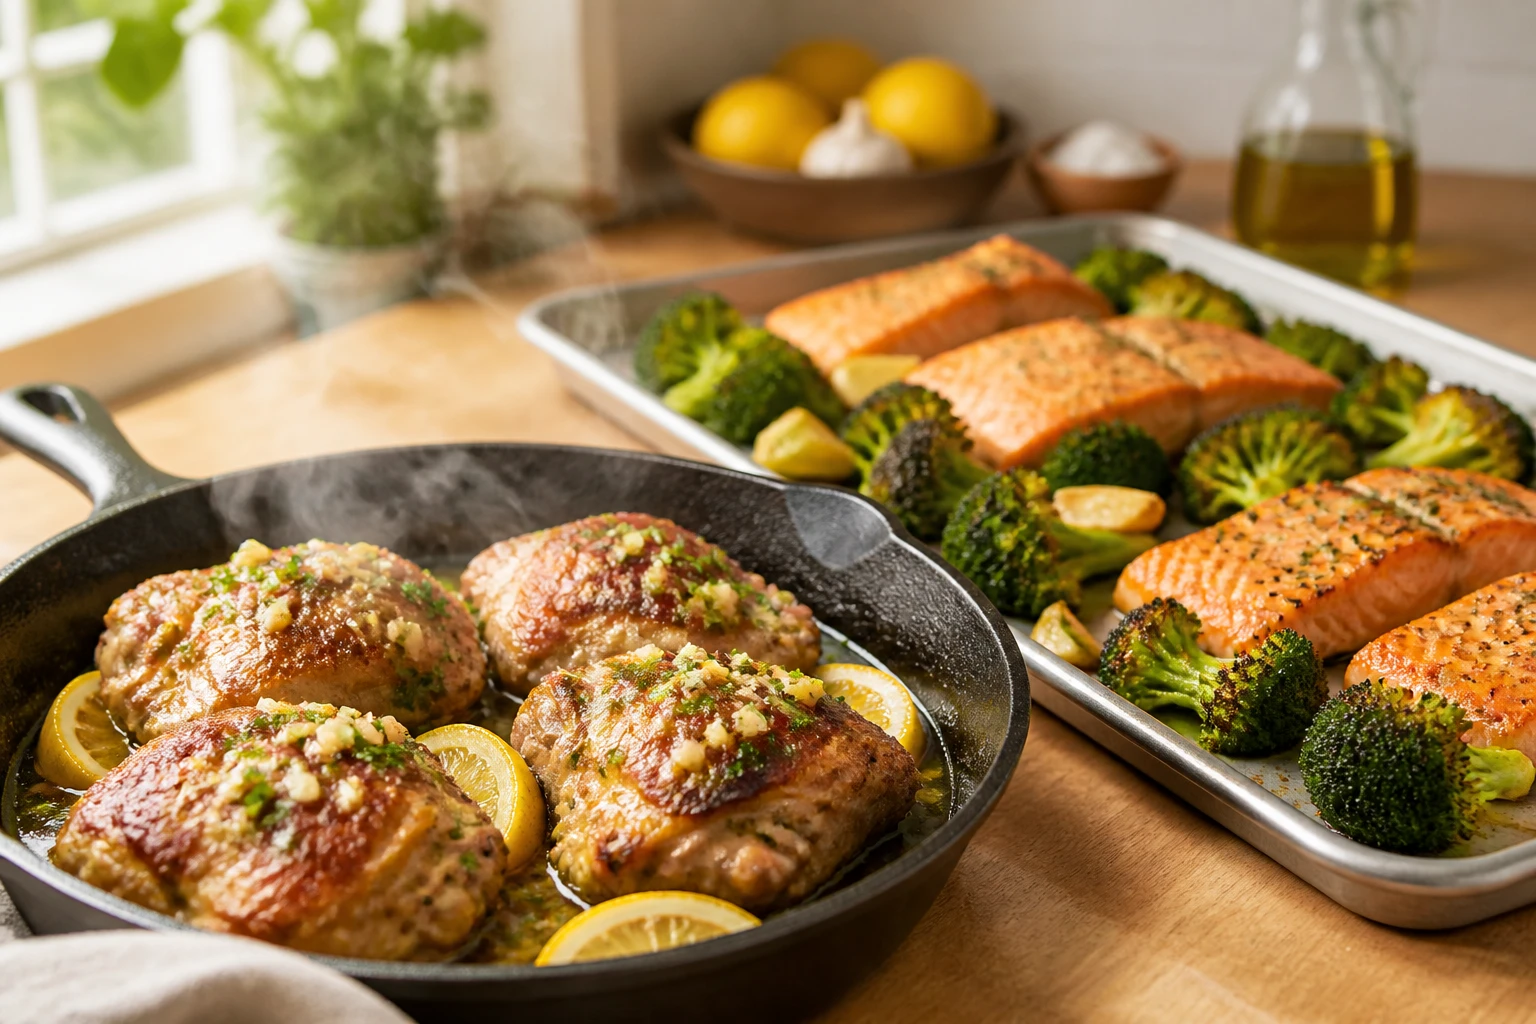
4. White Bean and Turkey One-Pan Bake With Herby Crust
Imagine a low-simmering casserole that bakes while you toast a few slices of bread. The white beans soak up turkey juices and herbs, turning into a creamy, comforting bake with a crisp top. This dish feels like cold-weather coziness in a skillet, but it’s bright enough for any season. It’s the kind of recipe you’ll crave again and again when you’re craving protein-packed comfort without the fuss.
Why You’ll Love It
One-pan bake, minimal cleanup
Budget-friendly with pantry staples
Creamy texture without heavy cream
Freezable for future weeks
Ingredients
1 tablespoon olive oil
1 small onion, diced
2 cloves garlic, minced
1 pound ground turkey
2 cups canned white beans, drained
1 cup crushed tomatoes
1/2 cup chicken stock
1 teaspoon dried thyme
1/2 teaspoon paprika
Salt and pepper to taste
1/4 cup breadcrumbs
2 tablespoons grated parmesan
Instructions
Preheat oven to 375°F (190°C). Heat oil in a large ovenproof skillet over medium heat.
Cook onion until translucent, about 4 minutes. Add garlic and cook 30 seconds more.
Add turkey; cook until browned, breaking up meat as it cooks.
Stir in white beans, crushed tomatoes, stock, thyme, paprika, salt, and pepper. Simmer 5 minutes.
Sprinkle breadcrumbs and parmesan on top; bake 12–15 minutes until crust is golden and bubbly.
Let rest 5 minutes before serving to thicken slightly.
Pro Tips
Use mashed white beans as a natural thickener for a creamy texture.
Add a handful of chopped parsley after baking for color and freshness.
If you’re short on beans, thicken with a tablespoon of cornstarch slurry in the simmer stage.
Easy Variations
Swap turkey for lean ground beef or chicken for a different flavor profile.
Add chopped kale or spinach for extra greens.
Use diced zucchini to bulk up without adding many calories.
Mistakes To Avoid
Overcooking the top crust can dry out the bottom—watch the bake time.
Skipping salt early on can leave the dish flat; taste before baking.
Too thick a crust can mask the sauce’s flavors.
Serving Ideas
Pair with a simple green salad and lemon vinaigrette.
Offer a side of warm bread to sop up the sauce.
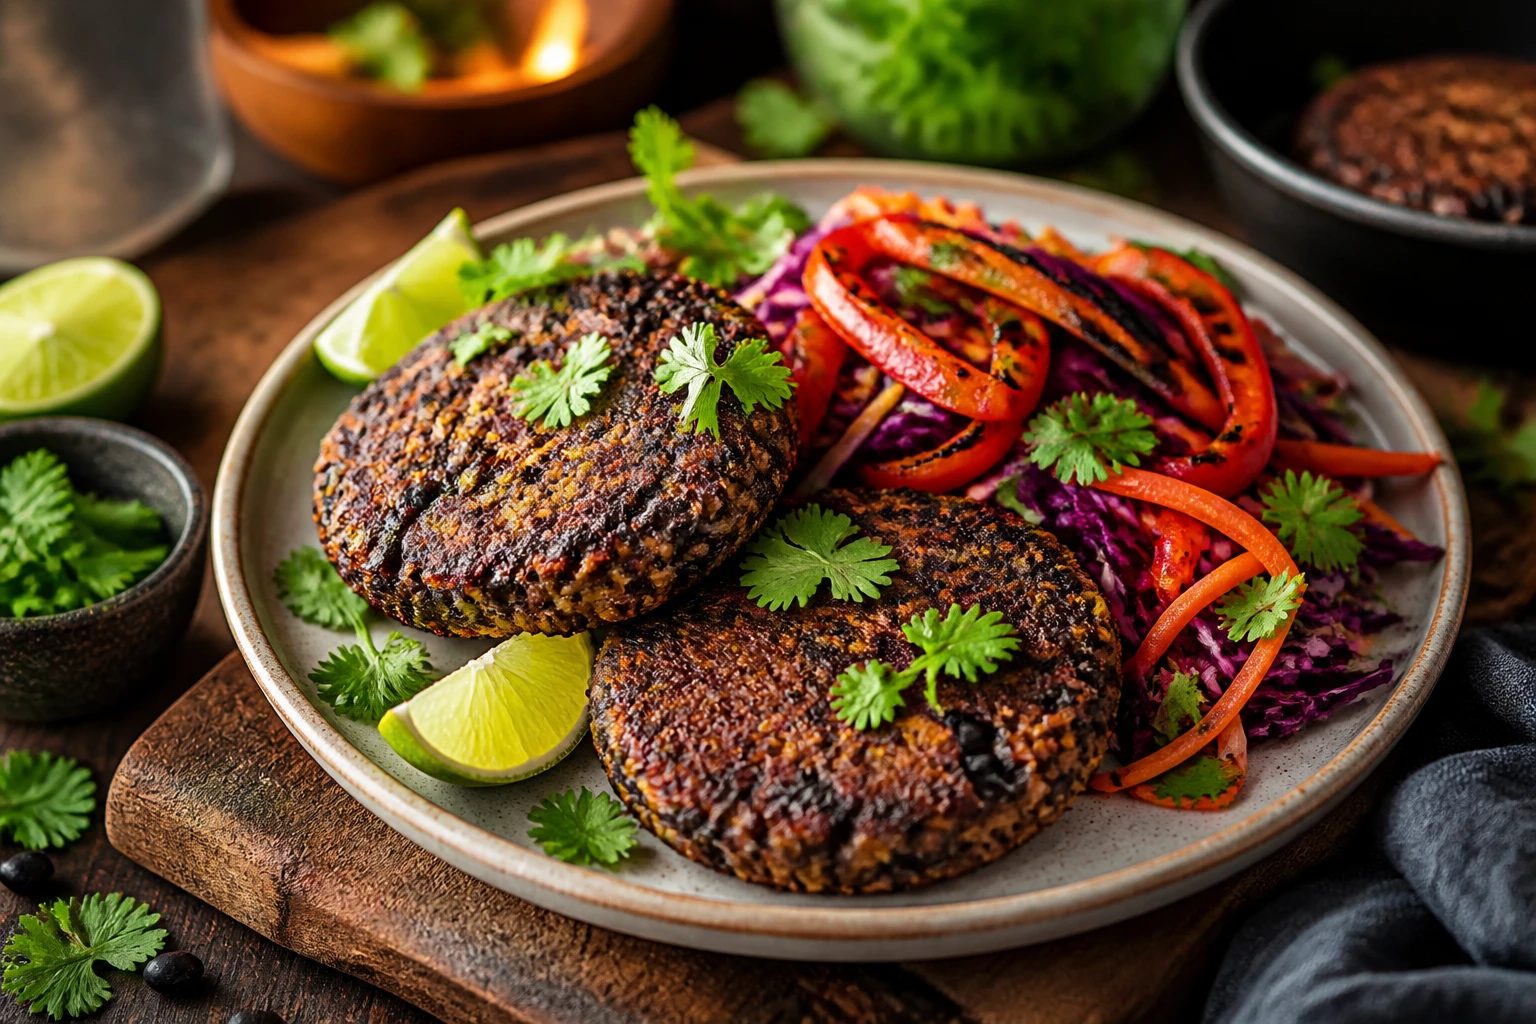
5. Budget-Friendly Shredded Chicken Taco Bowls With Lime-Calsa Crunch
Last but not least, this bowl is a flavor fireworks show with weeknight practicality. Shredded chicken stays juicy under a zingy lime-cilantro glaze, while a quick corn-tomato salsa adds color and brightness. It’s the sort of meal that makes you feel like a taco master without needing a passport or a mountain of ingredients. It also travels beautifully for lunches, so you can pretend you’re dining al fresco in a coworking space every day.
Season chicken with salt, pepper, chili powder, and cumin. Sear in a skillet with olive oil until browned and cooked through, 6–8 minutes per side depending on thickness.
Shred chicken with two forks and return to the pan to soak up juices for 1–2 minutes.
In a bowl, mix corn, tomatoes, cilantro, and lime juice; season to taste.
Build bowls with a base of rice or quinoa, top with shredded chicken, and spoon over the corn-tomato salsa.
Finish with your favorite toppings and an extra squeeze of lime.
Store any leftovers in the fridge; reheat gently to keep the chicken juicy.
Pro Tips
Use thighs for juicier meat and better texture after reheating.
Make a big batch of salsa; it amps up other meals, too.
Freeze chicken portions for a quick grab-and-go option.
Easy Variations
Switch to pork or beef for different flavor profiles.
Use cauliflower rice for a lower-carb option.
Top with a dollop of Greek yogurt, not sour cream, for tanginess.
Mistakes To Avoid
Overcooking chicken dries it out; monitor internal temp closely.
Too much lime can overpower; balance with a touch of honey or sugar if needed.
Neglecting to season the salsa—bright acidity needs salt to sing.
Serving Ideas
Pair with a crisp cucumber-dill salad for a refreshing counterpoint.
Layer in a tortilla bowl for a deconstructed taco vibe.
Frequently Asked Questions
How can I stretch these recipes to cover more meals? Componentize proteins and repurpose into bowls, wraps, or salads with new sauces.
Are these meals actually budget-friendly in practice? Yes—shopping with a list, using store brands, and leveraging pantry staples keeps it under ~$25 for the week.
Can I substitute ingredients if I don’t have them? Absolutely—these recipes are flexible; swap proteins, greens, and grains as needed.
What’s the best way to store leftovers? Airtight containers in the fridge for 3–4 days; freeze portions for longer-term storage.
How can I keep flavor from fading after reheating? Reheat gently, and brighten with a splash of citrus or fresh herbs after warming.
What pantry staples should I always have on hand? Olive oil, garlic, onions, canned beans, tomatoes, stock, spices, and some acid (lemon or lime).
Any tips for making these vegetarian-friendly? Increase beans or lentils, add quinoa, and choose yogurt-based dips for protein.
How do I ensure every bite feels exciting? Layer textures—crunchy toppings, creamy sauces, and a pop of brightness like citrus or fresh herbs.
Final Thoughts
If you’ve stuck with me through these five recipes, you’ve seen that budget-friendly protein can be exciting, versatile, and deeply satisfying. You don’t have to compromise on flavor or nutrition to eat well all week. Now it’s your turn to experiment—tweak spices, swap proteins, and let each dish tell its own little story. Ready to stock your fridge with confident, crave-worthy meals? You’ve got this.
What Surprised Me Most About This Recipe
That protein can stretch across multiple meals with texture and brightness intact. A single skillet or pan, a handful of pantry staples, and weeklong satisfaction—who knew?
The Secret Ingredient Nobody Expects
A splash of citrus at the end or a quick herb finish transforms the dish from homey to restaurant-worthy in seconds. Never skip that finishing brightness.
Why This Recipe Works Better Than Most Versions
Each recipe balances protein density with moisture, flavor, and practical leftovers. They’re designed for real-life schedules, not fancy dinner party timelines.
Reader Favorite Tip
Prep components in stages: proteins, starch, and veg you’ll actually use. It makes day-of assembly feel like magic rather than chaos.
The Biggest Mistake People Make
Cooking everything at once and letting flavors crash into each other. Build layers—finish with fresh herbs, citrus, or a quick sauce to reset the palate.
Printable Recipe Card
Want just the essential recipe details without scrolling through the article? Get our printable recipe card with just the ingredients and instructions.
Disclosure: This post may contain affiliate links.
If you make a purchase through these links, I may earn
a small commission at no extra cost to you.
prab chahal
Hi, I’m Prabjot Chahal – the heart (and taste buds) behind this blog!
Food has always been my love language – from experimenting with family recipes to discovering unique flavors from around the world. I believe that cooking isn’t just about following a recipe, it’s about creating moments, sharing stories, and connecting with others over something delicious. Through this blog, I want to build a vibrant food community where we share more than just recipes – we share inspiration, tips, and the joy of making and enjoying good food together. Whether you’re here for quick weekday dinners, festive treats, or creative seasonal ideas, you’re part of this table. So grab a fork (or a whisk!) and let’s cook, bake, and share our love for food – one recipe at a time.


")
")
 Power-Up")
 Power-Up")