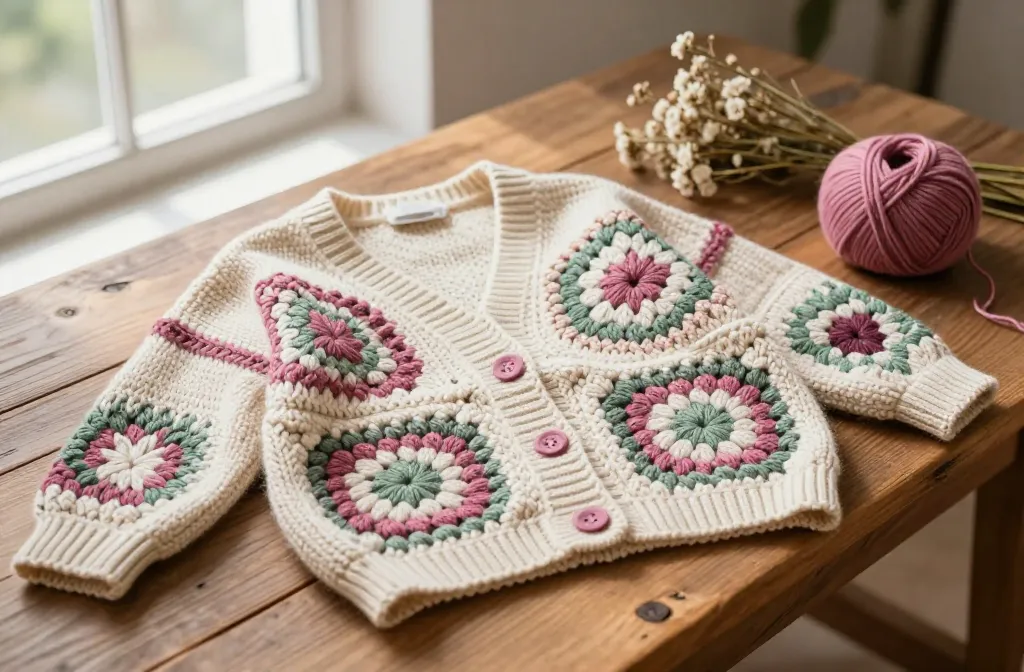
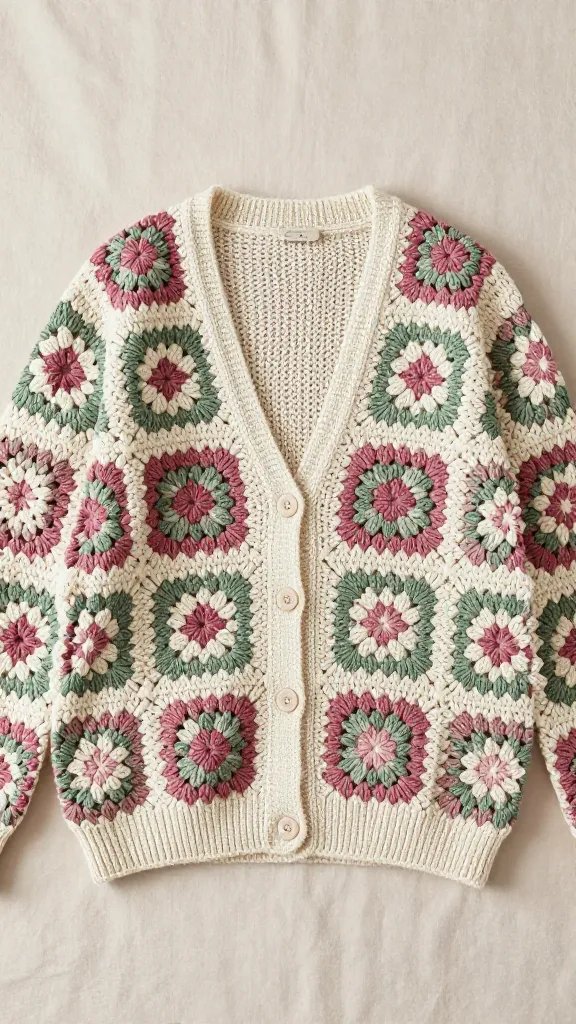
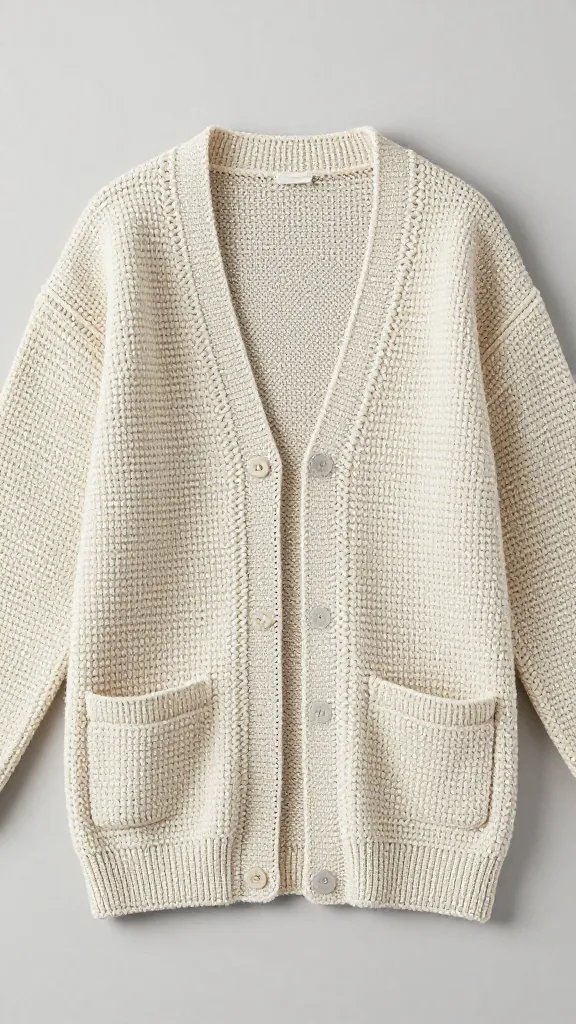
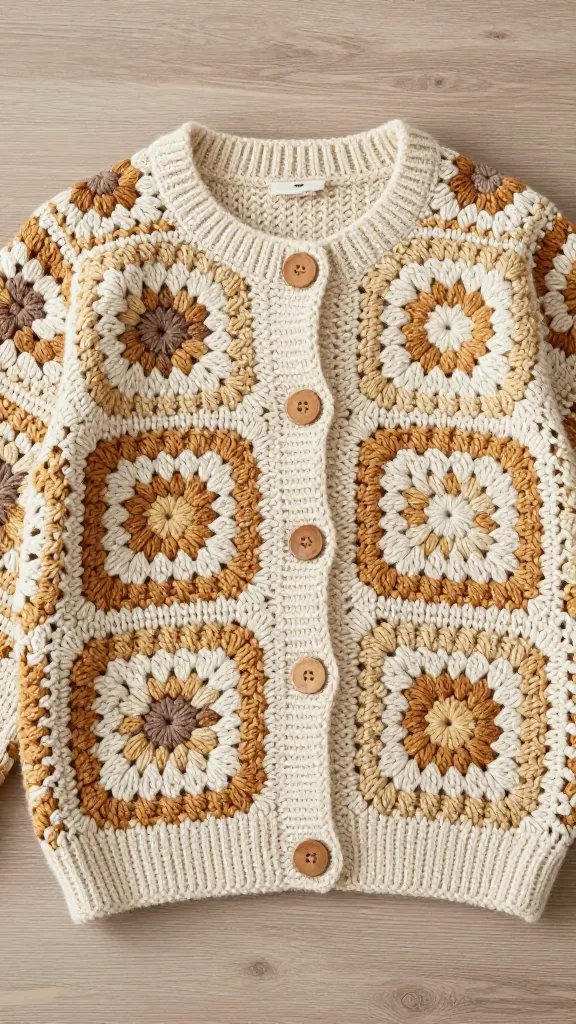
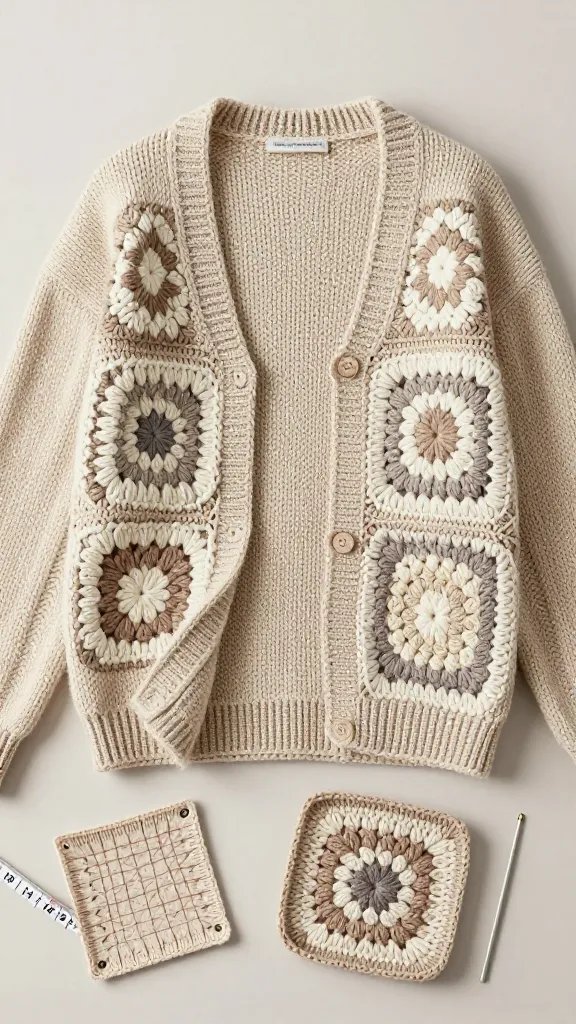
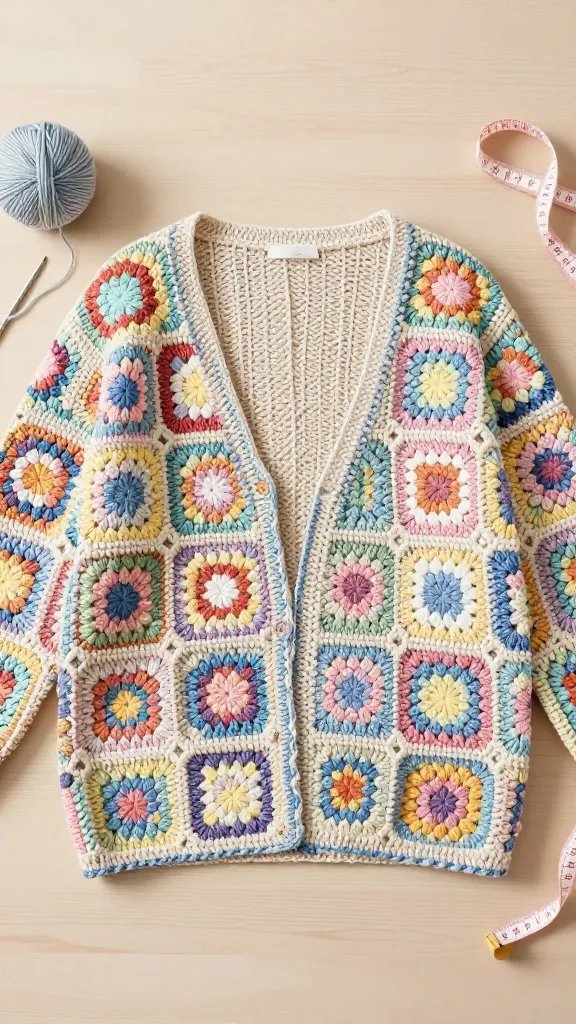
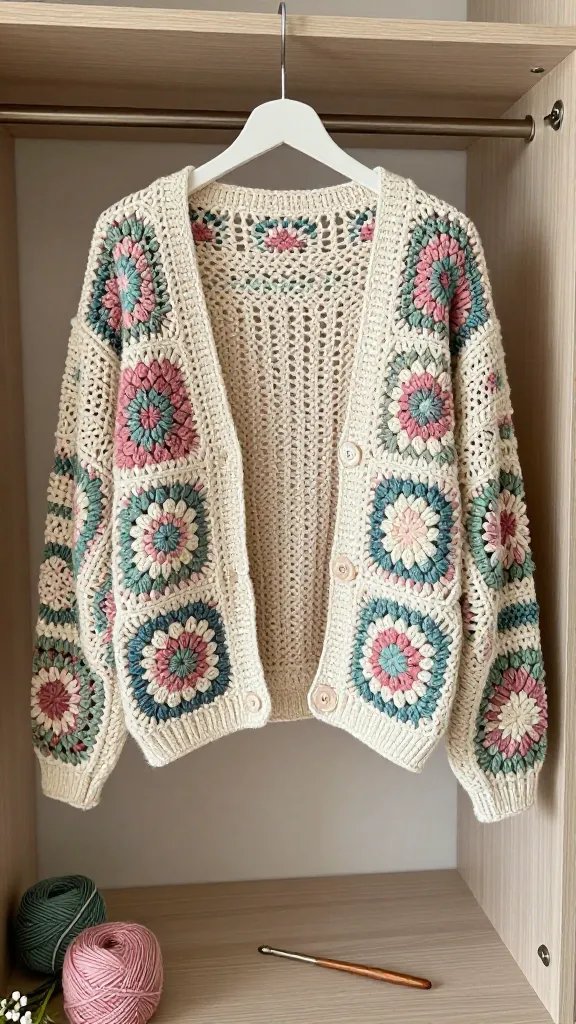
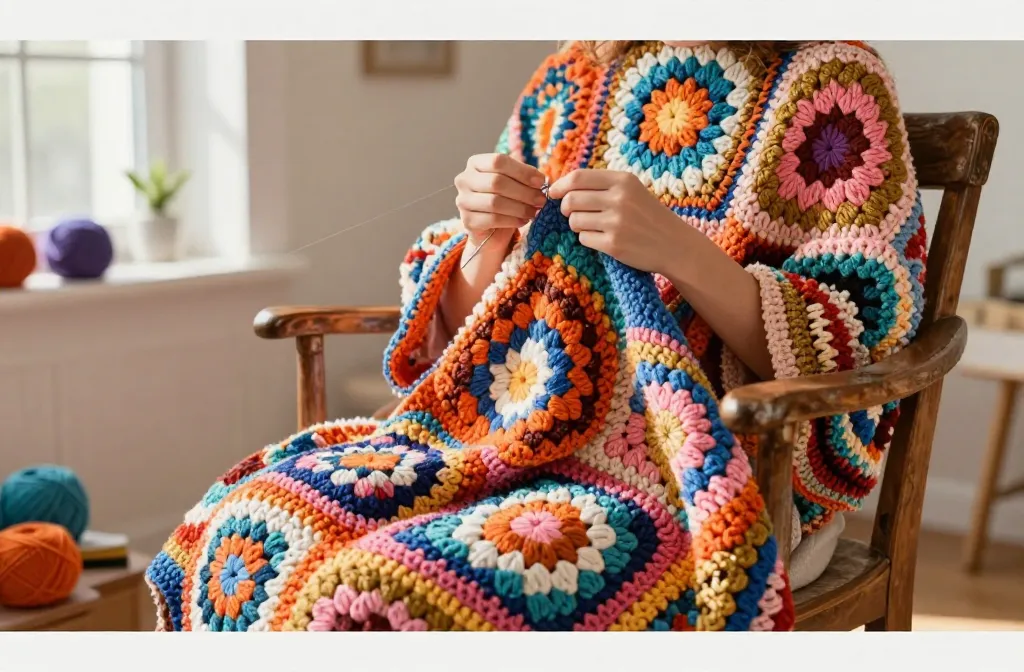
Ready to dive into a cozy, show-stopping cardigan project? These 12 ideas break down a classic granny square cardigan into simple, friendly steps you can actually finish. Let’s get crafty, curious, and a little bold—you deserve a cardigan that looks amazing and feels amazing to wear.
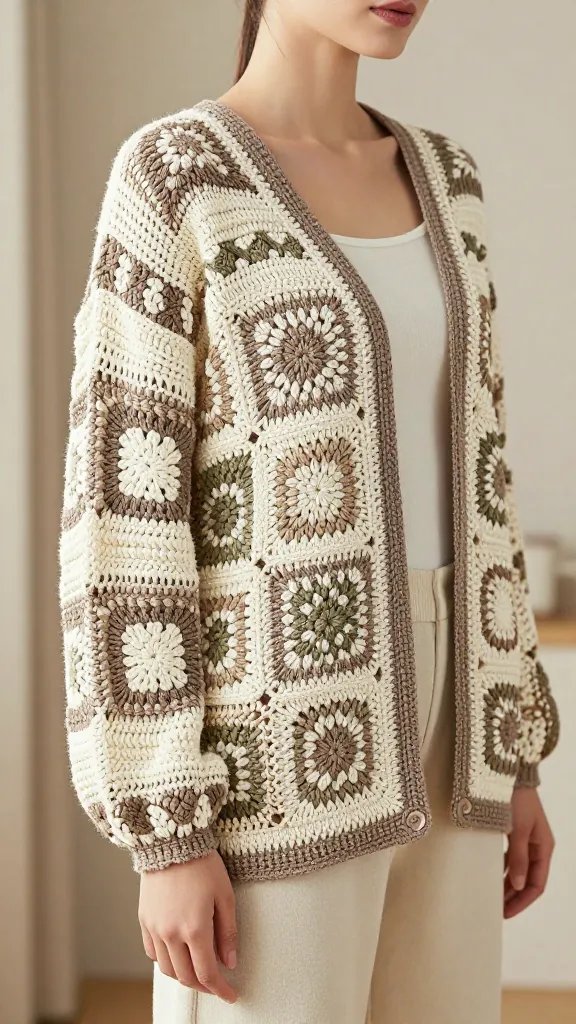
1. Pick the Right Yarn Palette Like a Color Pro
Choosing colors is half the battle and half the fun. A thoughtful palette can elevate a granny square cardigan from sweet to swoon-worthy.
Key Points
Start with a neutral base (cream, taupe, or soft gray) for versatility
Add 2-3 accent colors that complement your closet staples
Consider yarn weight: DK or aran for a balanced drape
My quick recipe: base in cream, with pops of dusty rose and sage. FYI, you’ll thank yourself when you don’t stare at mismatched scraps at 11 pm.
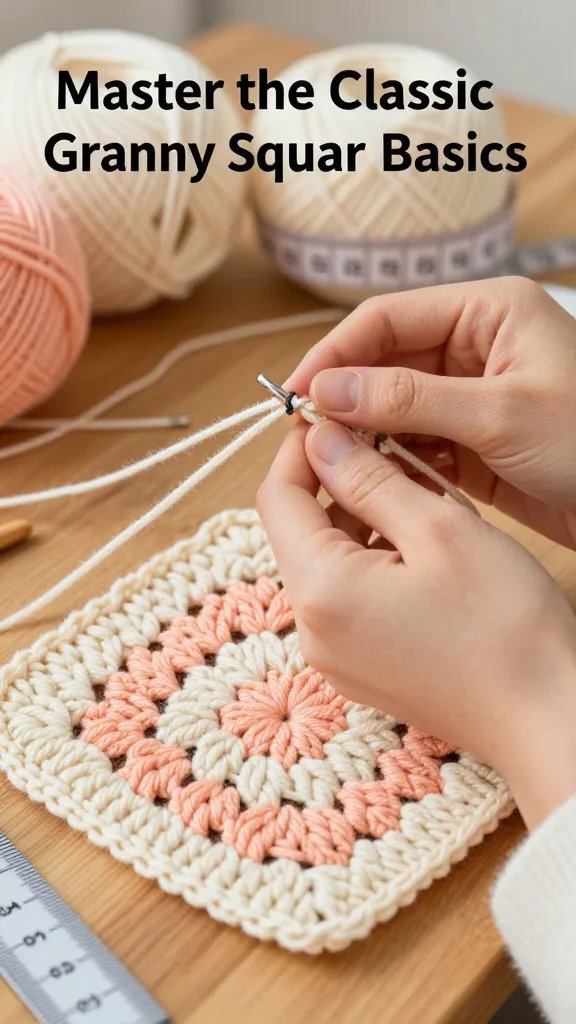
2. Master the Classic Granny Square Basics
Before you stitch a cardigan, you gotta nail the granny square. It’s the backbone of your whole project, and yes, it’s delightfully satisfying when done right.
Tips
Learn the standard 3-dc granny square for a timeless look
Keep tension consistent to avoid lopsided edges
Customize square size to your gauge for a better fit
Start small: practice 6×6 cm squares until you feel confident. Trust me, consistency pays off when you start joining them into panels.
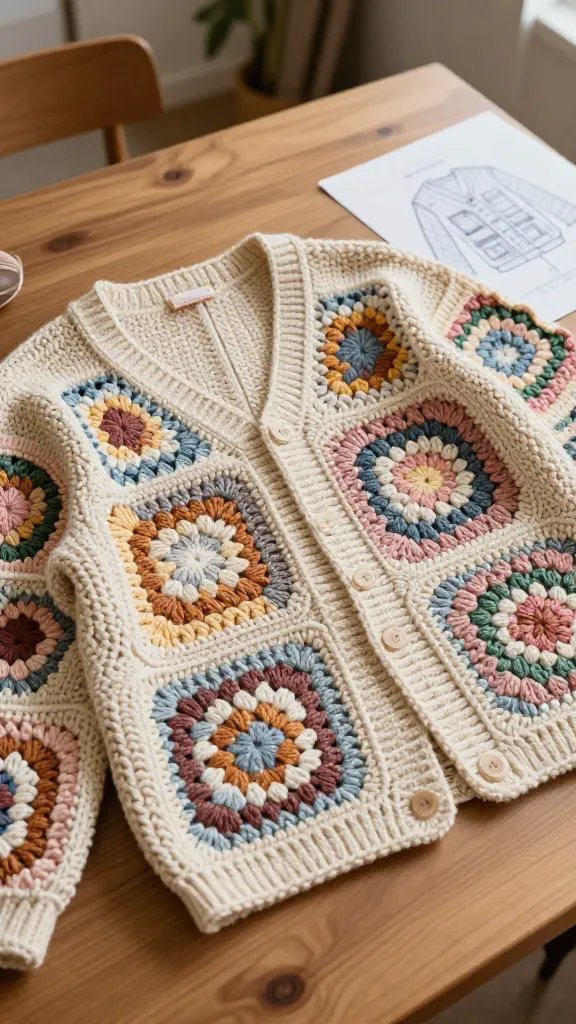
3. Plan a Cardigan Layout That Flows
A cardigan pattern is more than cute squares; it’s a wearable tapestry. Plan your layout like a blueprint before you yarn bomb your living room.
Key Elements
Panel arrangement: front, back, sleeves
Where to place color blocks for balance
Seaming strategy that hides joins
Sketch a quick diagram and label where you’ll join squares. Doing this ahead saves endless seam drama later—trust me, your nerves will thank you.
Seaming can make or break the cardigan vibe. A clean join keeps the garment looking polished and wearable.
Methods
Slip stitch seams for a nearly invisible finish
Mattress stitch for a sturdy, flat seam
Consider a decorative edge if you’re feeling fancy
Finish with a light blocking to even out stitches and shape. The cardigan will look instantly more cohesive when the seams disappear into the fabric.
5. Build a Simple Front Closure That Actually Works
Buttons, toggles, or a sleek belt—your cardigan’s closure should be functional and flattering. Keep it simple if you’re new to cardigans.
Options
Three small buttons down the front for a classic touch
Plastic snaps for quick wear and a clean line
Hem loop with a single toggle for a boho vibe
Try placing the buttons about 2.5 inches below the neckline for comfortable drape. It’s the small details that make this feel like a real garment, not a blanket with sleeves.
6. Size It Right: Gauge and Fit Without Tears
Gauge is your best friend and worst nightmare. Nail it, and you’ll avoid the dreaded “grandma cardigan” vibe or a tent instead of a fit.
What to Do
Swatch a 10×10 cm square in your granny pattern
Compare swatch to target measurements; adjust hook size or tension if needed
Don’t skip blocking—this shapes the fabric beautifully
One quick trick: measure a well-fitting cardigan you own and compare. If your swatch is looser, go down a hook size. Simple tweaks, big payoff.
7. Quick-Start Pattern: A Free, Easy Template to Copy
If you’re feeling overwhelmed, start with a free, easy template and personalize from there. It’s a confidence booster with a safety net.
Why It Works
Gives you a solid frame to experiment within
Removes guesswork about how many squares you’ll need
Can be customized later with color blocks or sleeve length
Use a reliable pattern as a launching pad, then switch up colors, square sizes, or edging as you grow more confident. You’ll be surprised how fast you level up.
8. Edging and Finishing Details That Shine
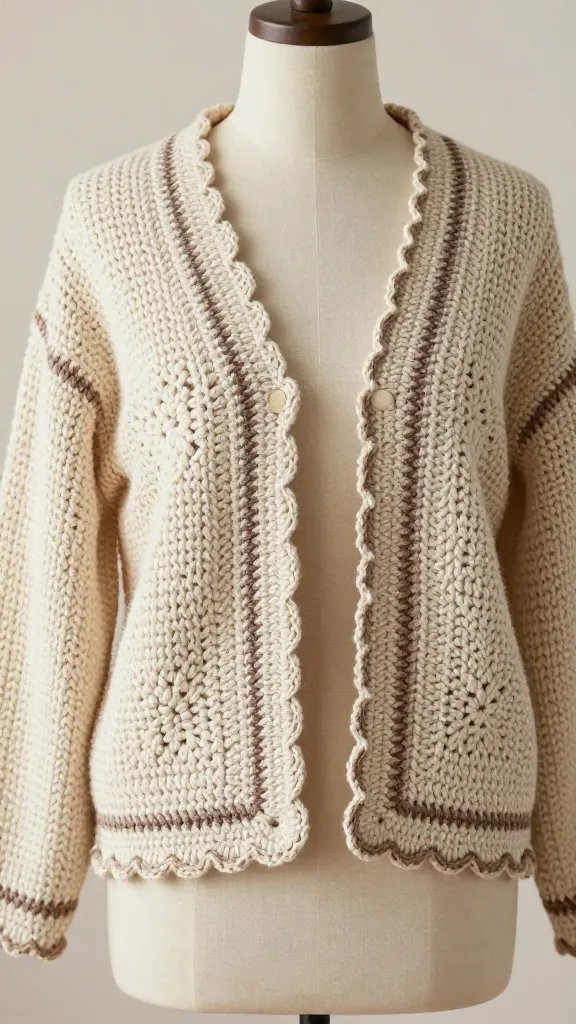
Edging isn’t just decorative—it prevents curls and frames the cardigan beautifully. A neat border finishes the piece with flair.
Options
Single crochet edging for a clean, neat frame
Shell border for a vintage, feminine touch
Picot edging if you want a delicate accent
Choose a border color that contrasts enough to stand out but still harmonizes with your palette. The edge is where the wow happens, seriously.
9. Sleeves that Sit Right: From Cap to Full
Sleeves can make or break the overall silhouette. You don’t need full drama here—just a sleeve that fits the arm well.
Strategies
Two options: cap sleeves for a light layer, or full-length for layering
Consider a gentle puff or straight drum to match the cardigan’s vibe
Block sleeves separately before attaching
Block and seam sleeves with patience. A well-fitted sleeve is the difference between “handmade” and “couture.”
10. Blocking Magic: The Magic Swap for Almost-Professional Look
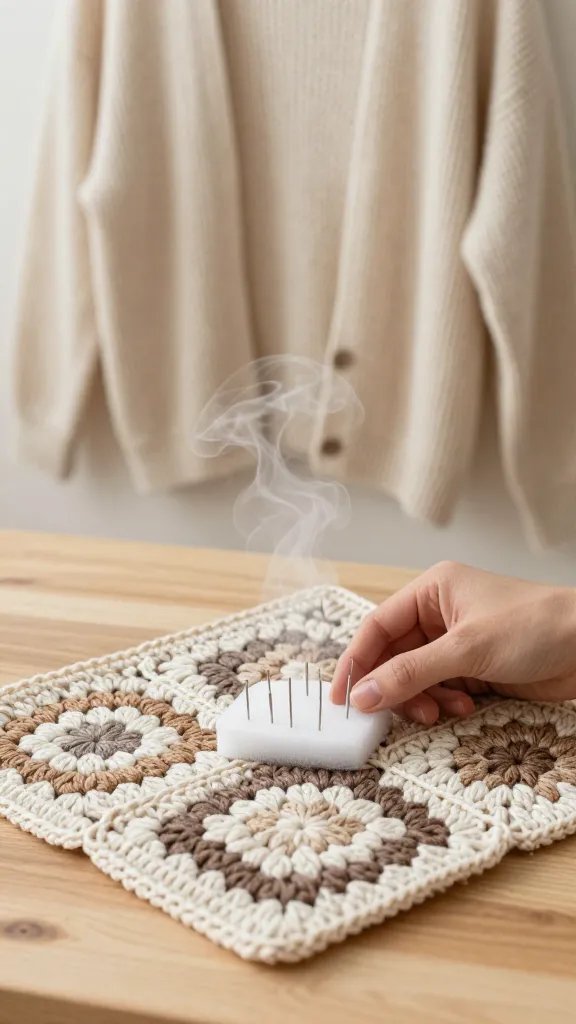
Blocking is the secret weapon you didn’t realize you needed. It even out tension and makes granny squares pop.
Quick Guide
Wet or steam block depending on yarn fiber
Pin to shape on a foam mat; wait for complete dryness
Re-block after assembling if needed
Block with a gentle touch; you’re shaping a garment, not wrestling a jellyfish. The payoff is a smooth, drapey cardigan that wears beautifully.
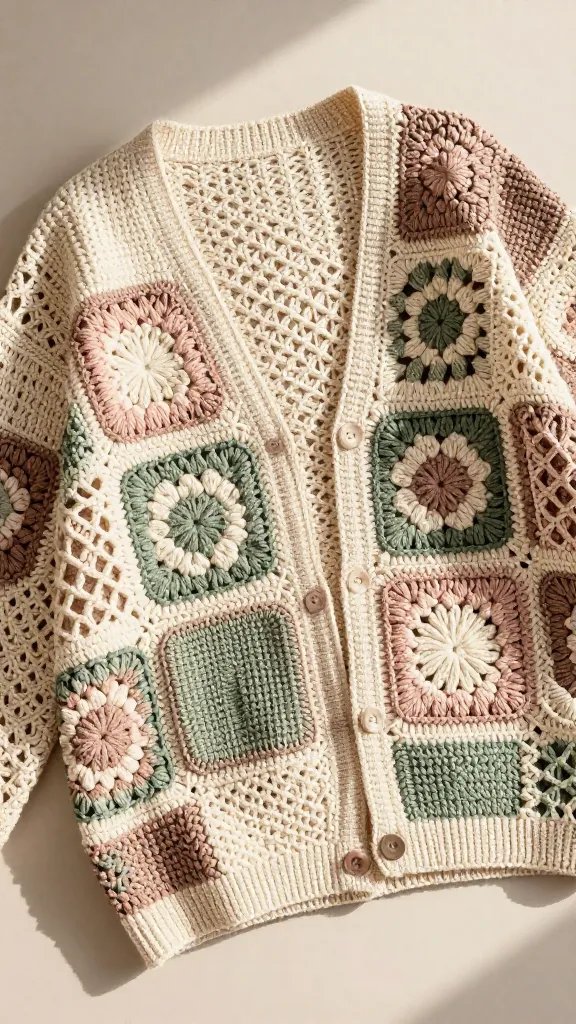
11. Personalize with Texture: Mix Grannies for Depth
Yes, you can mix different granny square textures for a dynamic, designer look. It keeps the project interesting and the finish modern.
Texture Ideas
Classic granny with raised stitches
Floral or lattice variations within squares
Incorporate solid blocks to balance busy patterns
Alternate textures thoughtfully to avoid clutter. A little contrast goes a long way in creating a cardigan that feels thoughtfully crafted.
12. Quick-Start Roadmap: From Hook to Wardrobe in a Weekend
If you’re chasing a fast, satisfying finish, here’s a practical weekender plan. You’ll have a wearable cardigan in no time.
One-Page Plan
Day 1: Crochet 24-32 granny squares in your chosen palette
Day 2: Join squares into front/back panels and initial sleeves
Day 3: Attach sleeves, add front edges, and sew seams
Day 4: Block, add edging, and finish with closure details
Yes, you can do this. FYI, it’s all about steady, small steps rather than a big sprint. The result will be totally worth it when you slip into a cozy cardigan you crafted yourself.
Want a reminder? Your cardigan doesn’t have to be perfect to be amazing. It will be uniquely yours and incredibly wearable—the kind you reach for on chilly mornings or when you just need a hug in yarn form.
Are you ready to grab your hook and start stitching? Your new granny square cardigan awaits, and it’s begging for color, texture, and a little bit of your personality to bring it to life.
Happy crocheting, friend. You’ve got this, and I’m cheering you on every stitch of the way.
Disclosure: This post may contain affiliate links.
If you make a purchase through these links, I may earn
a small commission at no extra cost to you.
prab chahal
Hi, I’m Prabjot Chahal – the heart (and taste buds) behind this blog!
Food has always been my love language – from experimenting with family recipes to discovering unique flavors from around the world. I believe that cooking isn’t just about following a recipe, it’s about creating moments, sharing stories, and connecting with others over something delicious. Through this blog, I want to build a vibrant food community where we share more than just recipes – we share inspiration, tips, and the joy of making and enjoying good food together. Whether you’re here for quick weekday dinners, festive treats, or creative seasonal ideas, you’re part of this table. So grab a fork (or a whisk!) and let’s cook, bake, and share our love for food – one recipe at a time.